
In this article, we'll discuss how to restore the functionality of in-ear headphones. You may need to replace either the plug or the headphones themselves. If the cable is damaged, it can be repaired or replaced. Keep in mind that in most cases, repairing inexpensive wired headphones will cost more than buying new ones, especially if you don't have the necessary tools.
How to Identify the Problem
Step 1. Gather the necessary tools.
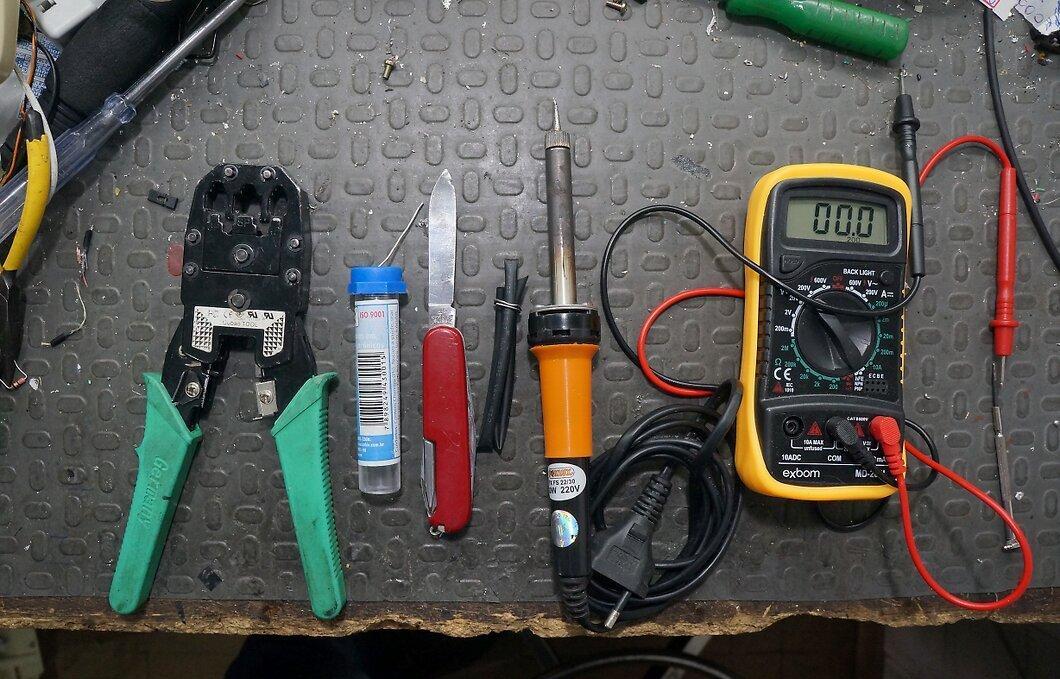
First, gather all the necessary tools. Depending on the issue, you may need the following items:
- Soldering iron and solder;
- Knife or scissors;
- Heat shrink tubing;
- Wire stripping tool;
- Multimeter.
Step 2. Make sure the problem is with the headphones.
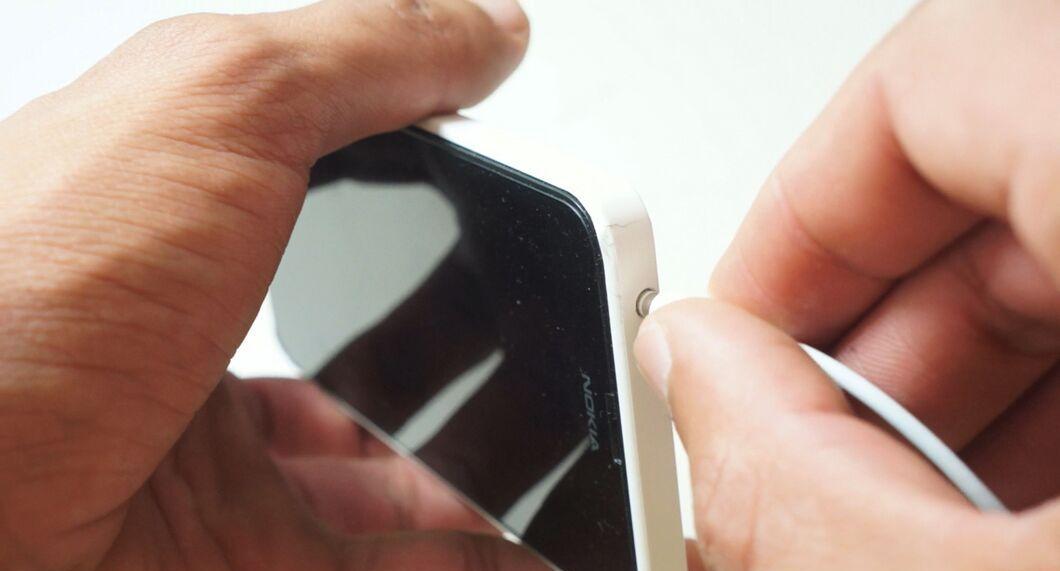
Check if the problem is indeed with the headphones. Connect another working pair of headphones to your device (like a computer); if there's no sound, the headphone jack is likely faulty, not the headphones themselves.
- To confirm, plug your headphones into another jack and see if there’s sound.
Step 3. Check the headphone cable.
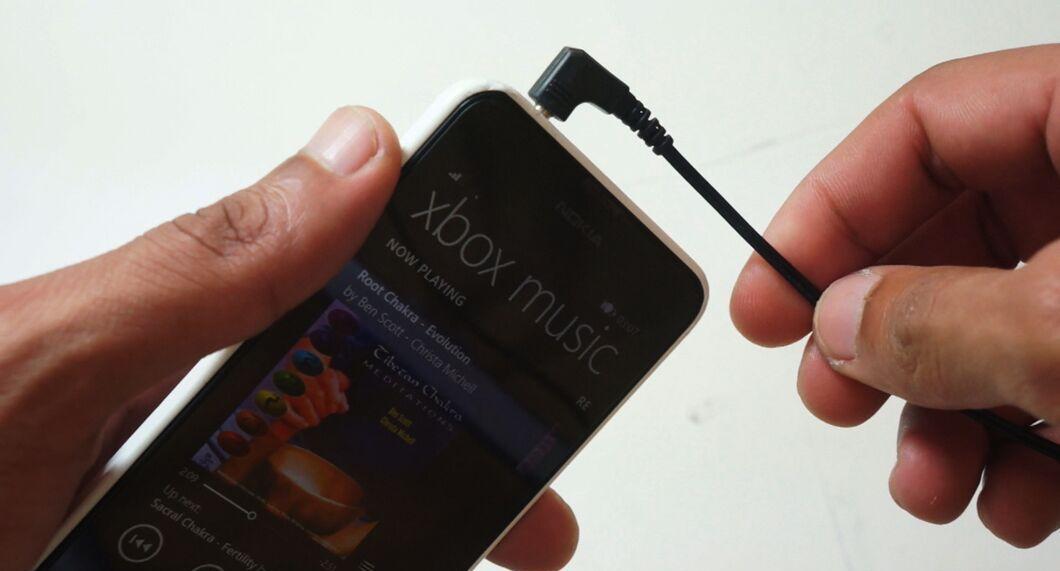
Determine if the cable is damaged. Connect the headphones to an audio output, play sound, and bend and straighten the cable in different places. If you notice intermittent sound in the headphones, this indicates a need for cable repair.
Step 4. Check the headphone plug.
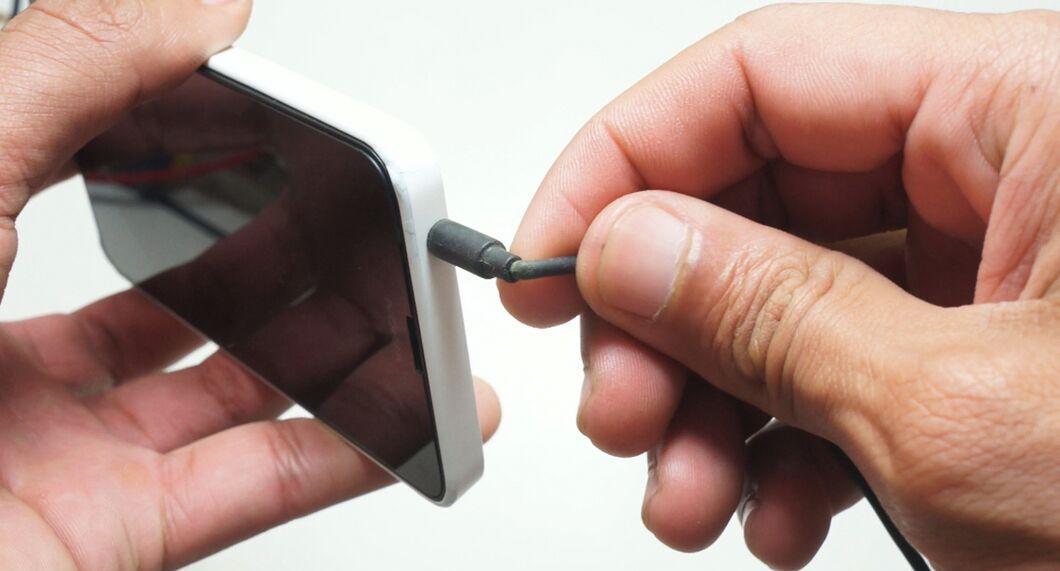
Ensure the plug isn't broken. If sound comes through when you press or twist the plug (in the jack), it means that it needs repair.
Step 5. Try to restore over-ear headphones.
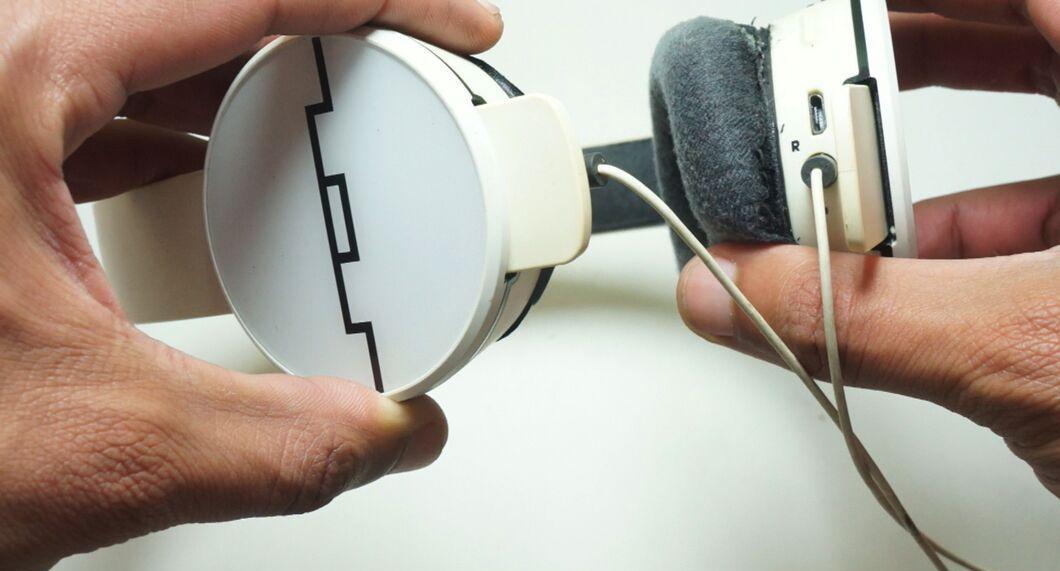
If you have over-ear headphones with a detachable cable (like most Bluetooth models), connect the cable to another pair of headphones. If sound returns, the issue lies within the headphones themselves. Refer to the repair instructions to understand how to restore them.
Step 6. Set up the multimeter.
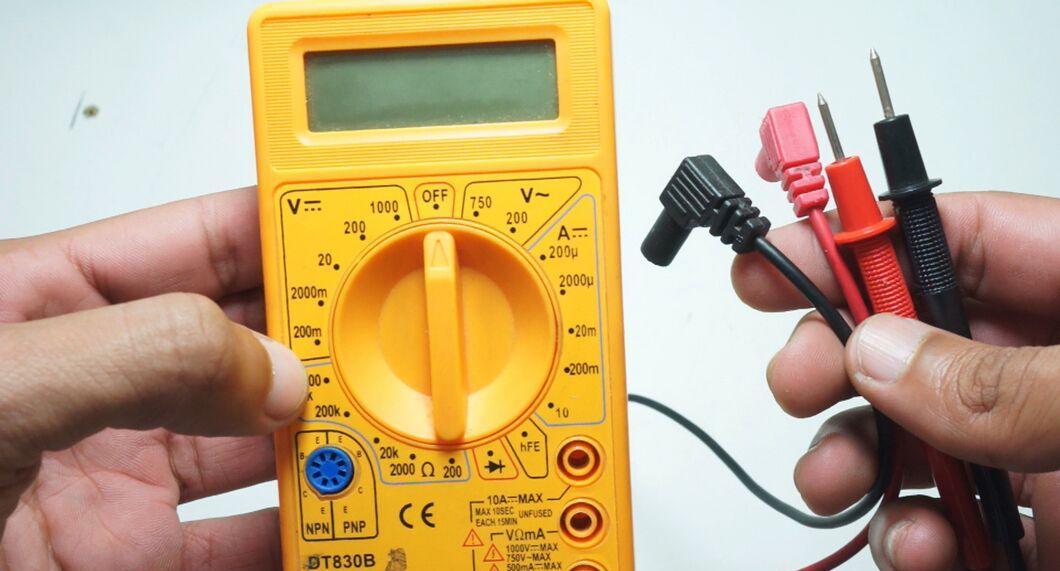
If you can't find the source of the problem, use a multimeter, which can be purchased at an electronics store. To set the multimeter properly:
- Set it to continuity testing mode (the symbol ))) or similar).
- Connect the black probe to the "COM" port.
- Connect the red probe to the port marked as "Ω", "mA", or ))).
Step 7. Check the cable with the multimeter.
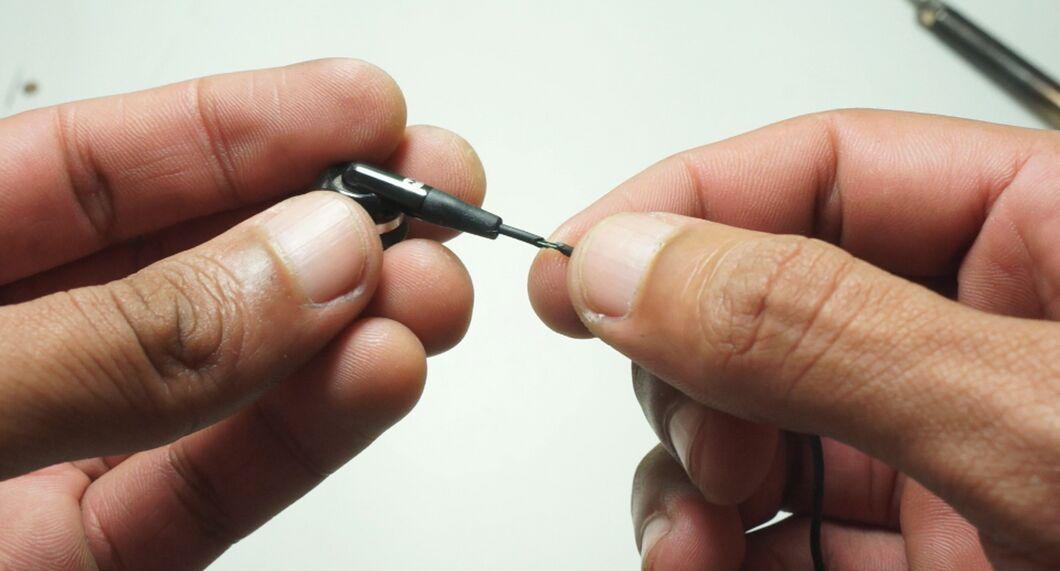
Use the multimeter to check the integrity of the cable. If it's working, you'll hear a beep. To check, follow these steps:
- Make a slit close to the plug and another near the headphone.
- The copper wire is usually covered with clear insulation, so carefully scrape it off with a knife.
- Touch the black probe to the wire in one slit and the red probe to the other.
- If the multimeter beeps, the cable is fine, and the problem is with the headphones or plug. If there's no sound, make a slit in the middle of the cable and check each half.
- Then cut each half in half again and check until you find two points where the multimeter doesn’t beep.
- If you find such a point, you can proceed to repair the cable, skipping the checking step.
Cable Repair
Step 1. Locate the cable break.
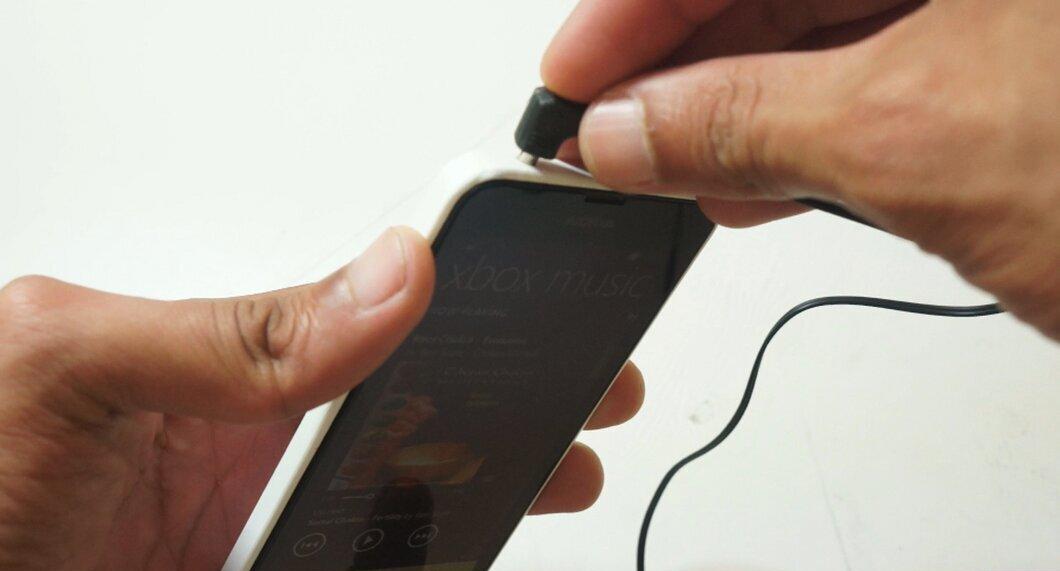
To determine where the break occurred, wear the headphones, play music, and gradually bend the cable. Run your thumb along the entire length of the cable. The point where the sound cuts out is where the break is. If you've already identified this using the multimeter, you can skip this step.
- Mark the break with tape or sticky tape.
Step 2. Remove the insulation.
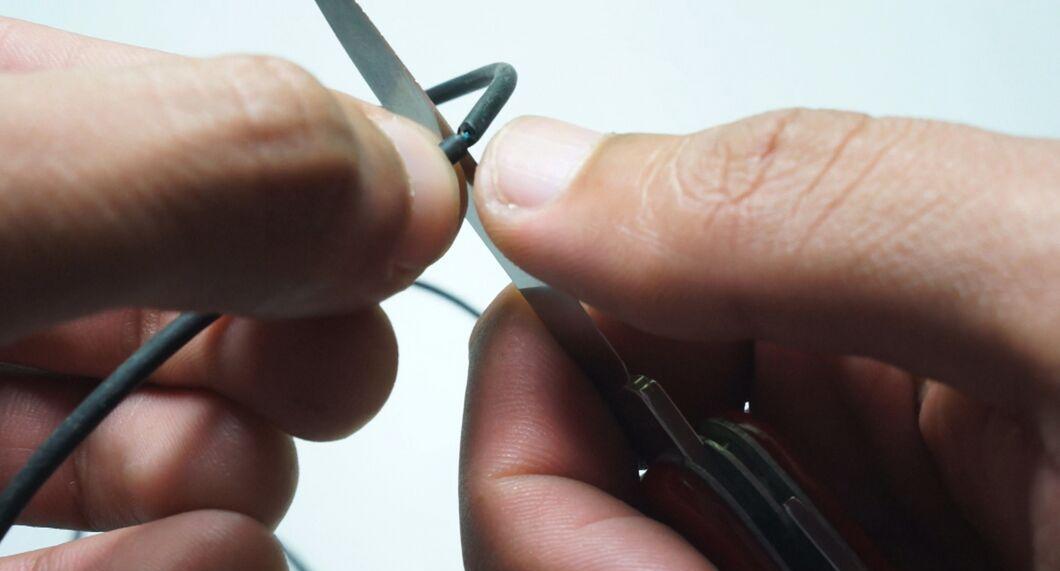
Remove the insulation using a wire stripping tool. You can carefully cut the outer insulation back by 1.5 cm and then slice it lengthwise to find the damage.
- If the cable is dual, each wire will have one insulated signal wire and one bare ground wire.
- In a single cable, Apple headphones and some other models have two insulated wires (for left and right sound) and one bare wire (ground).
Step 3. Separate the dual cable.
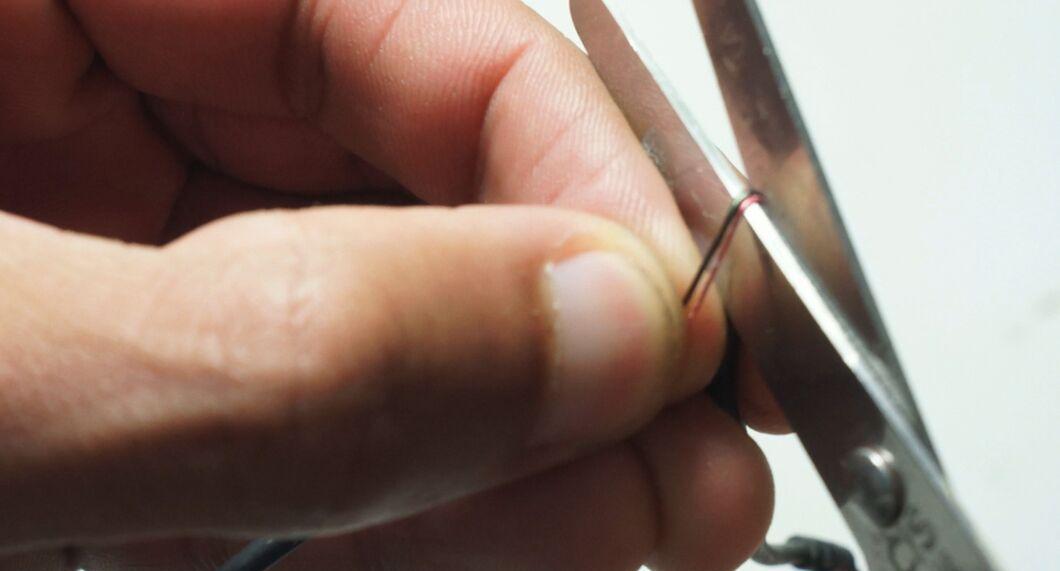
Separate the dual cable into two individual wires. If one of the wires is damaged, cut it, as well as the corresponding section from the other wire, to avoid length differences that could damage the headphones.
- If only one wire is damaged, proceed to solder it. In this case, no cutting is needed, but this repair will be less reliable.
Step 4. Use heat shrink tubing.
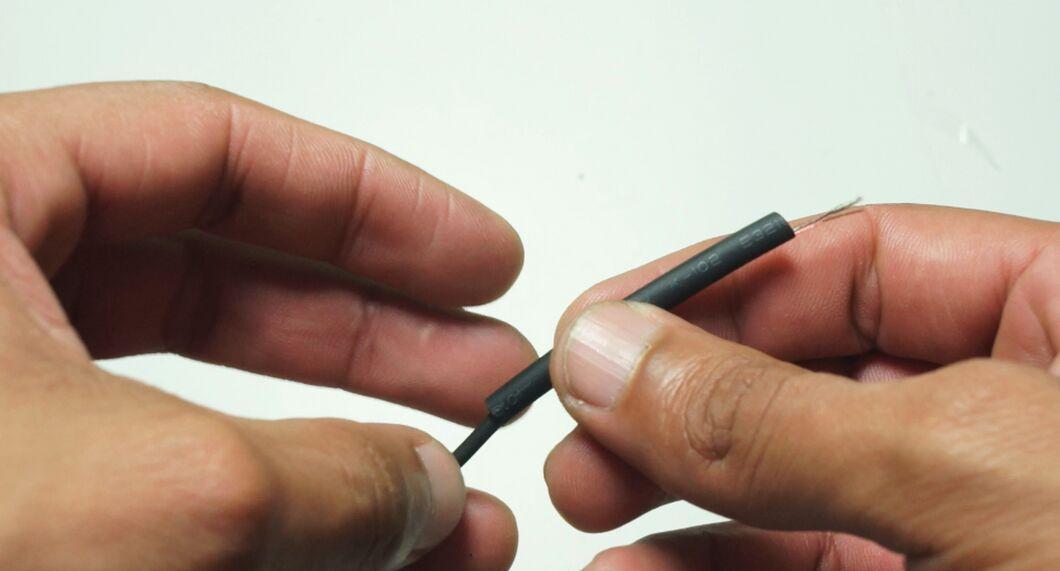
Take a piece of heat shrink tubing that matches the insulation of the headphone cable. Slide the cable into the tubing. This will be needed to insulate the exposed wires after repair.
- If you cut the wire in several places, ensure you have enough tubing for each cut.
Step 5. Connect the wires.
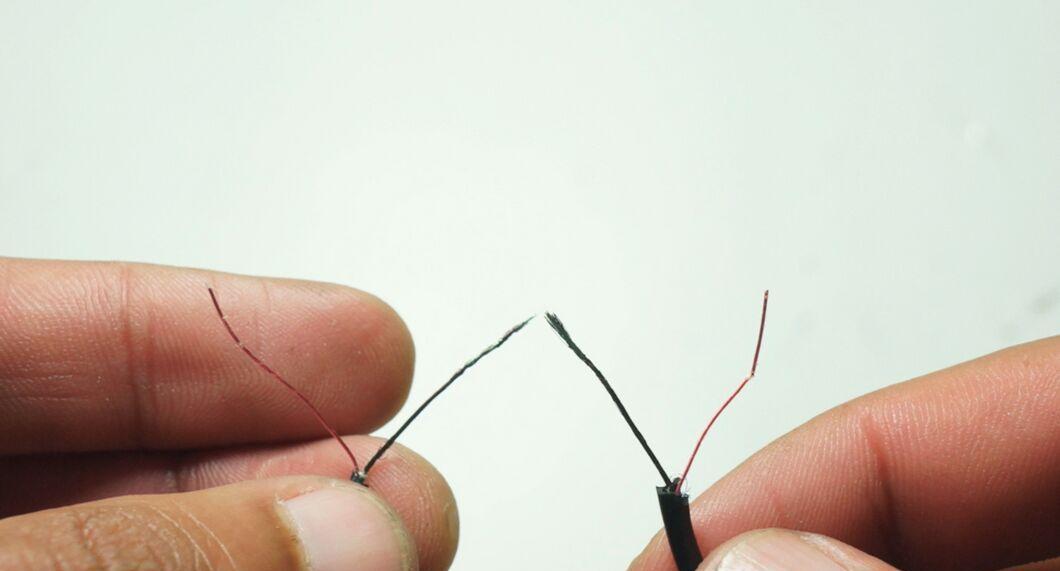
Connect the same colored wires or the exposed wires. You can do this with either parallel or series twisting.
- In parallel twisting, the exposed ends of the wires are laid over each other and twisted together at once, which is quick and convenient but may be hard to hide.
- In series twisting, one exposed end is twisted onto another; this is more reliable but requires more effort.
Step 6. Solder the connection.
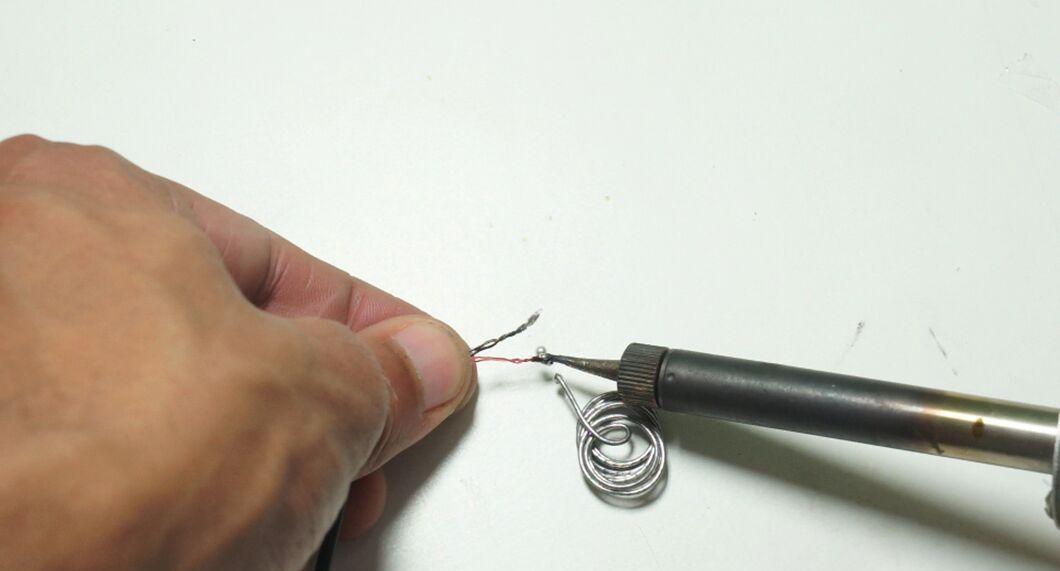
Solder the connection points of the wires using the soldering iron and a bit of solder; if you have multiple twists, do this for each one.
- Wires usually don’t have insulation but are covered with a thin layer of enamel, so first scrape it off or burn it with the soldering iron.
- After the solder cools, insulate each connection with electrical tape.
Step 7. Slide on the heat shrink tubing and shrink it with a heat gun.
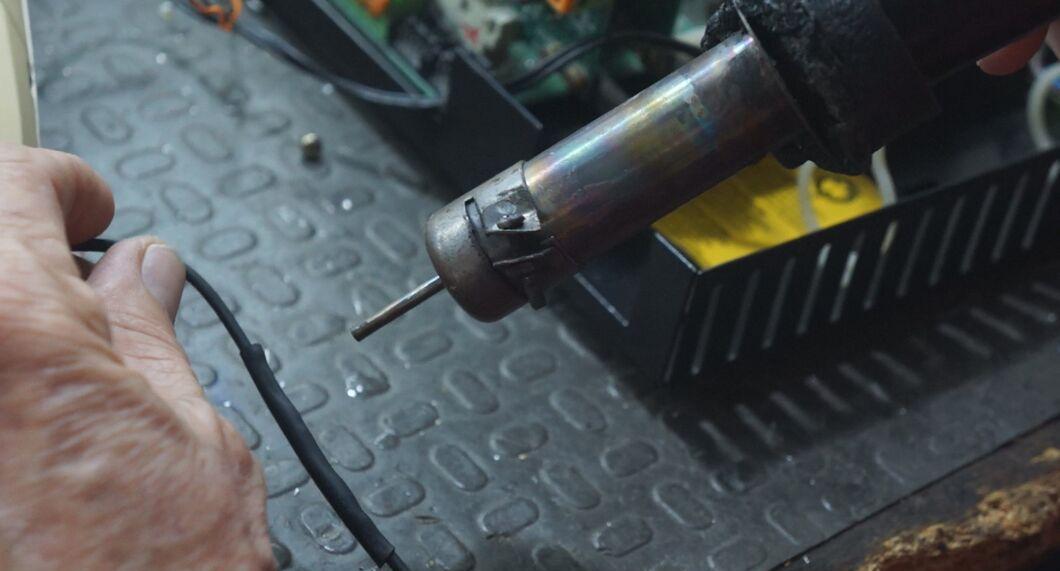
- The tubing shrinks to 25% of its original size, providing strong protection for the repaired cable.
Plug Repair
Step 1. Buy a new plug.
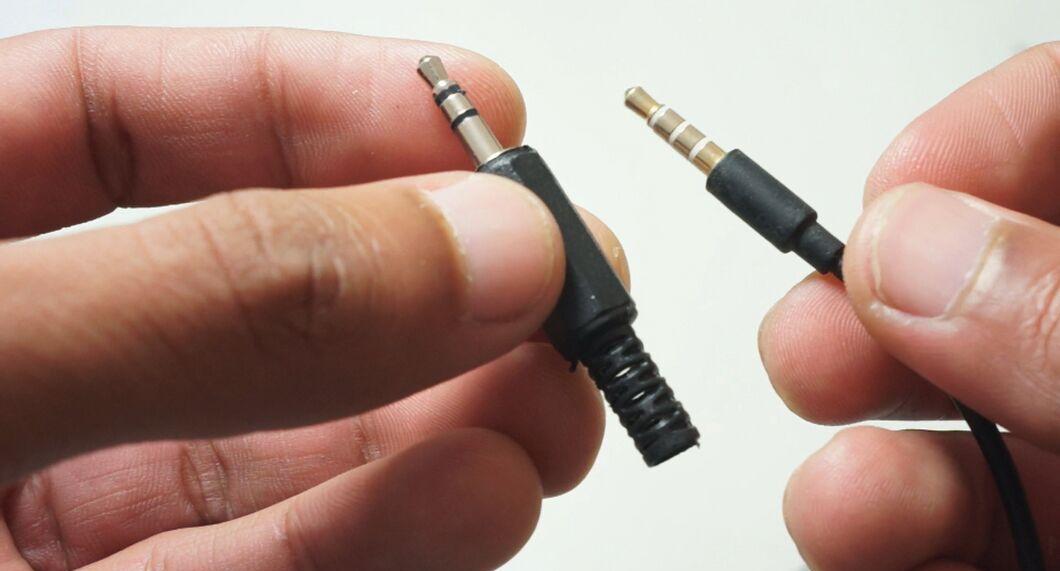
Purchase a new plug from an electronics or radio parts store. Choose a metal stereo plug with a spring and ensure its size matches the old one (usually 3.5 mm).
Step 2. Remove the old plug.
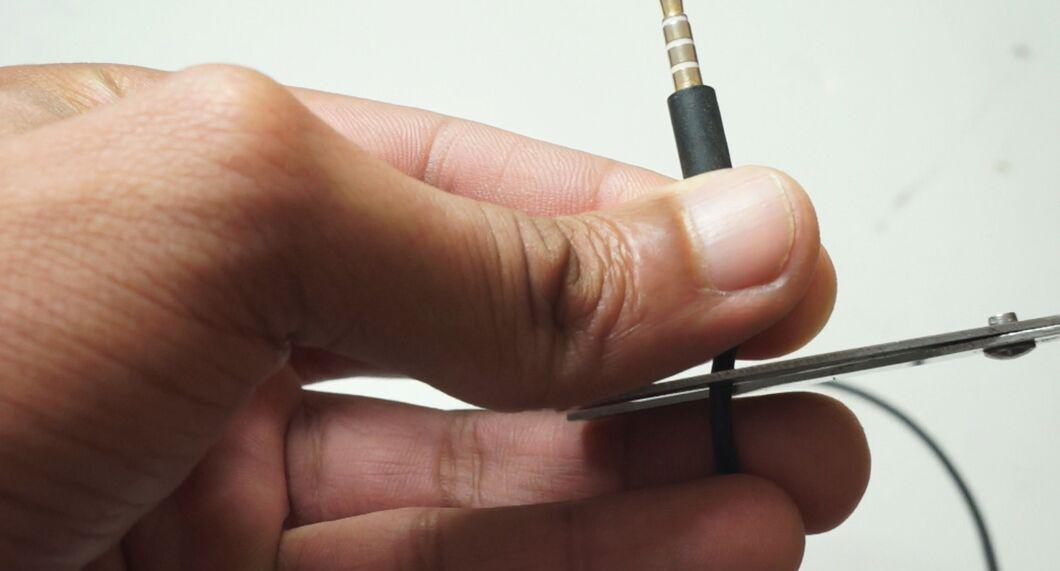
Cut off the old plug using a knife or scissors about 1 cm above the point of connection with the cable.
- Some cables have removable plugs, but most plug issues arise from a frayed wire inside.
Step 3. Strip 3 cm of insulation from the end of the cable.
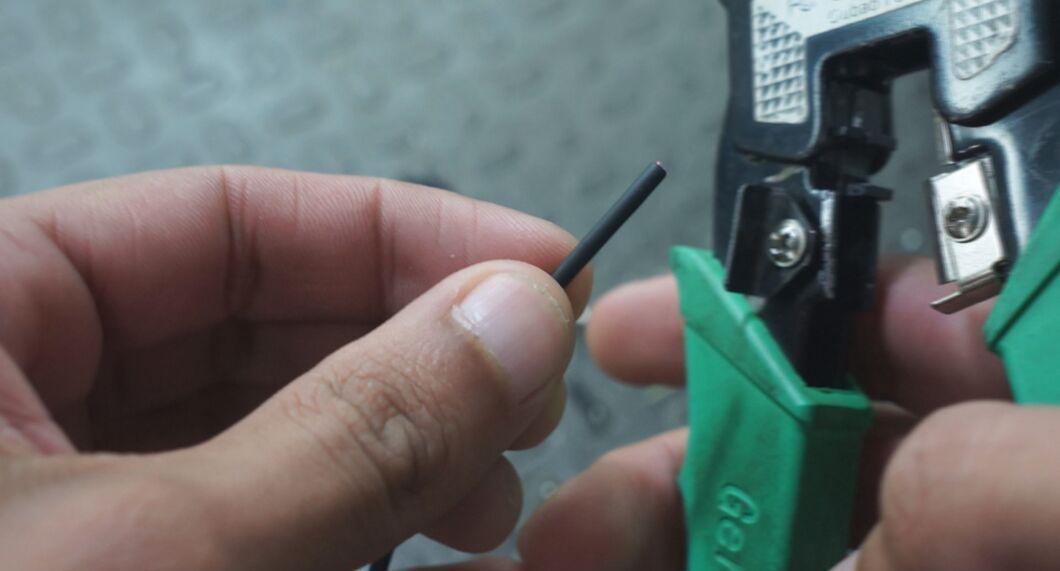
Strip 3 cm of insulation from the end of the cable using a wire stripping tool. You’ll see wires for the right and left headphones, as well as one or more ground wires.
- If you have two ground wires, they will need to be soldered together.
Step 4. Separate the wires by color.
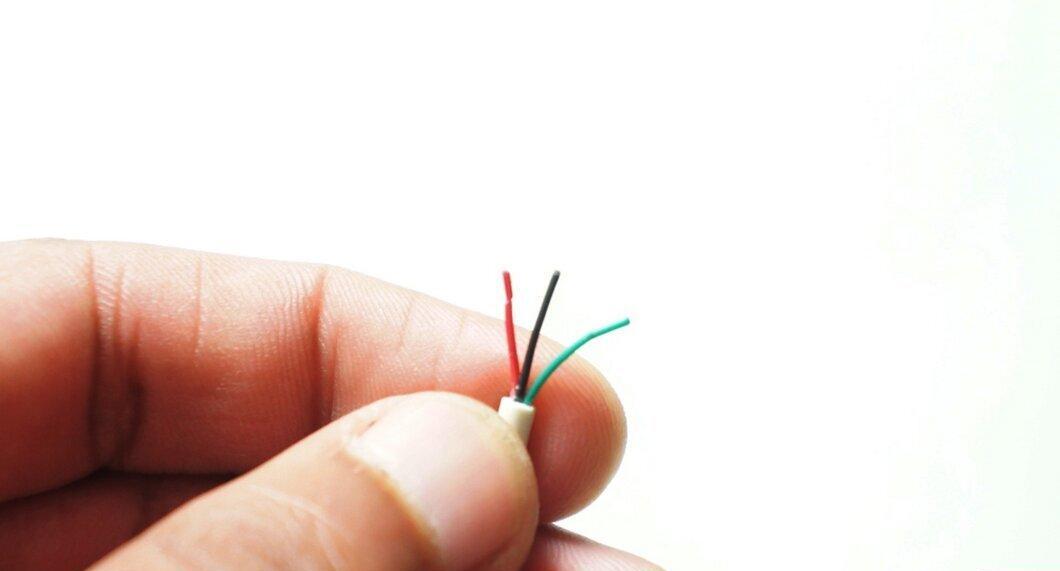
Typically, the red wire corresponds to the right headphone, the white (or green) wire corresponds to the left, and the black or bare copper wires correspond to ground.
Step 5. Strip 1 cm of insulation from the ends of the wires.
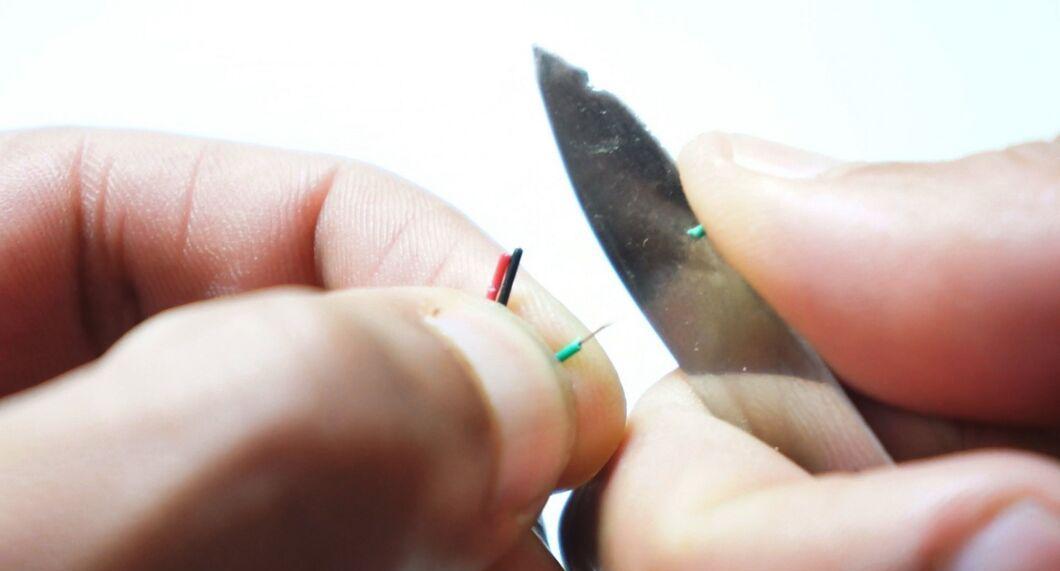
- If the wires are covered with enamel, skip this step.
Step 6. Twist the wires of the same color together.
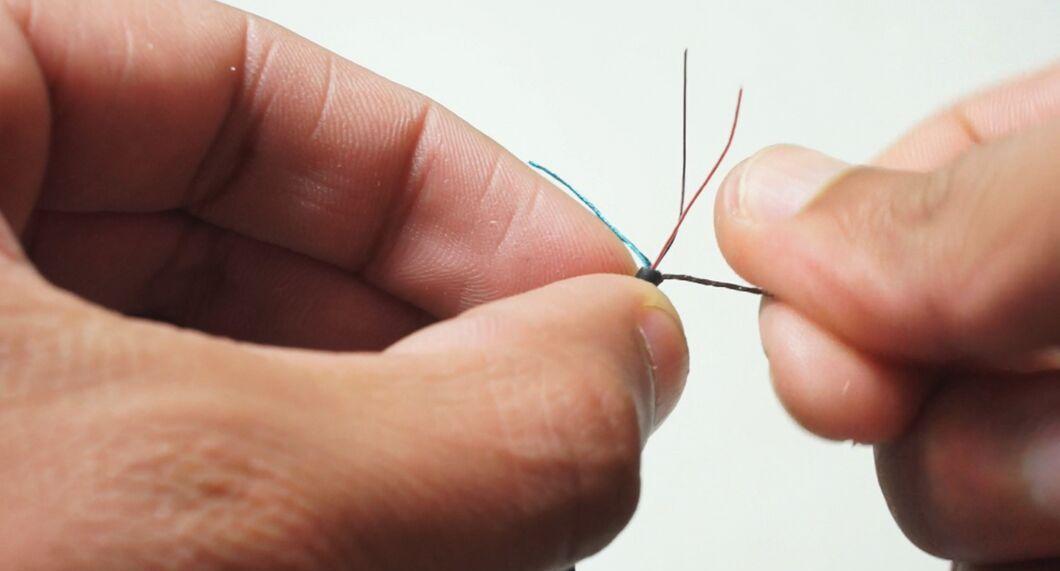
Twist the exposed ends of the wires of the same color together. If you have two ground wires, connect them.
- Ensure that you are twisting the exposed ends of the frayed wires.
Step 7. Remove enamel from the ends of the wires.
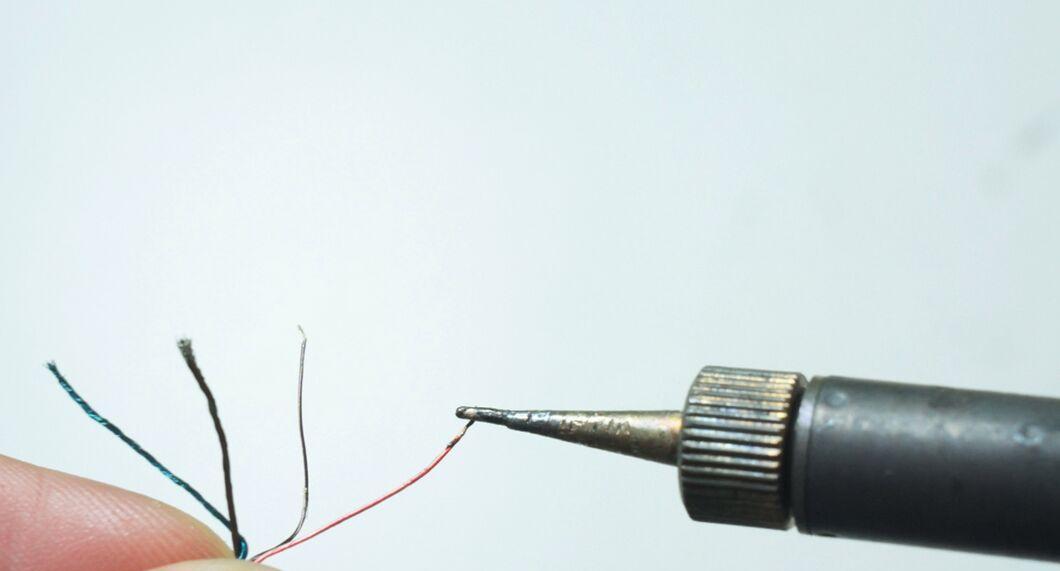
If the wires are coated with enamel, burn it off by touching the soldering iron to the ends of the wires.
- If bare copper is visible at the ends, you can skip this step.
Step 8. Slide on the casing of the new plug.
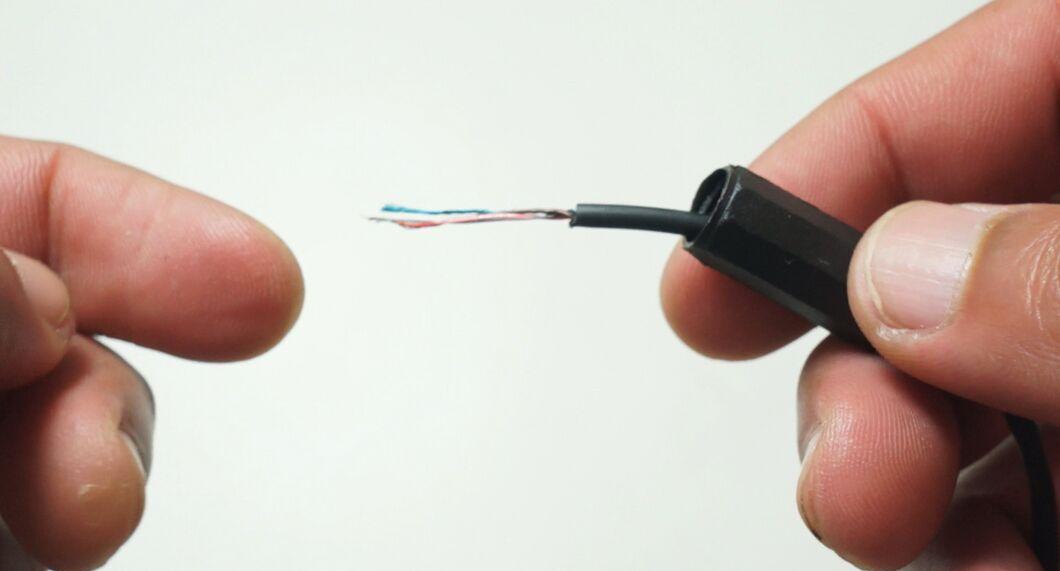
Slide the casing of the new plug onto the cable, ensuring that the threading inside is oriented towards the exposed wires. (Note that the metal plug consists of the casing and the plug itself.)
- If there’s only one contact at the end of the plug, it’s a mono plug, not a stereo one.
Step 9. Apply a bit of solder to the exposed ends of the wires.
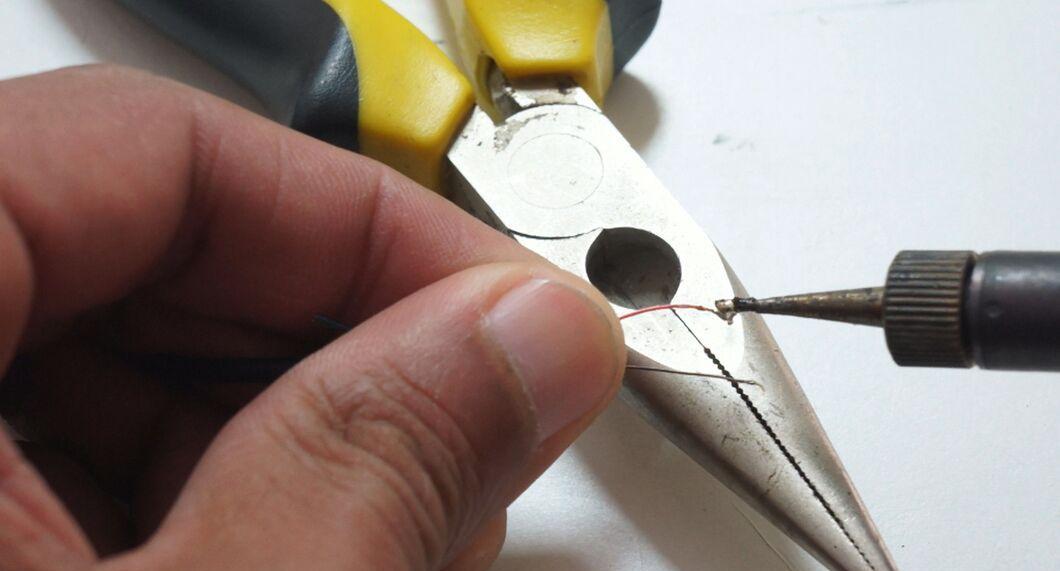
Apply a bit of solder to the exposed wires, known as "tinning." This is necessary for soldering the wires to the plug.
- Let the solder cool completely before proceeding.
Step 10. Solder the wires to the plug.
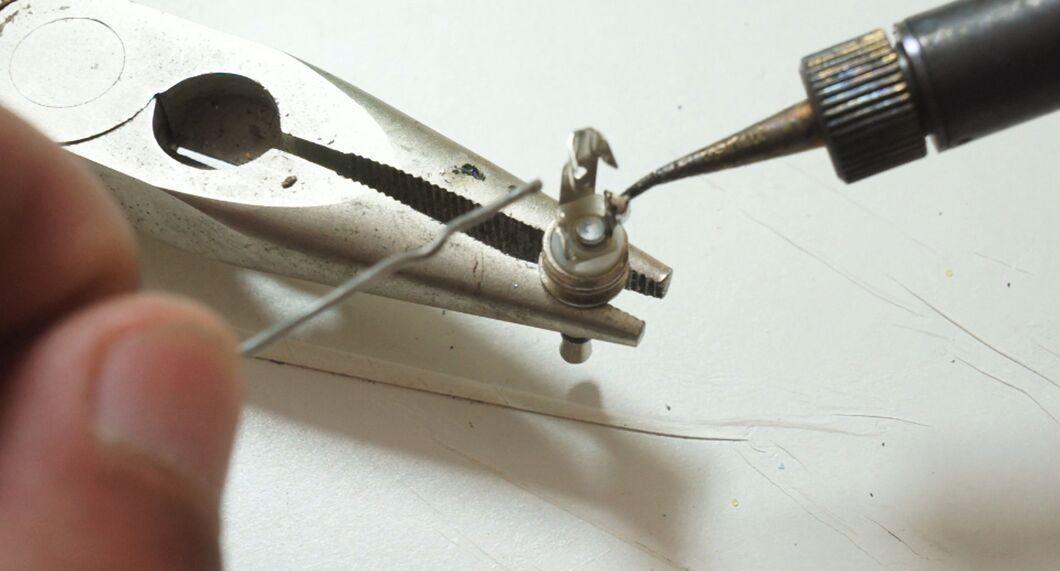
Solder the wires to the contacts of the plug. First, sand the contact to facilitate soldering. Then apply solder to the contact and touch the wire with the soldering iron to melt it. Repeat this process for the remaining wires.
Step 11. Assemble the metal plug.
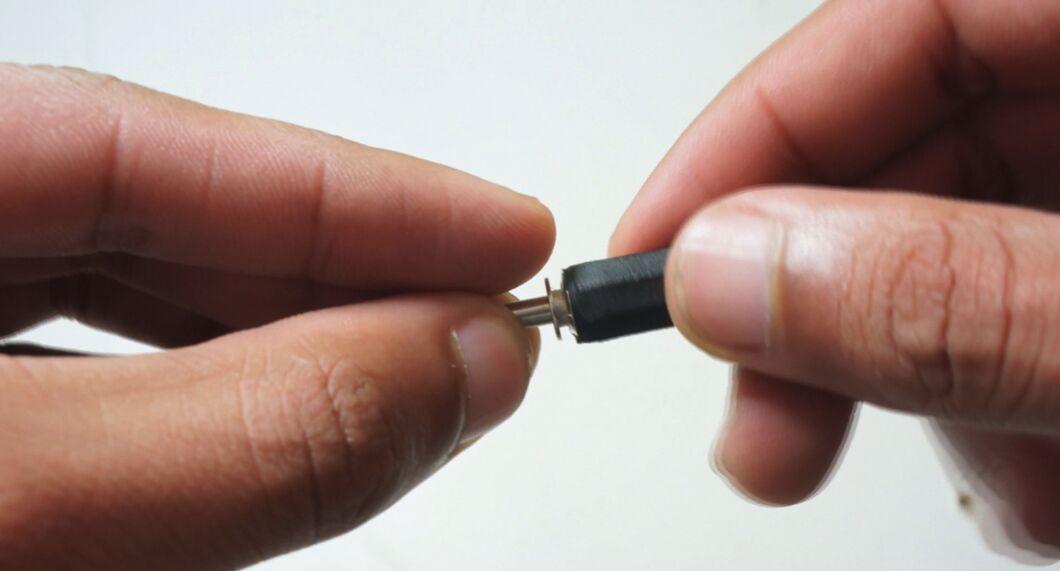
Assemble the plug by inserting it into the casing and tightening it securely. Now you can test the headphones for functionality.
- If they don't work, the wires may be touching. In this case, unscrew the plug and separate the wires.
Headphone Repair
Step 1. Remember:
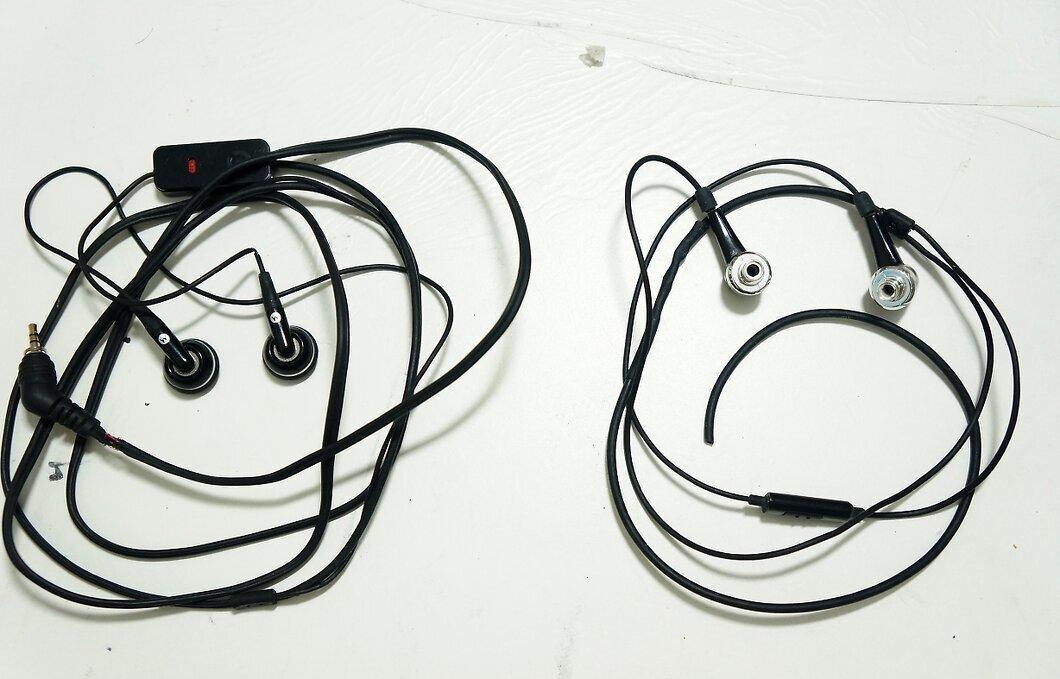
Note: this method may not work. Fixing internal headphone issues is more complicated than problems with the cable or plug. If you lack experience, it's better to take the headphones to a service center.
Step 2. Disassemble the headphone.
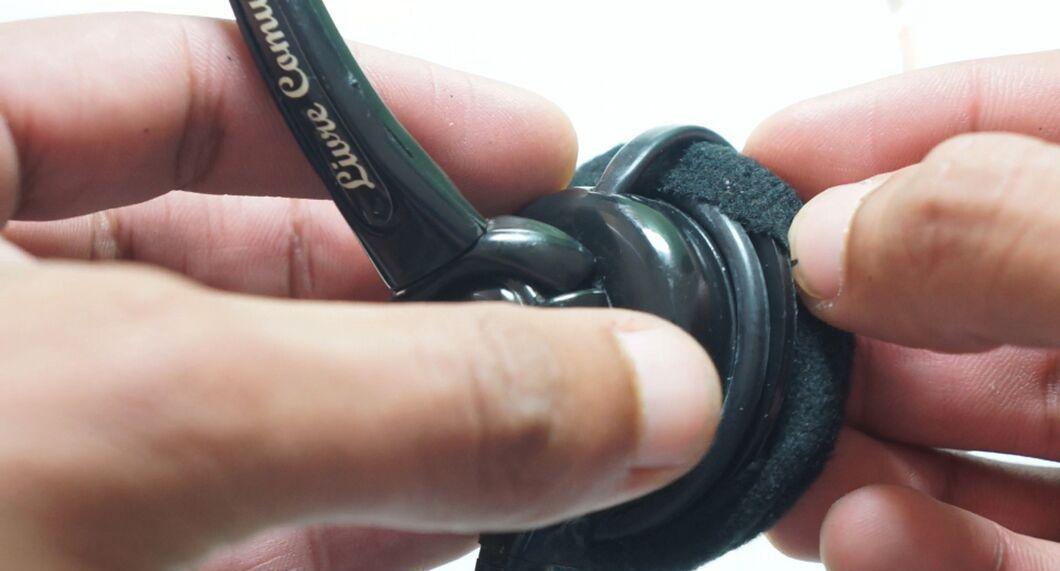
This process depends on the model of the headphones. Look for instructions online or try the following:
- Find screws on the headphone casing and use a small Phillips screwdriver.
- Carefully remove the ear pad if possible and check for screws underneath.
- Insert a flat tool into the gap in the casing and gently open the headphone. Be careful not to damage it.
- Usually, headphones stop working due to wire issues.
Step 3. Locate the detached wire.
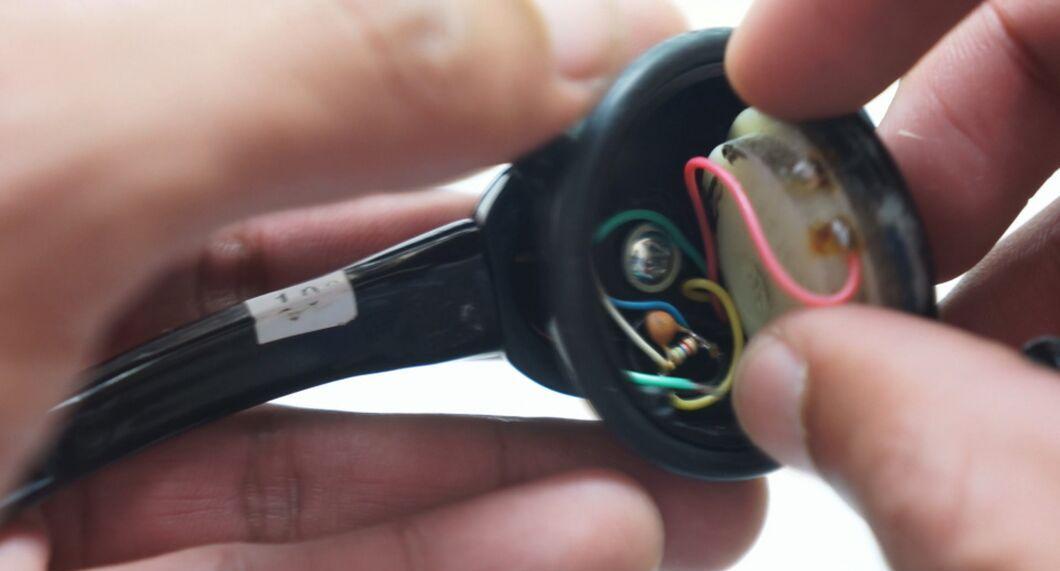
If you find a detached wire, the task becomes easier, as it just needs to be soldered back in place. Locate the corresponding contacts and solder it.
- If multiple wires have detached, refer to the headphone instructions to solder them back correctly.
- Ensure that the wires are not touching each other.
Step 4. Replace the speaker.
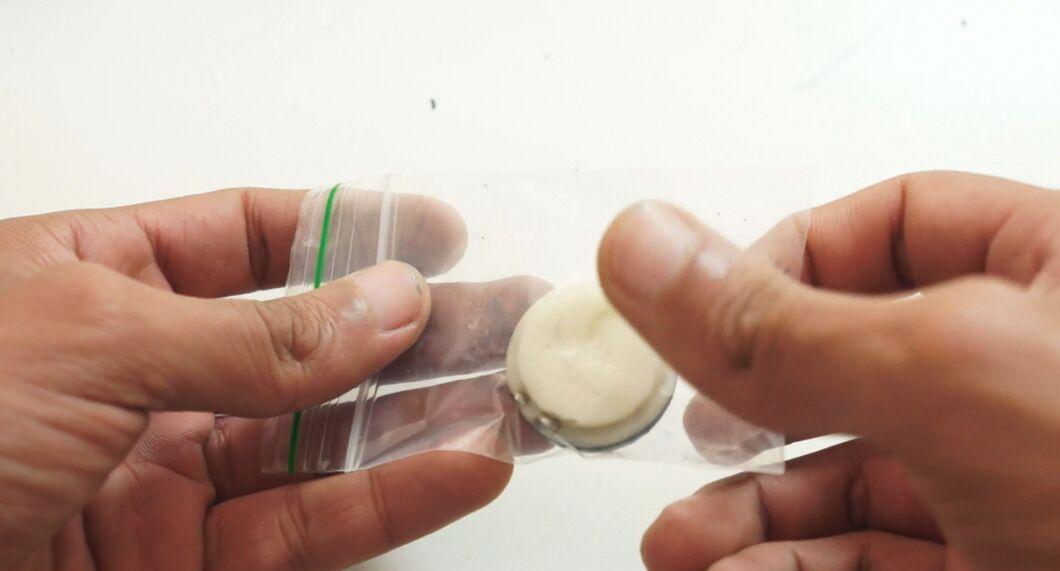
If you need to replace the speaker, you can find one in online stores, though the price may be high. If you decide to replace it yourself, be cautious:
- Carefully cut the rubber seal around the speaker.
- Remove the old speaker and insert the new one in its place. Avoid touching the thin diaphragm!
- Secure the speaker in place using glue.


