
This article will provide you with a step-by-step guide on how to convert protected M4P files into unprotected MP3 files using iTunes on your computer. Protected audio files can only be played in iTunes, while MP3 files are supported by virtually all devices. If you purchased an M4P file through iTunes, you can remove it and redownload the unprotected version through the paid service iTunes Match. Another option is to convert the files by burning them to a CD and then copying them back to your computer in MP3 format.
Conversion via iTunes Match
Step 1. Subscribe to iTunes Match.
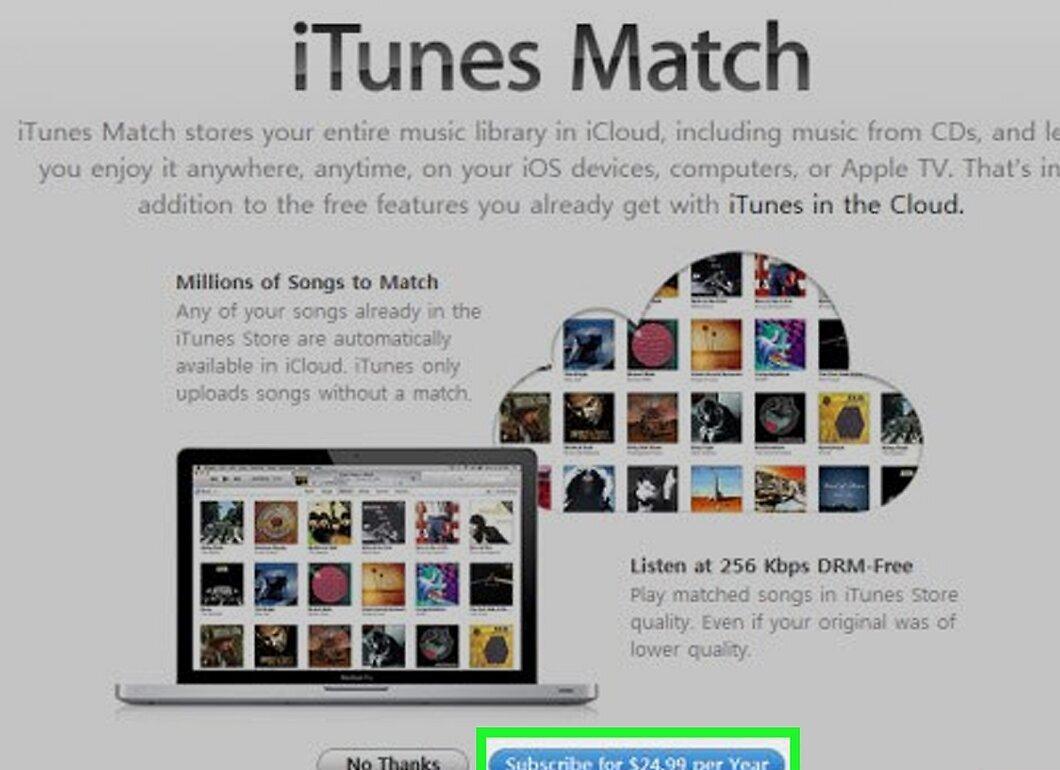
Subscribe to iTunes Match. This service keeps all your purchased songs in iCloud and allows you to redownload them. If your audio files were protected, redownloading them will automatically convert them to unprotected versions. To subscribe to iTunes Match:
- Open iTunes;
- Go to the "Store" tab;
- Click on "iTunes Match" (in the upper right corner);
- Press the blue "Subscribe" button;
- Enter your Apple ID information;
- Provide payment details (if required); the annual subscription for iTunes Match costs $24.99 (approximately 1500 rubles);
- Click "Subscribe."
Step 2. Launch iTunes.
Open iTunes. The app icon looks like a colorful musical note on a white background.
- If you already opened iTunes to subscribe, you can skip this step.
- If prompted to update iTunes, just click "Update," agree to the update, and then restart your computer.
Step 3. Sign in to your iTunes account.
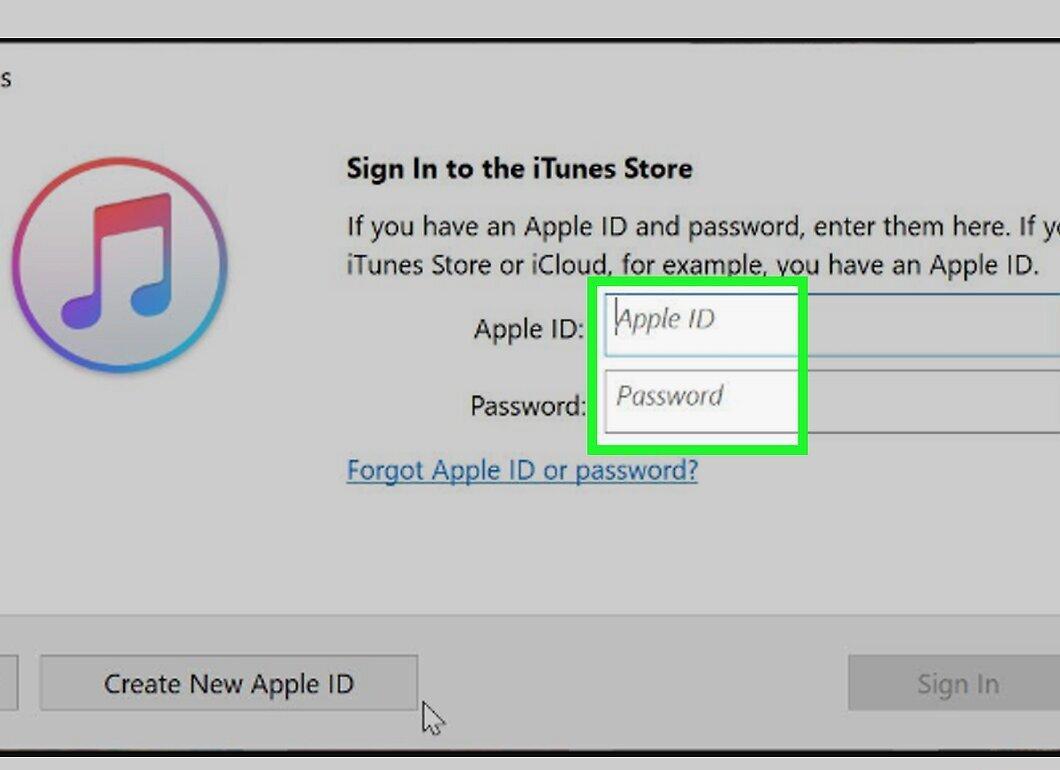
Log into your iTunes account. Open the "Account" menu in the upper left corner, select "Sign In," and enter your email address and Apple ID password.
- If you see your name in the menu, proceed to the next step.
- If someone else's name is displayed, first click "Sign Out," then reopen the "Account" menu and enter your details.
Step 4. Find the music you want to convert.
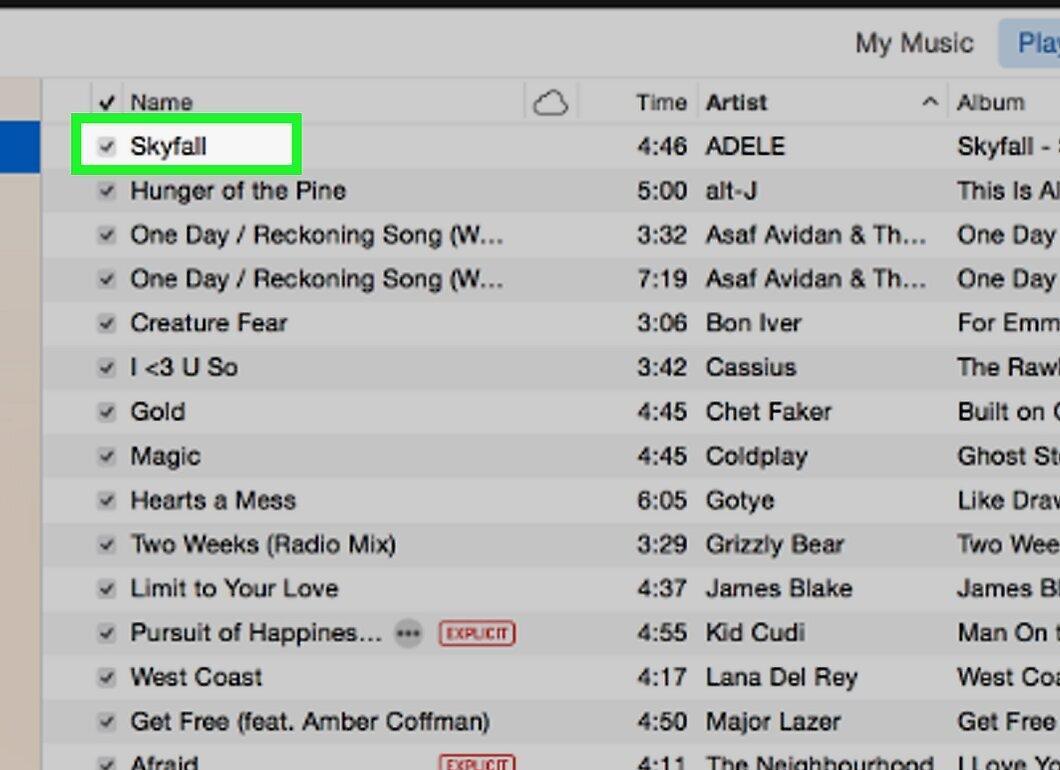
Locate the tracks you want to convert. This could be a single song or an entire album.
- Ensure that the selected songs were purchased from the Apple Store, as protected files from other sources cannot be converted.
Step 5. Remove unwanted tracks.
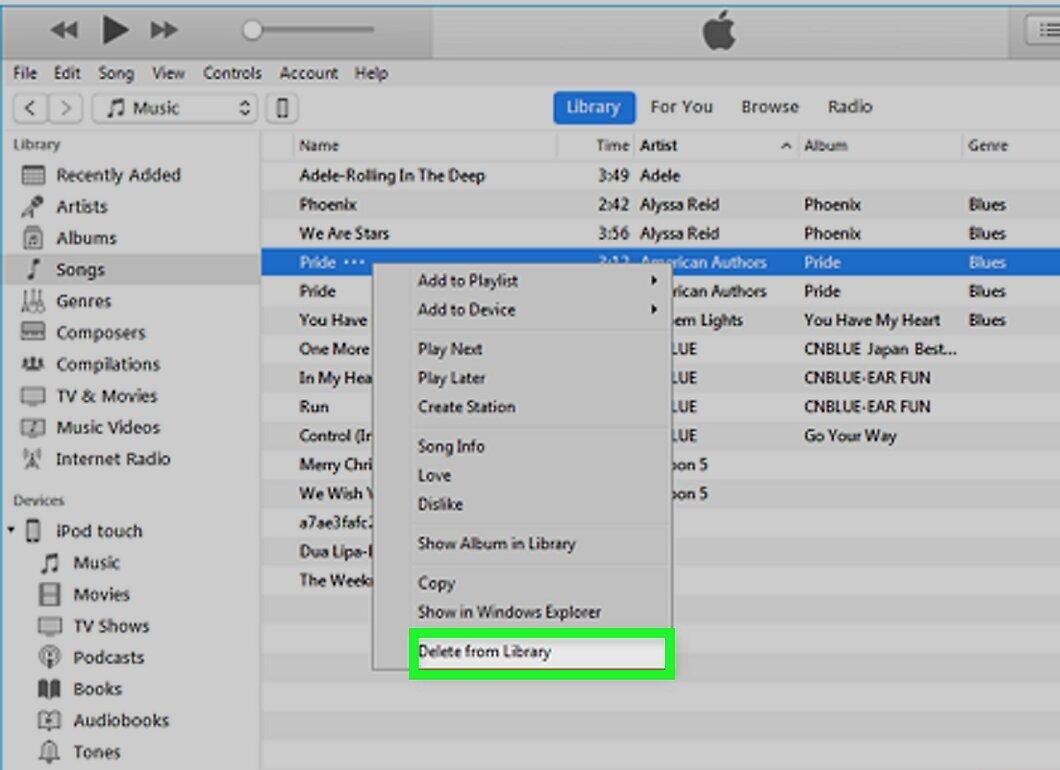
Delete the selected tracks. Highlight them and press Del (Windows) or choose "File" > "Remove from Library" (Mac). You may need to confirm the deletion.
- If the protected file is on your computer, you may be prompted to keep it or delete it. It is advisable to delete the file to avoid confusion.
Step 6. Go to the Store section.
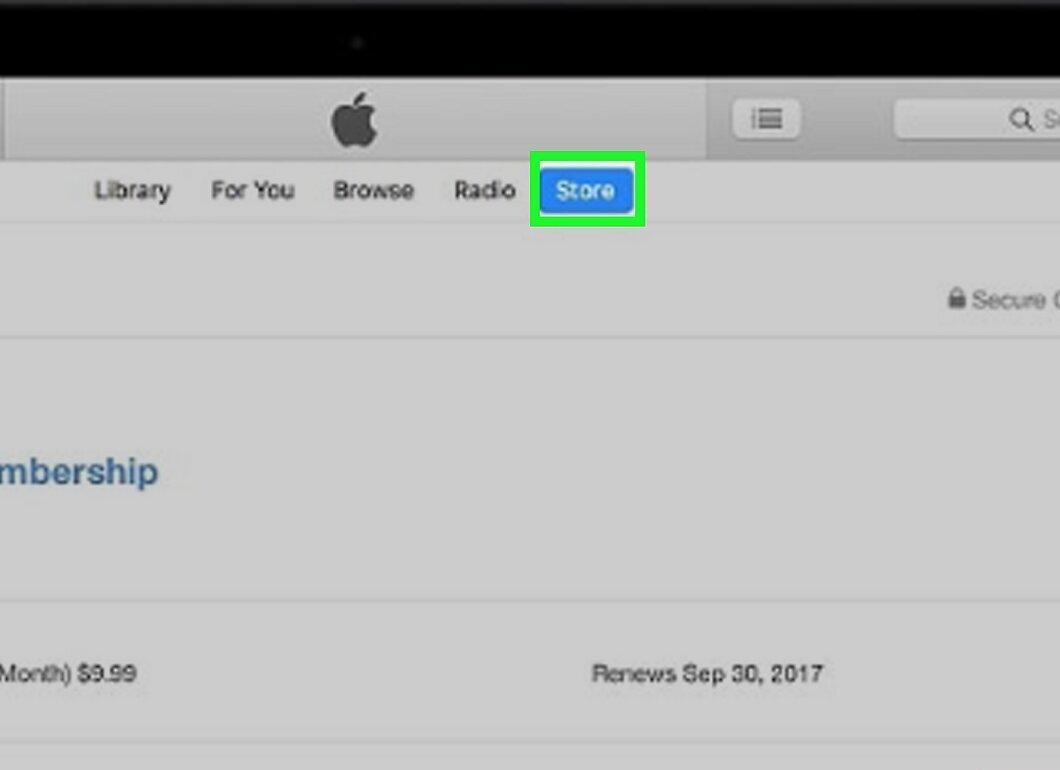
Navigate to the Store section (Windows) or iTunes Store (Mac). This is a tab at the top of the iTunes window. The store page will open.
- If the store does not load, check your internet connection.
Step 7. Click on Purchases.
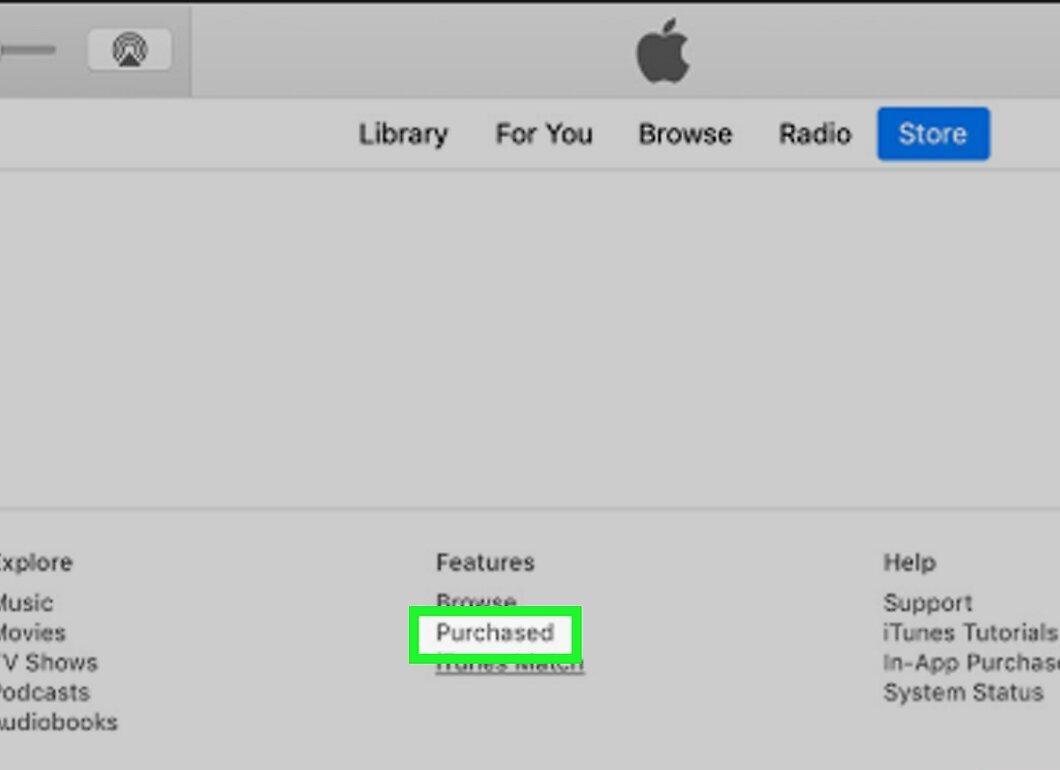
Click the Purchases link located in the lower right corner of the iTunes window.
Step 8. Click on Not in My Library.
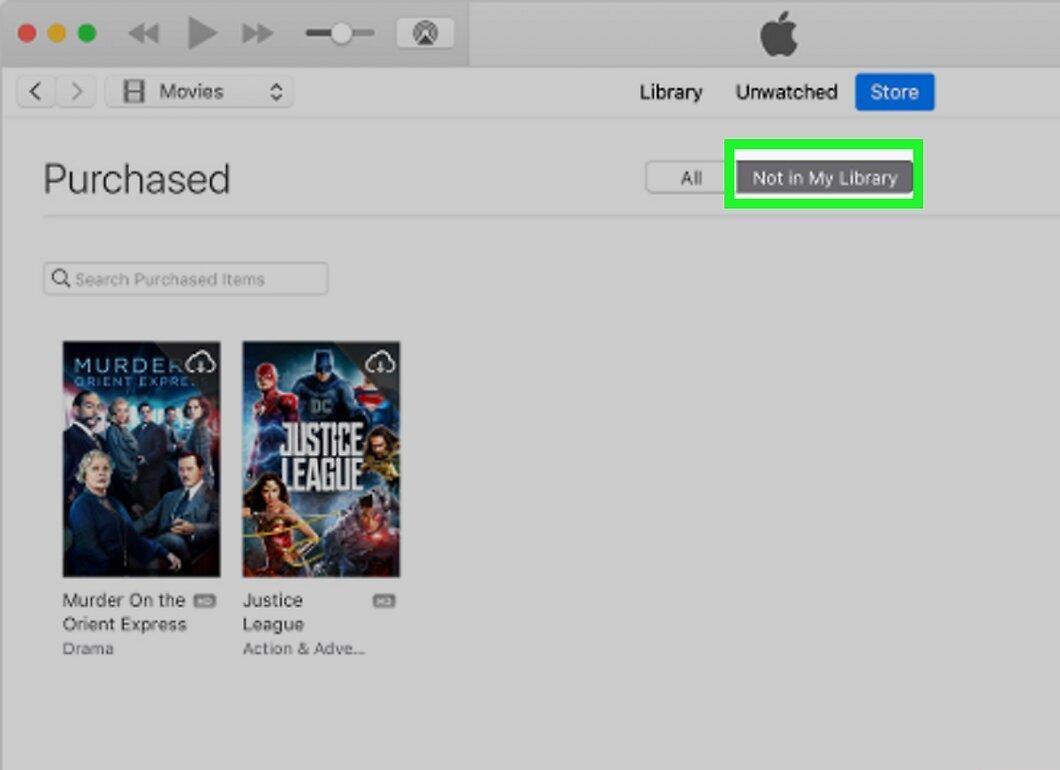
Click on Not in My Library. This is a tab at the top of the iTunes window where your purchased songs that are not in your library are displayed.
Step 9. Find the desired tracks.
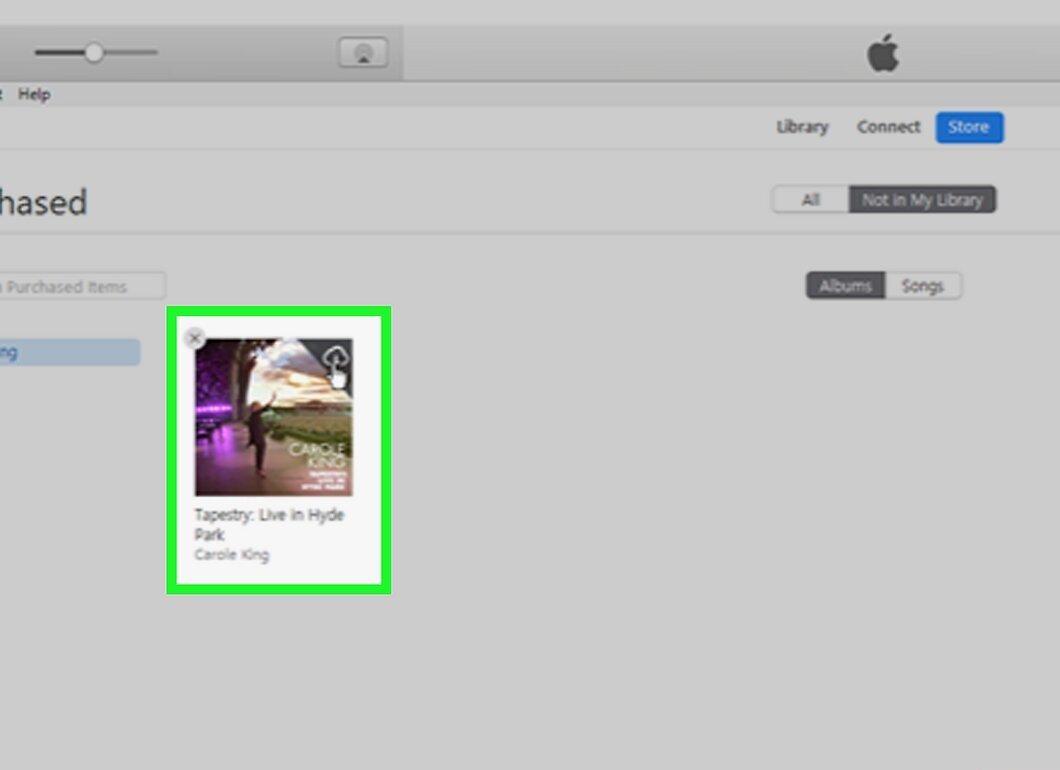
Search for the music you need. Locate the song or album you previously deleted.
Step 10. Click on the Download icon.
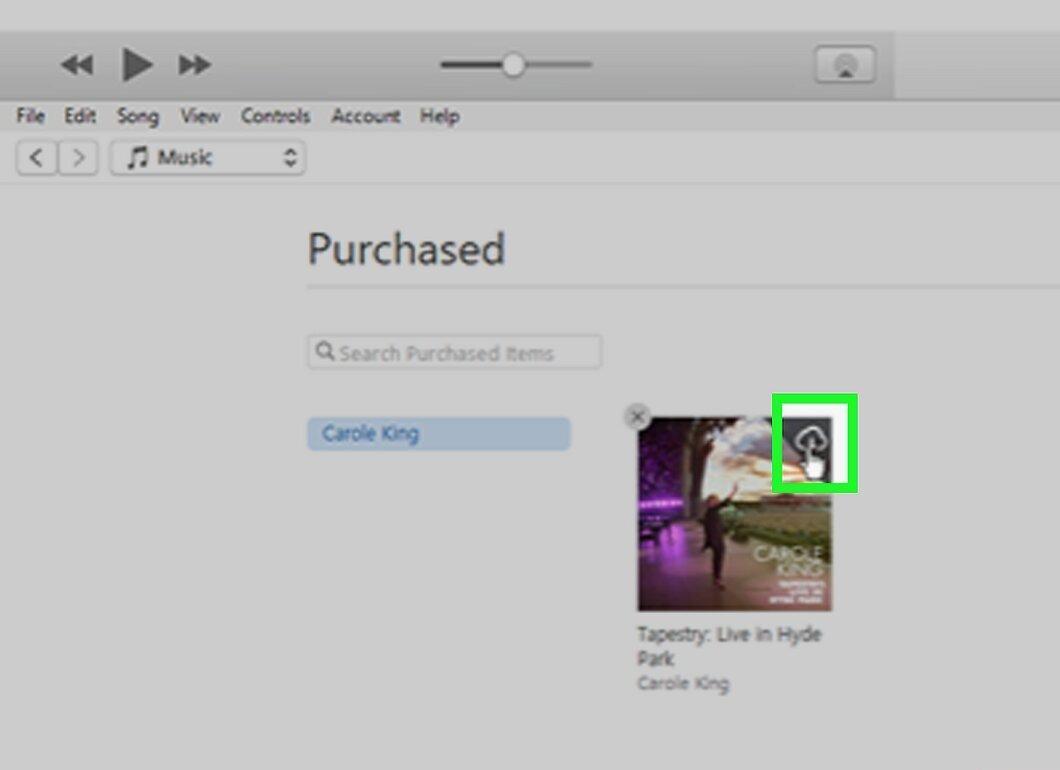
Click on the Download icon (cloud). This icon is located next to the track or album. By clicking it, an unprotected version of the audio file will download to your computer.
- The downloaded audio file will be in M4A format, which is supported by iTunes. If you plan to play it only in iTunes, converting to MP3 is not necessary.
Step 11. Convert the downloaded file to MP3.
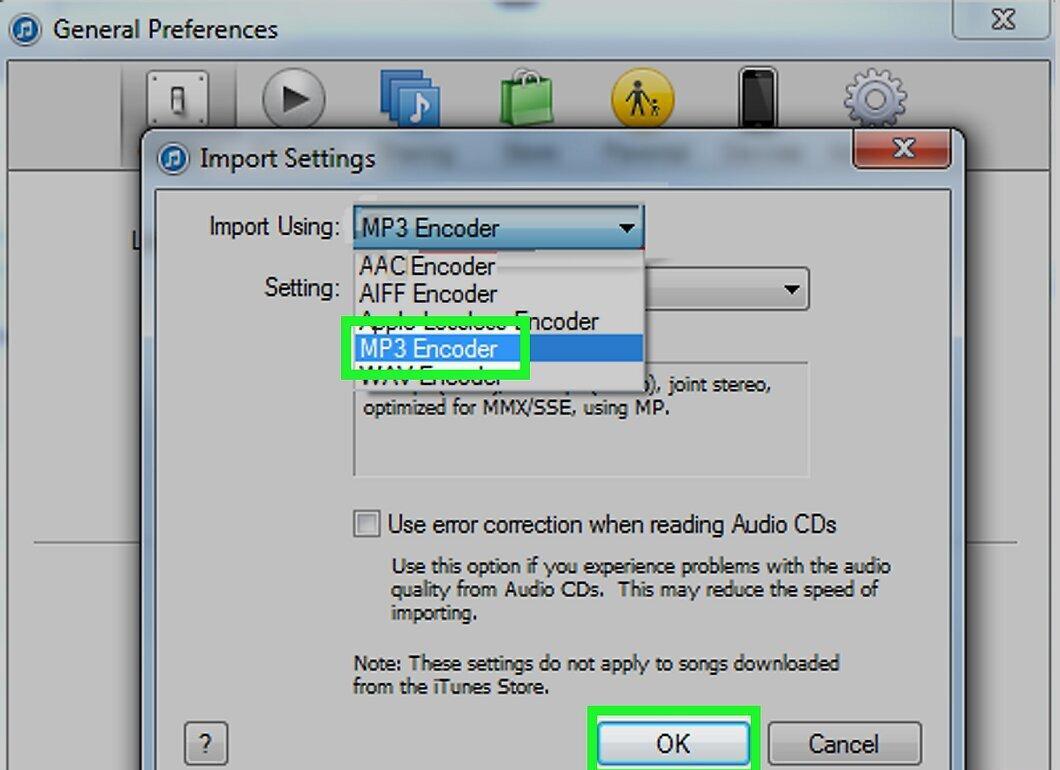
Convert the downloaded file to MP3 format. Select the downloaded song, open the "File" menu, choose "Convert," and then click "Create MP3 Version." If the "Create MP3 Version" option is missing, follow these steps:
- Open the "Edit" menu (for Windows) or "iTunes" menu (for Mac);
- Select "Preferences";
- Click on "Import Settings" (found under the "General" tab);
- In the "Import Using" dropdown, select "MP3";
- Click "OK" twice.
Step 12. Locate the folder with the converted files.
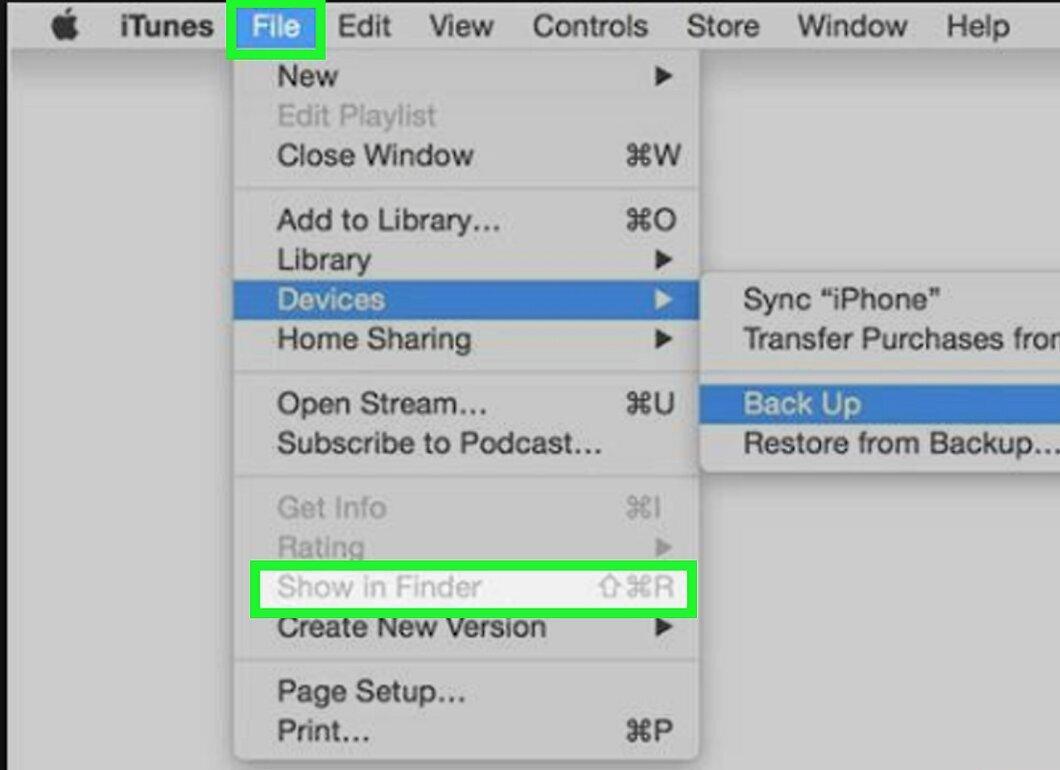
Find the folder with the converted audio files. Click on the song or album and select "File" > "Show in Explorer" (Windows) or "File" > "Show in Finder" (Mac).
- This way, you will find the folder containing the converted music files.
Converting from a CD
Step 1. Understand how this method works.
Understand how this method works. If your audio files are protected and you do not want to use iTunes Match, burn them to a CD and then copy them back to your computer in MP3 format. This method may not always be successful and could result in a slight loss of quality.
Step 2. Get a blank CD-RW disk.
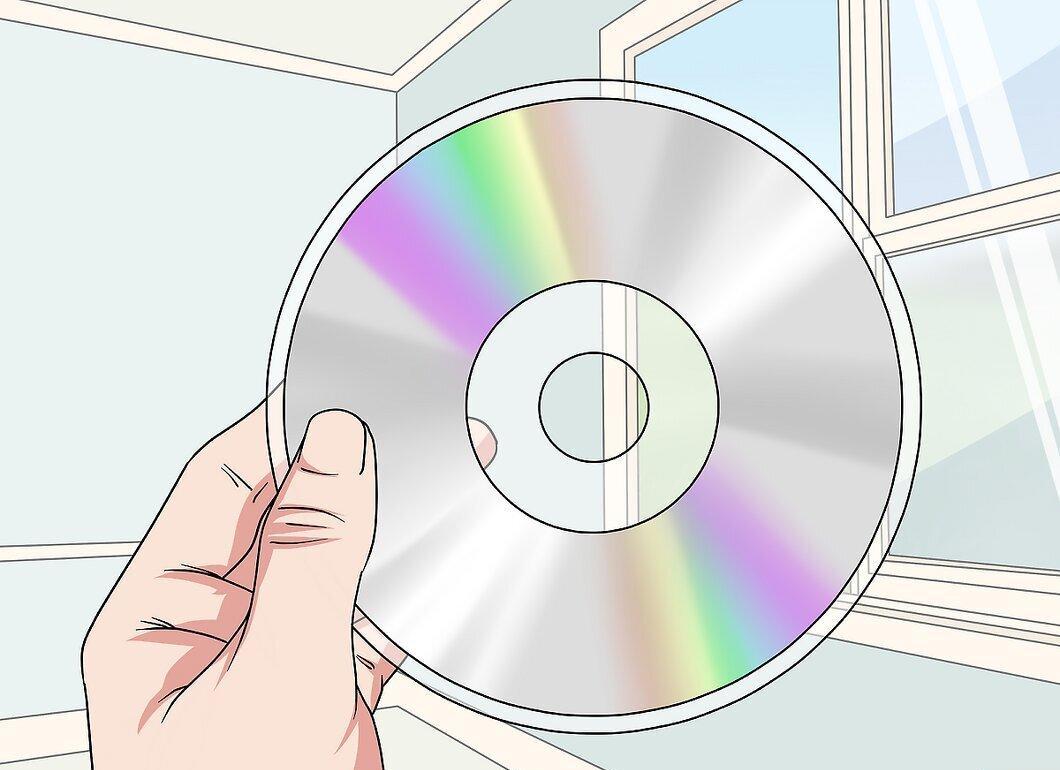
Grab a blank CD-RW disk. This is a rewritable disk that can be used multiple times. It's ideal for converting a large number of protected audio files.
- You can also use a blank CD-R disk, but it can only be written once. If you plan to convert many files, you will need multiple such disks.
Step 3. Insert the disk into the drive.
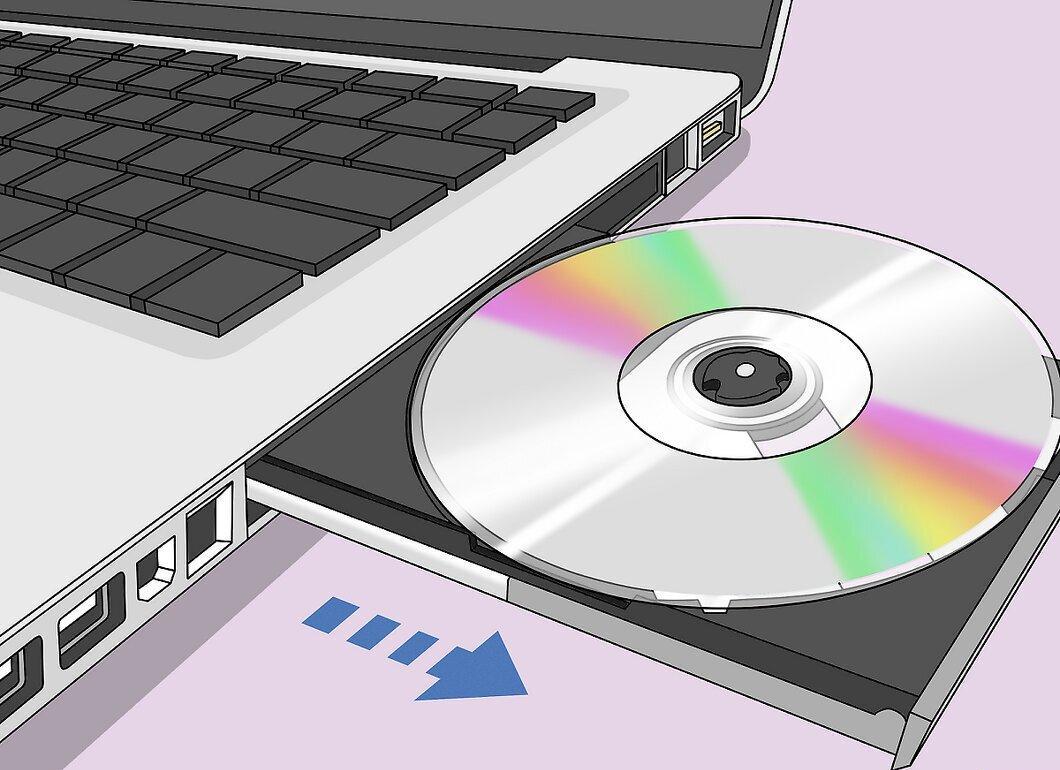
Insert the CD-RW into your computer's optical drive. If your DVD drive does not have a "DVD" marking, or if you do not have an optical drive, purchase an external DVD drive and connect it to your computer.
- Ensure the disk is clean.
- The external DVD drive connects via USB. If you have USB-C ports, make sure the drive is compatible with them as well.
Step 4. Launch iTunes.
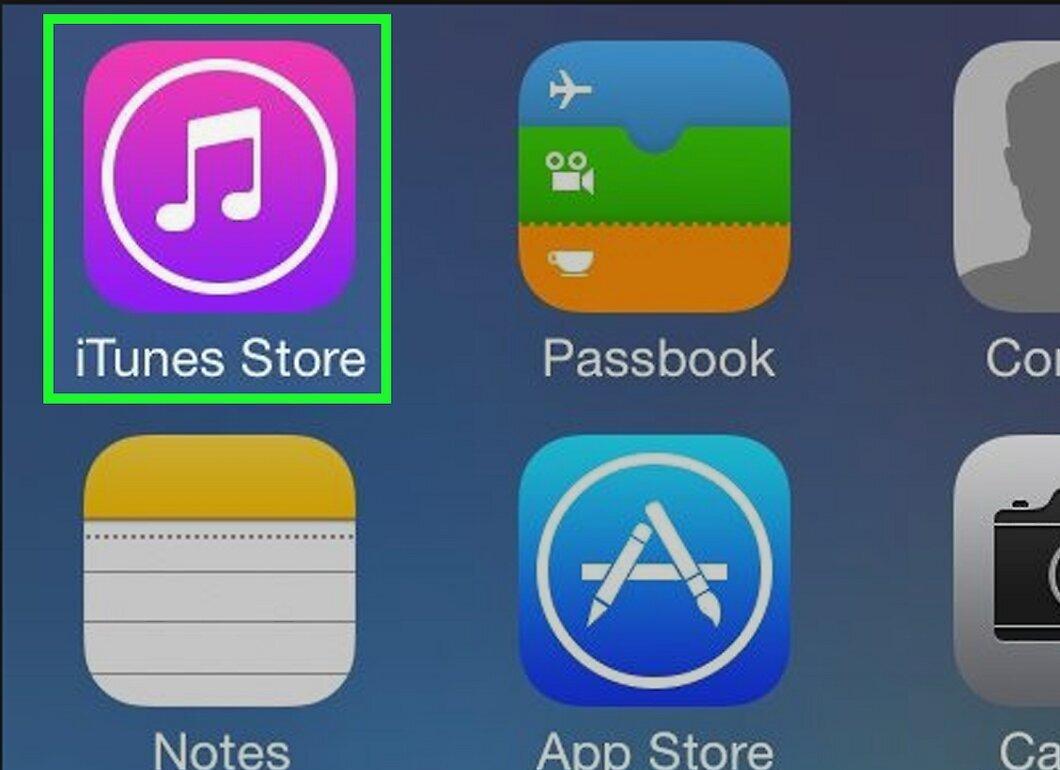
Open iTunes. The app icon is a colorful note on a white background.
- If prompted for an update, agree to it and restart your computer after it completes.
Step 5. Sort files by format.
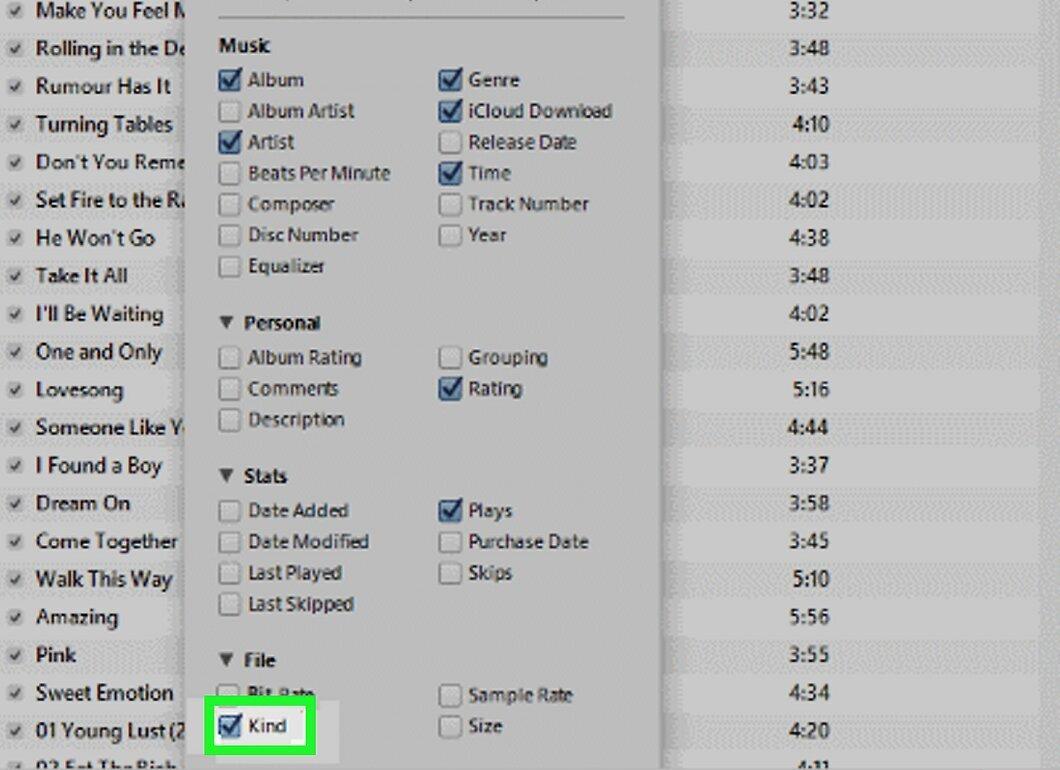
Sort the music files by format. Go to the "Type" column above the track list. If it is not displayed, right-click the header and select "Type."
Step 6. Find protected files.
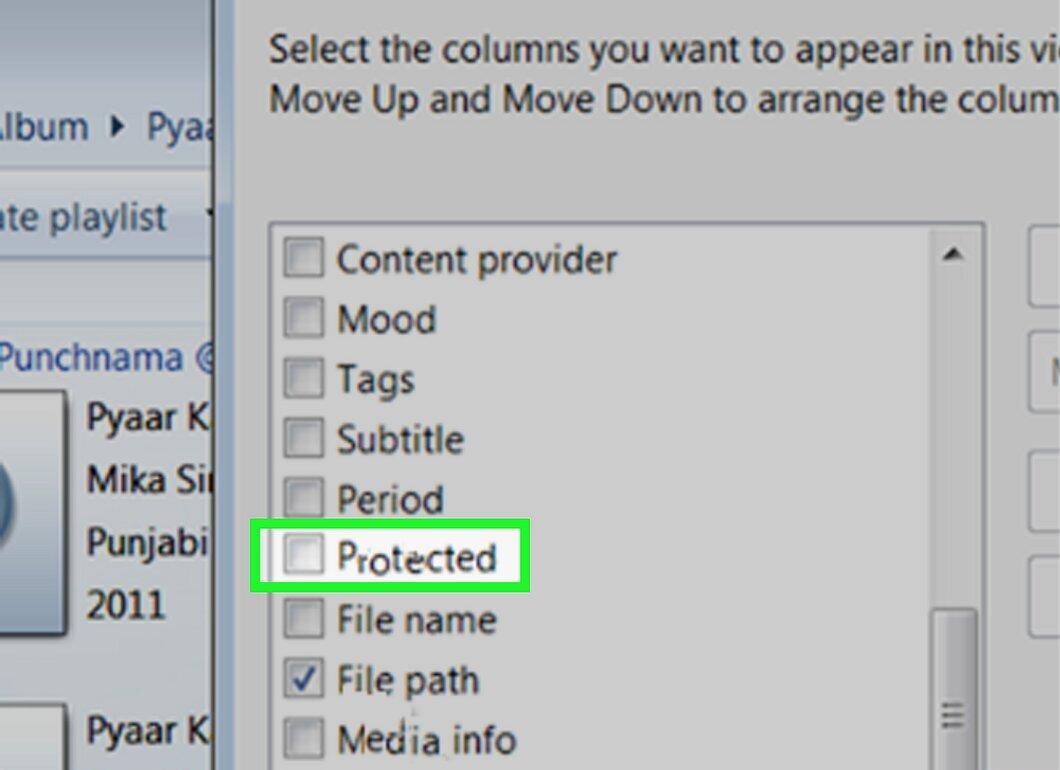
Look for protected files. In the "Type" column, search for files with the extension "M4P," which indicates protected tracks from iTunes.
Step 7. Select compositions with a total length of up to 80 minutes.
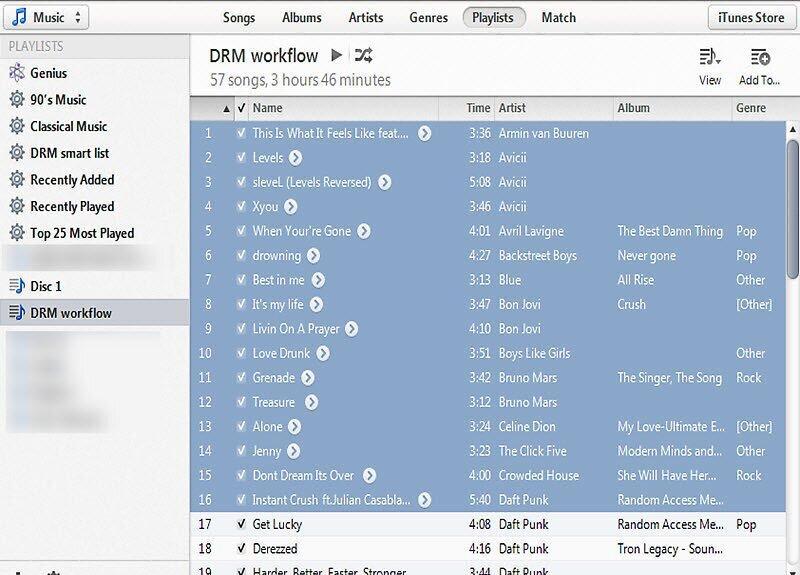
Select tracks with a total length of up to 80 minutes. Hold down the Ctrl key (or ⌘ Command on Mac OS X) and click on each song you want to convert.
- Most CD-RWs can hold about 80 minutes of music, but this is not a hard rule—some disks may hold more, and some less.
Step 8. Create a new playlist.
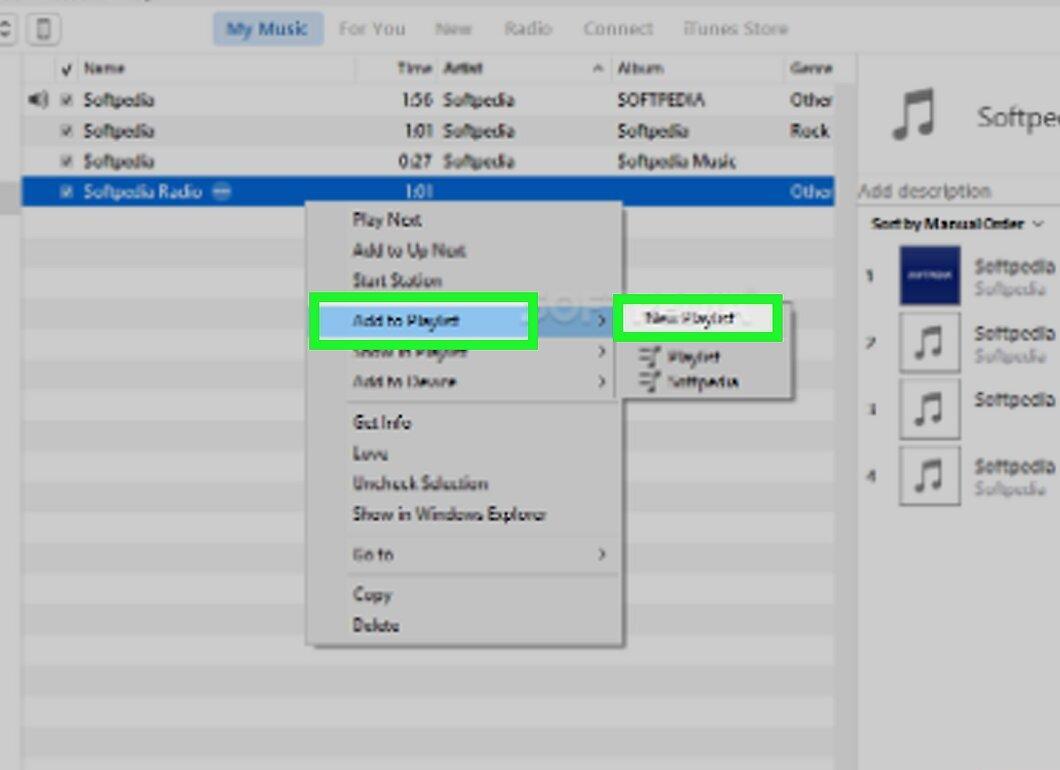
Create a new playlist. Right-click on the highlighted track, select "Add to Playlist," click "Create Playlist," and give it a name.
- To add songs to an existing playlist, simply drag them onto its name in the left panel of iTunes.
Step 9. Click on ⋯.
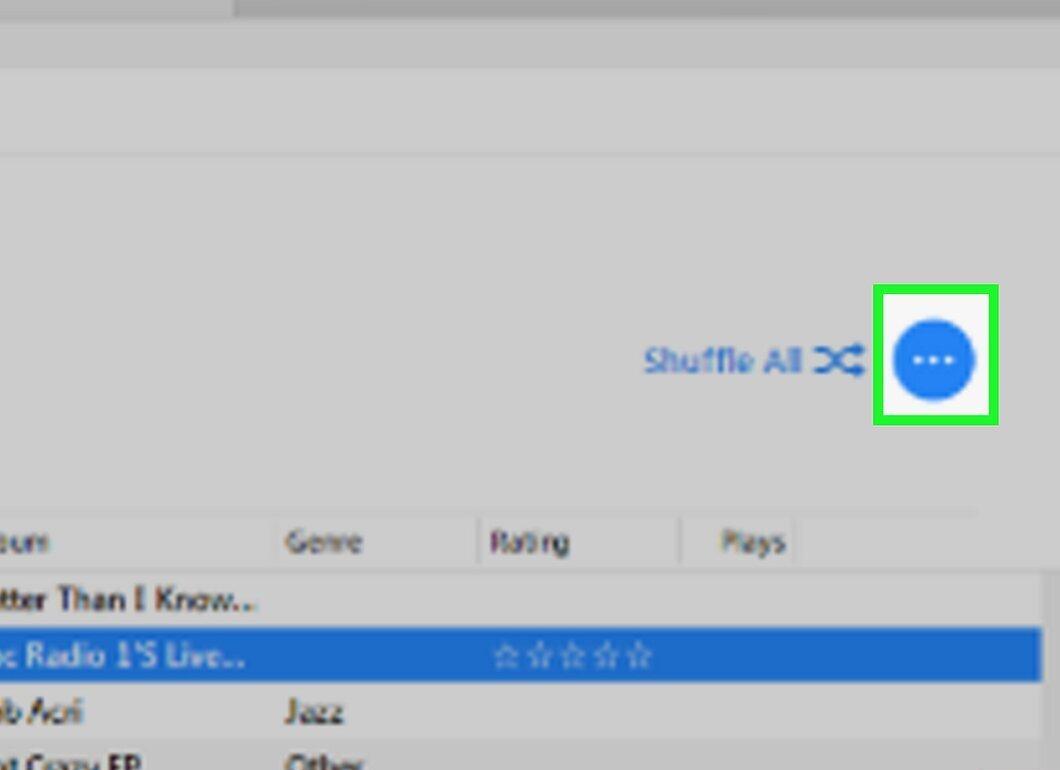
Click on ⋯ in the upper right corner of the playlist. A dropdown menu will appear.
- To open the playlist, first click on its name in the left panel of the iTunes window.
Step 10. Select Burn Playlist to Disk.
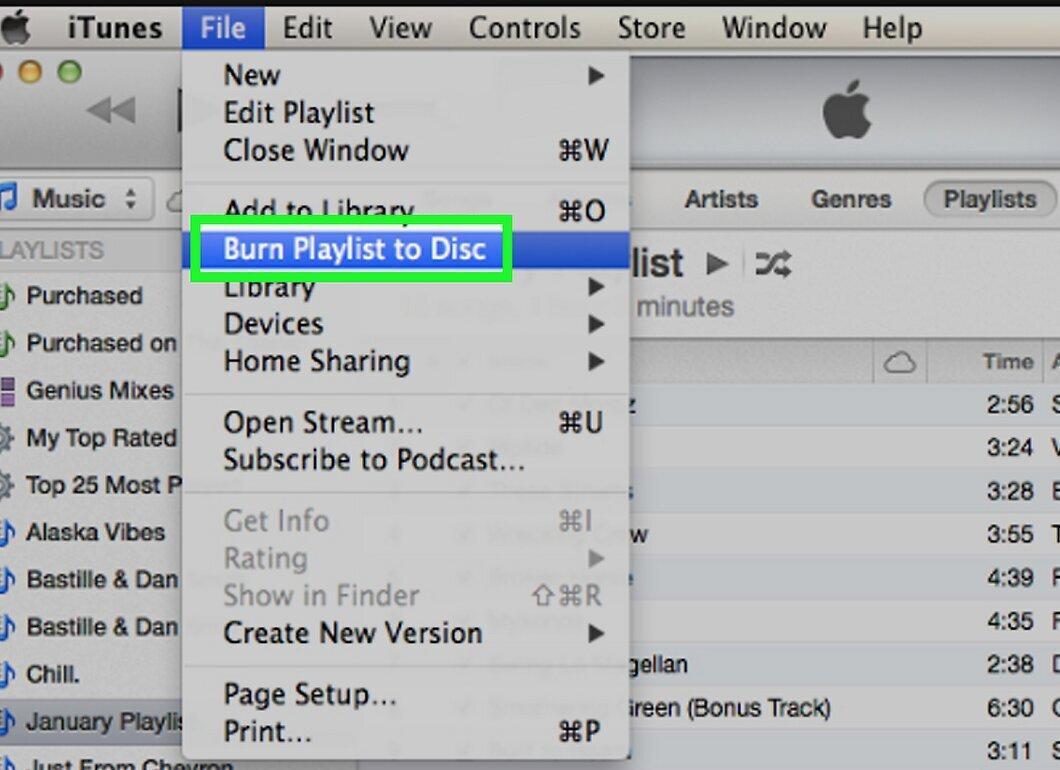
Choose the option Burn Playlist to Disk. This option will be in the dropdown menu, and a new window will pop up.
Step 11. Create a music disk with MP3 files.
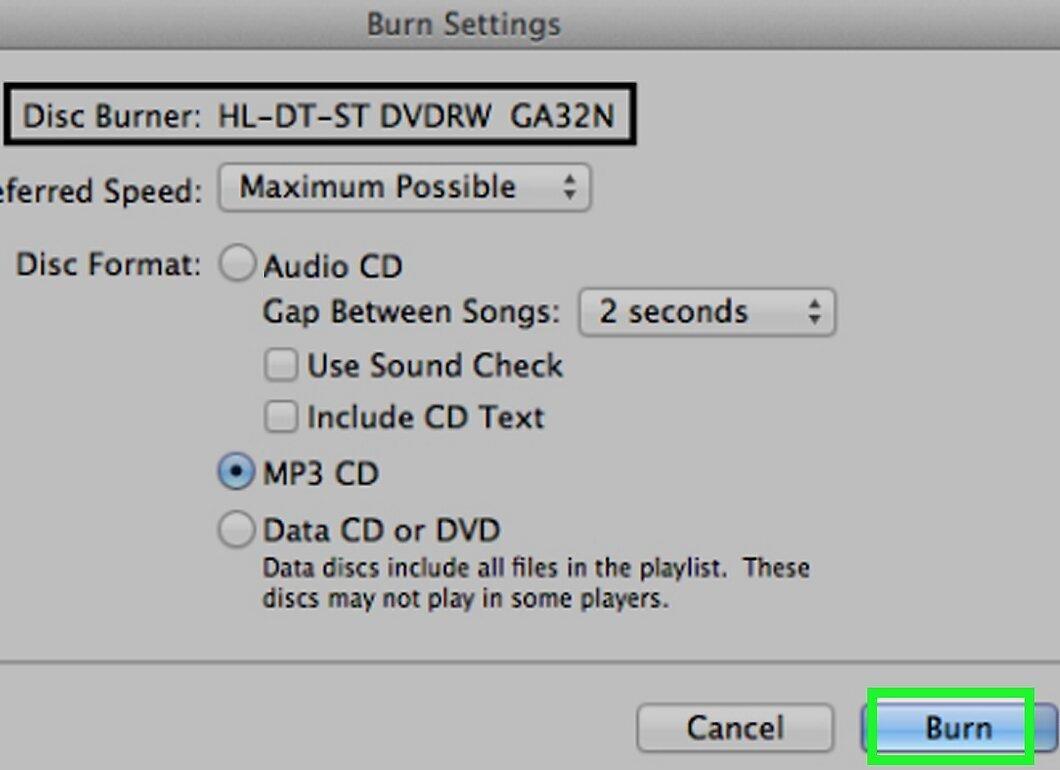
Create a disk with MP3 files. Check the box next to "MP3" and click "Burn" at the bottom of the window. The files will start burning to the disk.
- This will take about a minute.
Step 12. Copy MP3 files from the disk to your computer.
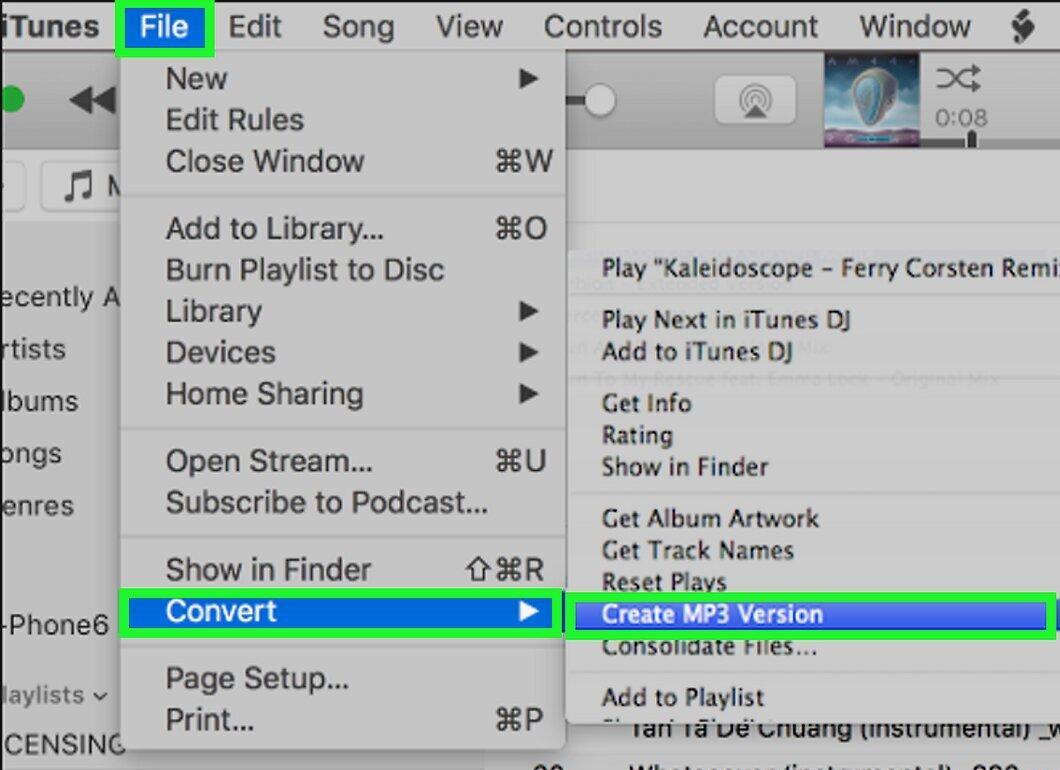
Copy the MP3 files from the CD to your computer. Open the disk in iTunes, select its contents, and drag the MP3 files onto your computer. To do this, select "File" > "Convert" > "Create MP3 Version."
- After copying the MP3 files, the protected versions can be deleted.
Step 13. Find the folder with the converted files.
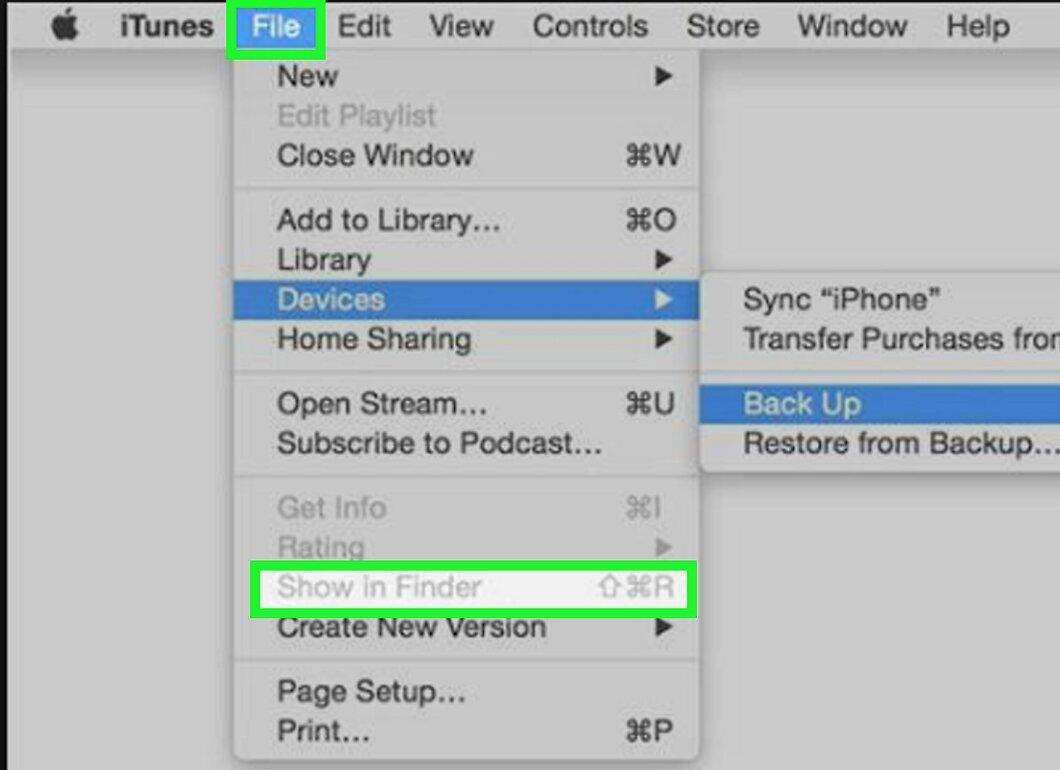
Locate the folder with the converted audio files. Click on the song or album, then select "File" > "Show in Explorer" (Windows) or "File" > "Show in Finder" (Mac).
- This way, you'll find the folder with all the converted music files.
Step 14. Format the CD for new compositions.
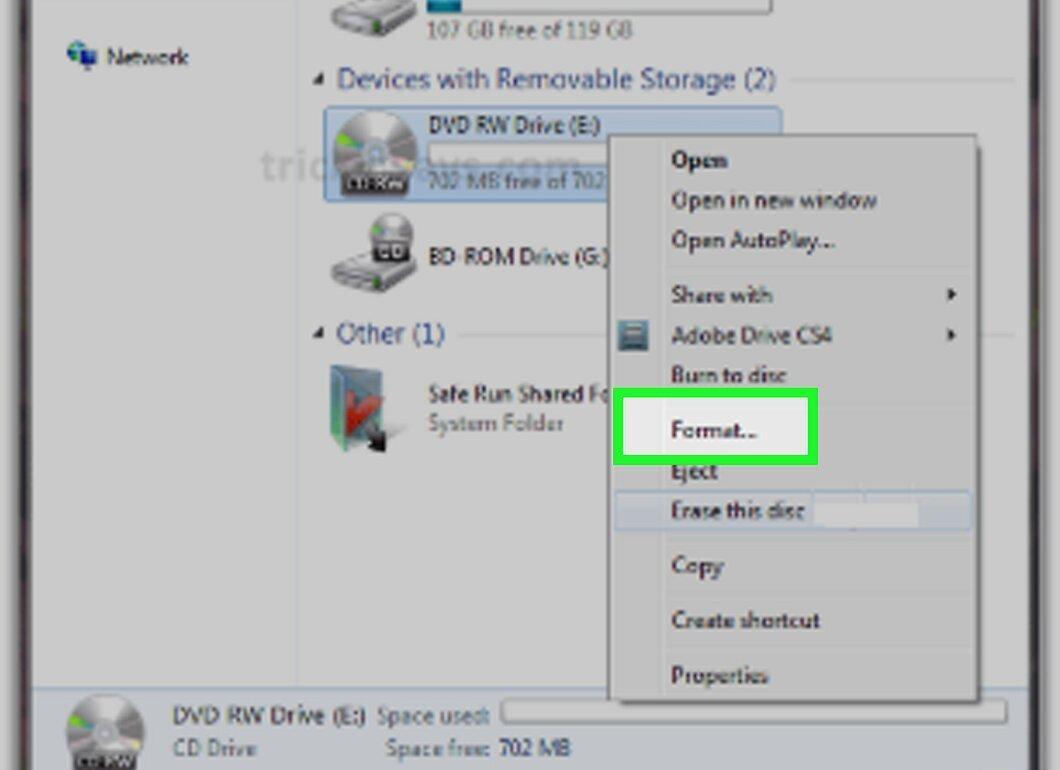
Format the disk for burning new compositions. This is necessary if you want to convert another 80 minutes of music. Most CD-RW disks can be formatted up to 1000 times before they become unusable.


