
In this article, we will share a step-by-step guide on how to transfer music from your iPod to your computer without the need for iTunes. You will need a special application available for both Windows and Mac OS X.
Windows
Step 1. Go to the PodTrans website.
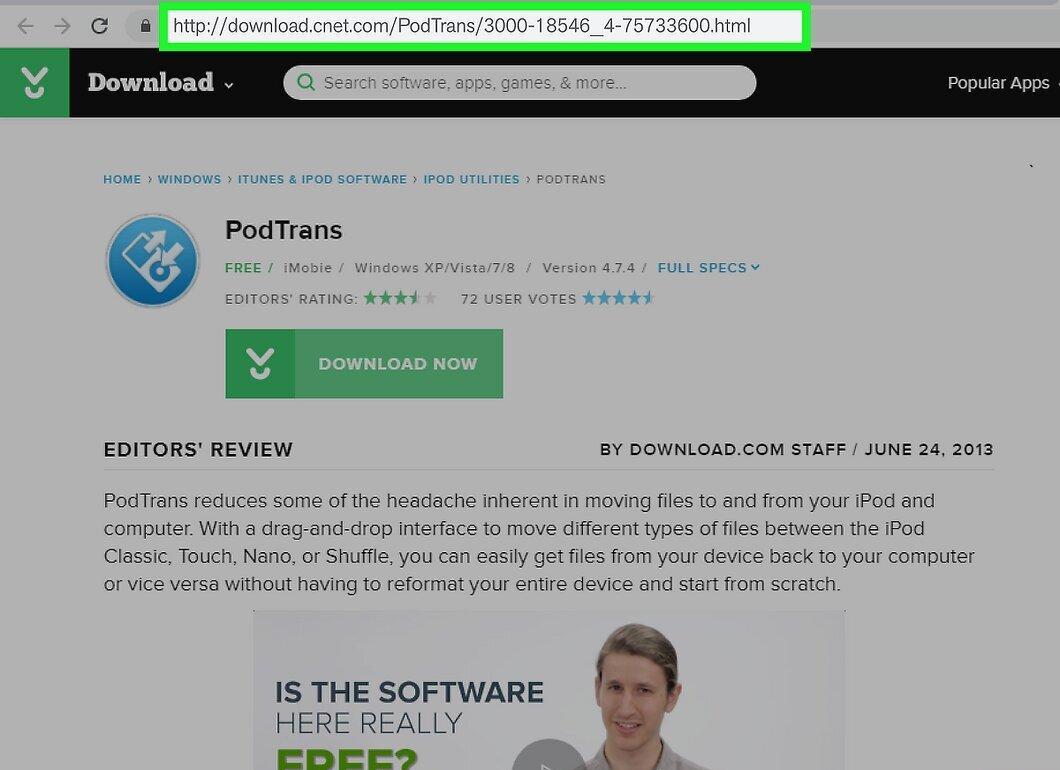
Launch your browser and open the PodTrans website by entering the address http://download.cnet.com/PodTrans/3000-18546_4-75733600.html.
Step 2. Click the DOWNLOAD NOW button.
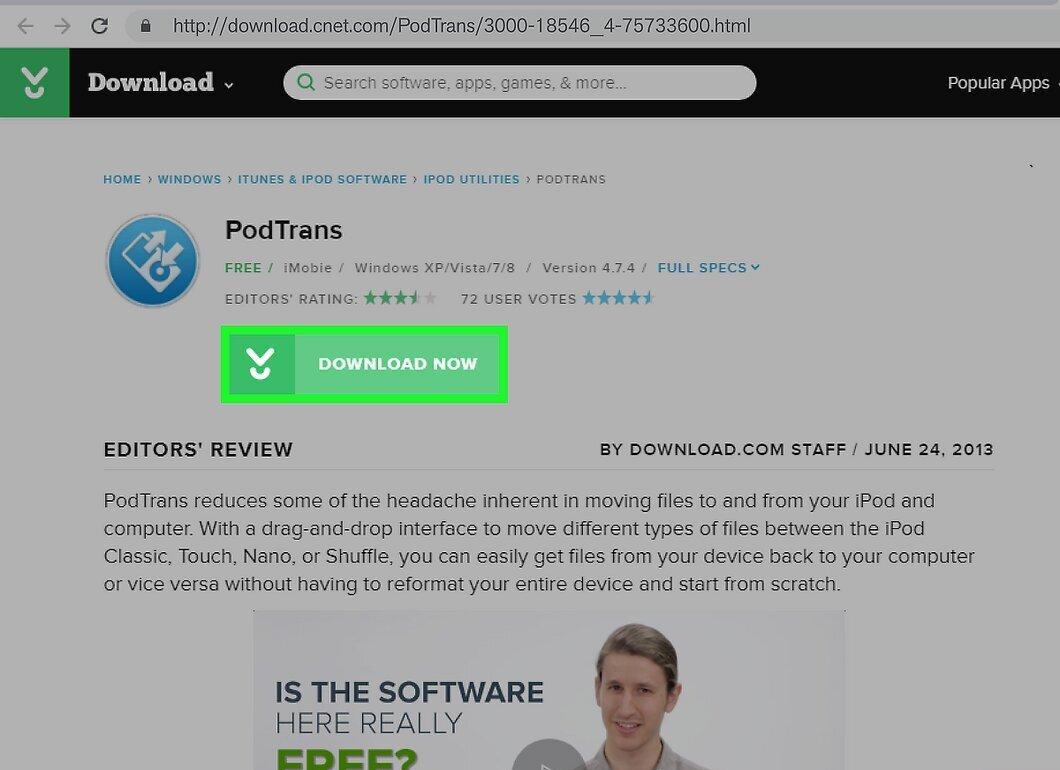
Click on the green DOWNLOAD NOW button in the center of the window. The installer file will start downloading to your computer.
- Click the button labeled "PodTrans."
- If the download doesn’t start within 60 seconds, click the "restart your download" link at the top of the page.
Step 3. Install PodTrans.
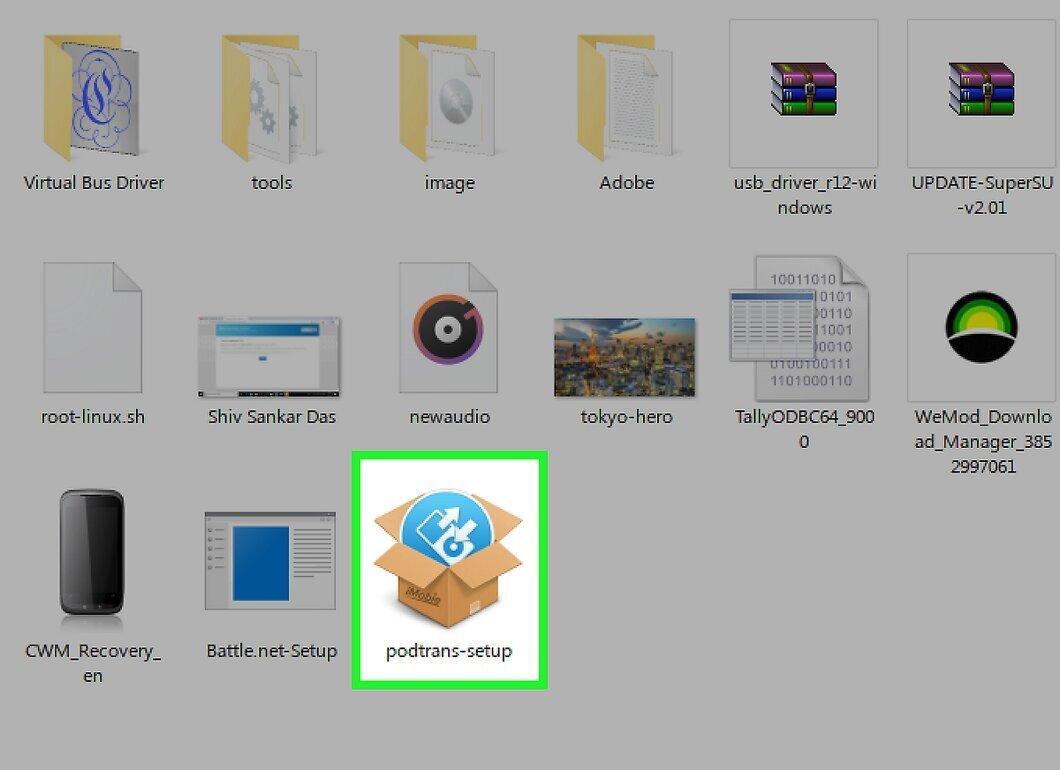
To install PodTrans, double-click the downloaded installer file and follow the on-screen instructions.
- If prompted to install additional software during the installation, be sure to uncheck any unwanted programs.
Step 4. Launch PodTrans.
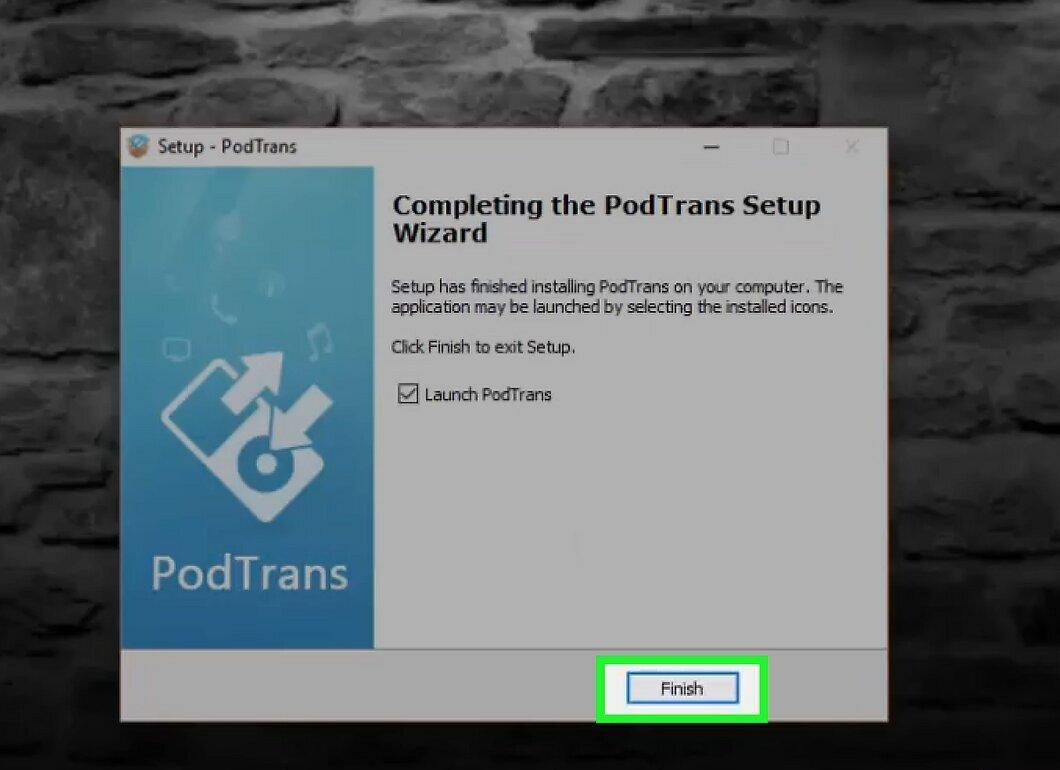
Start PodTrans by clicking the "Finish" button in the installer window.
- You can also open the program by double-clicking its icon on your desktop.
Step 5. Choose the interface language.

Select the program language by checking the box next to your country.
Step 6. Click on Save.

Click the Save button at the bottom of the pop-up window. This will open the PodTrans interface.
Step 7. Enable disk mode on your iPod (if necessary).
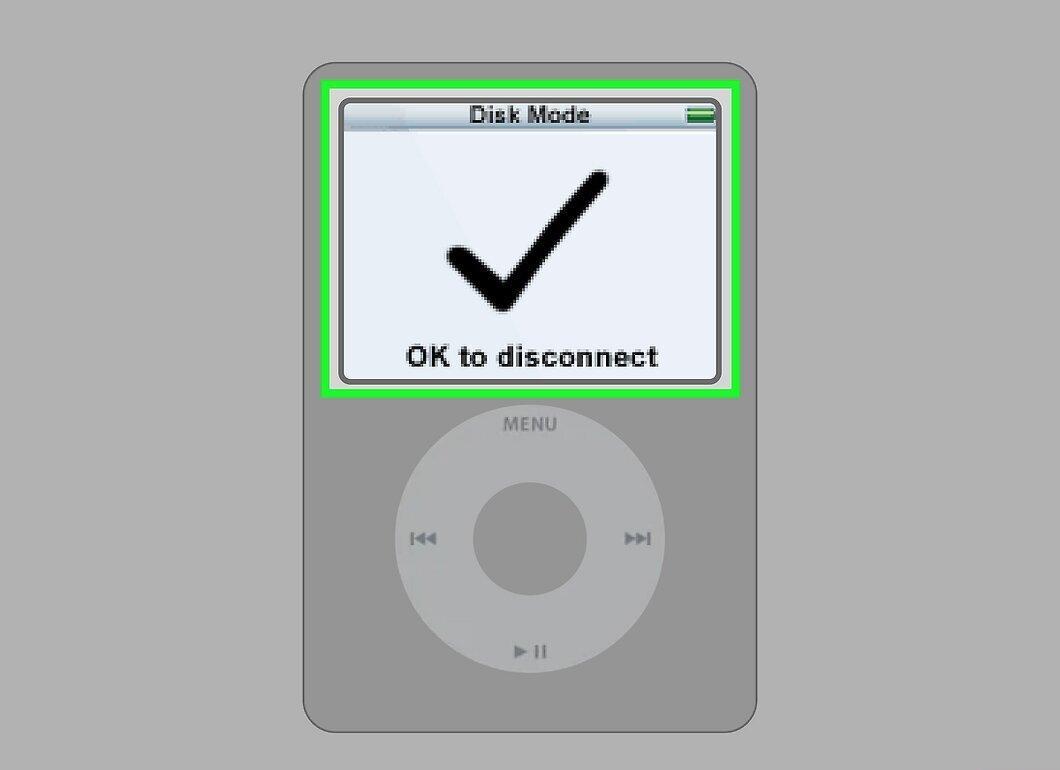
If you are using a regular iPod (not iPod Touch), you may need to enable disk mode for your computer to recognize the device:
- For iPod Nano 6th and 7th generation: Hold down the Sleep/Wake button and the Home button (or the volume down button) until the Apple logo appears, then hold the volume buttons until the disk mode screen opens.
- For iPods with a click wheel: Switch the lock to "On" and then to "Off." Hold the Menu button and the center button until the Apple logo appears (about six seconds), then hold the center and Play buttons until the disk mode screen appears.
- For iPods with a touch wheel: Switch the lock to "On" and then to "Off." Hold Menu and Play until the Apple logo appears, then hold the Forward and Back buttons until the disk mode screen appears.
- For iPod Classic: Disk mode is not required; it is recognized automatically.
Step 8. Connect your iPod to the computer.
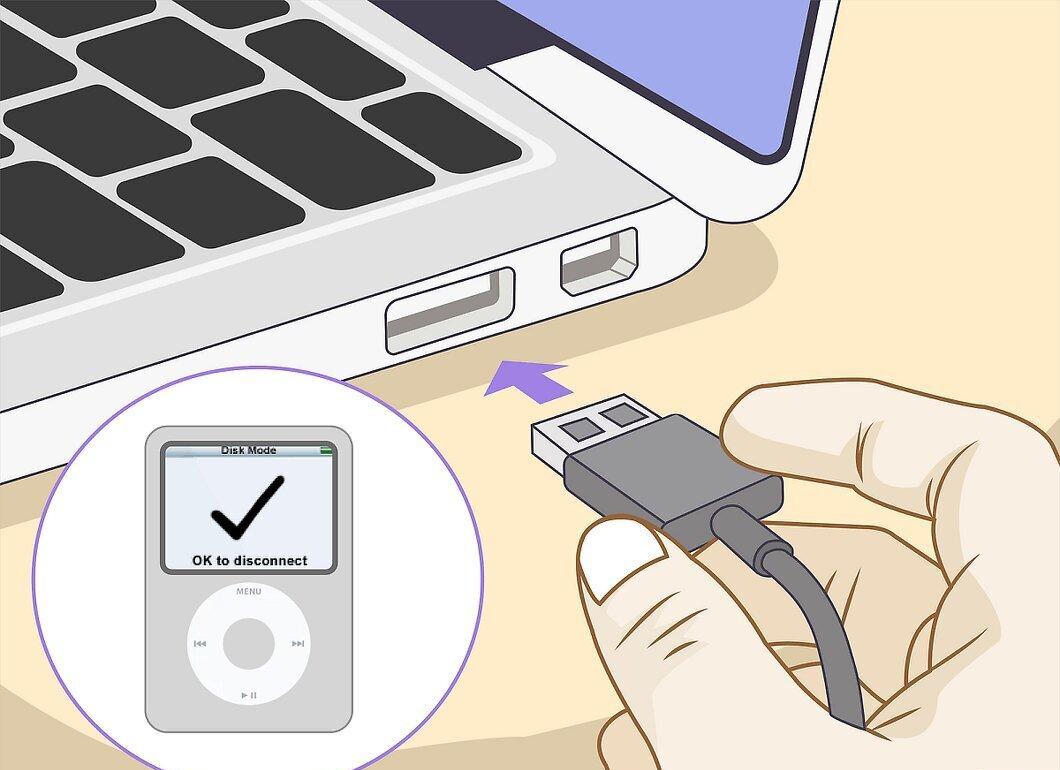
Connect your iPod to the computer by plugging one end of the cable into a USB port and the other end into the iPod. The device should appear in the PodTrans window.
- If the iPod doesn’t show up in the program within 60 seconds, try using a different USB port.
Step 9. Select the Music section.
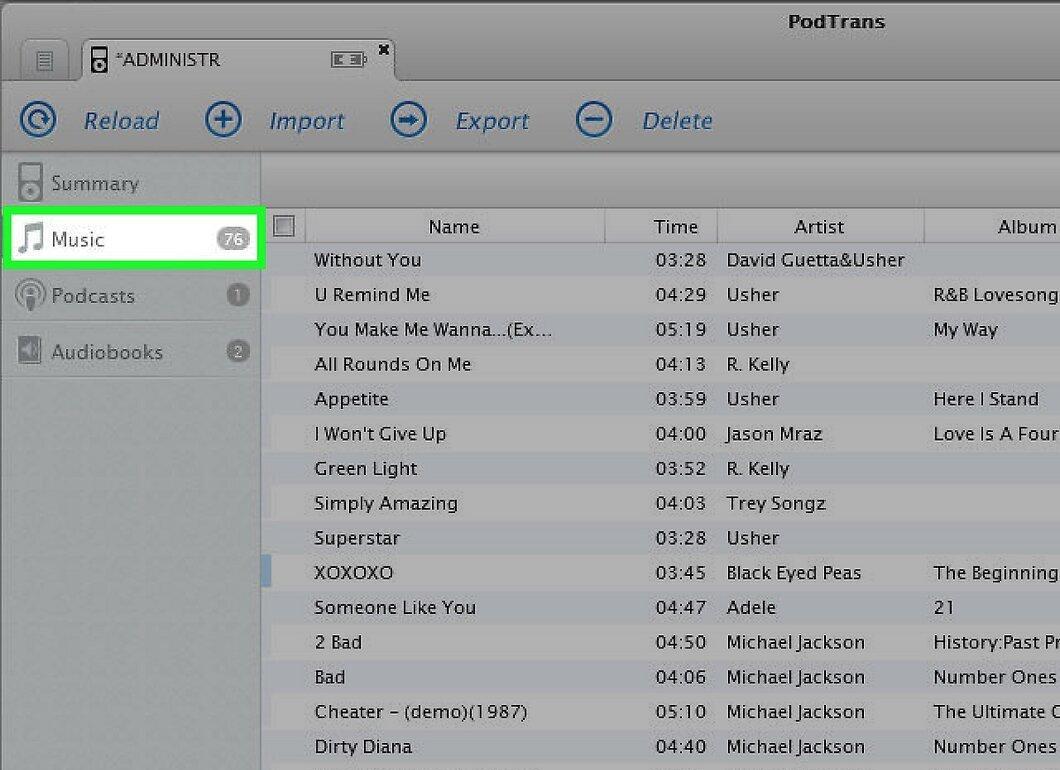
Click on the Music icon, which looks like a musical note. This will open a list of all the music files stored on your iPod.
Step 10. Select the desired tracks.
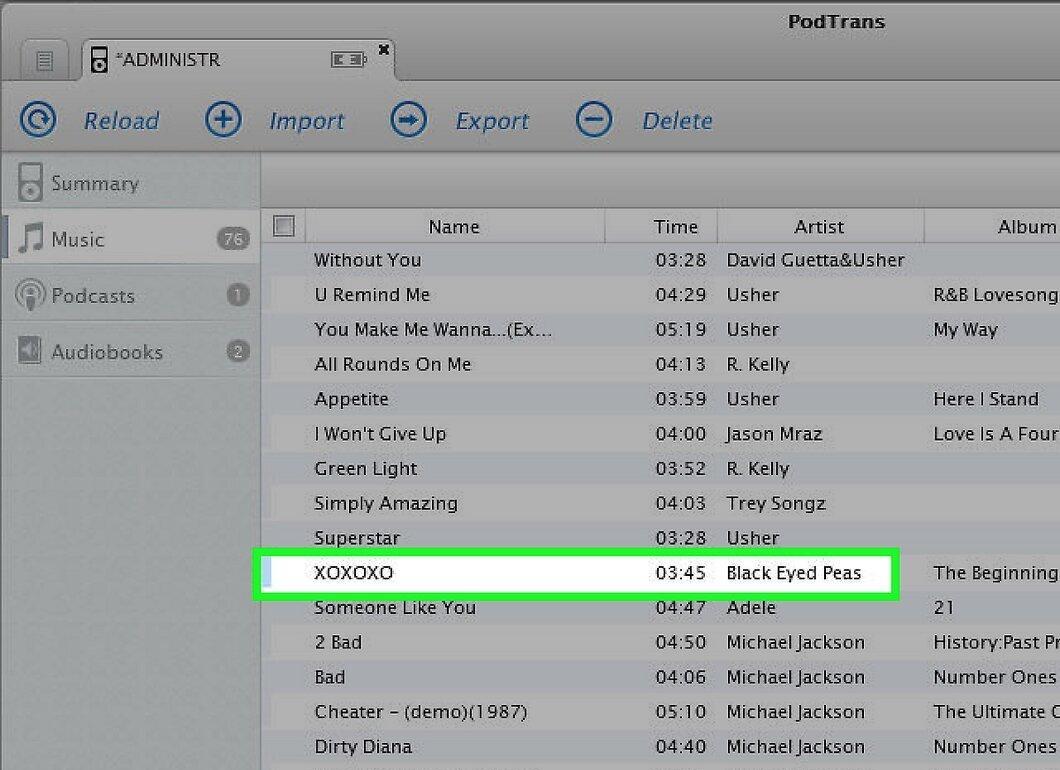
Choose the tracks you want by checking the boxes next to each song or by checking the box in the upper left corner to select all tracks.
Step 11. Click the Export button.
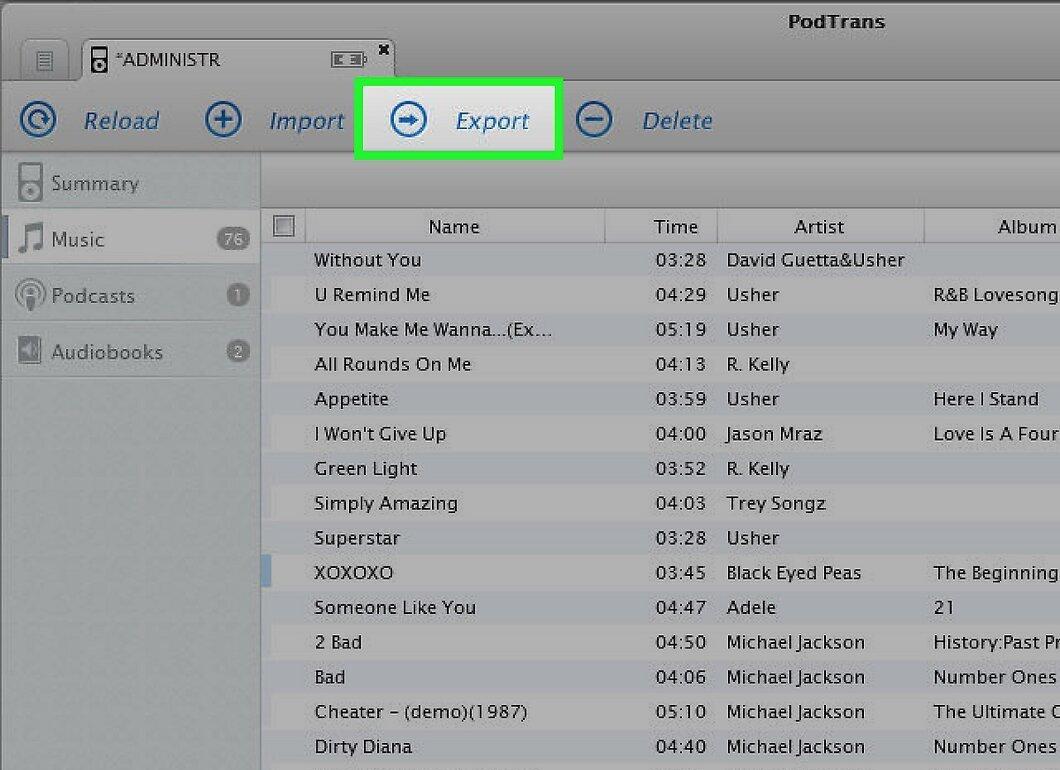
Click the Export icon, which is a monitor with an arrow in the upper right corner of the window. A new window will appear.
Step 12. Choose the save location for the files.
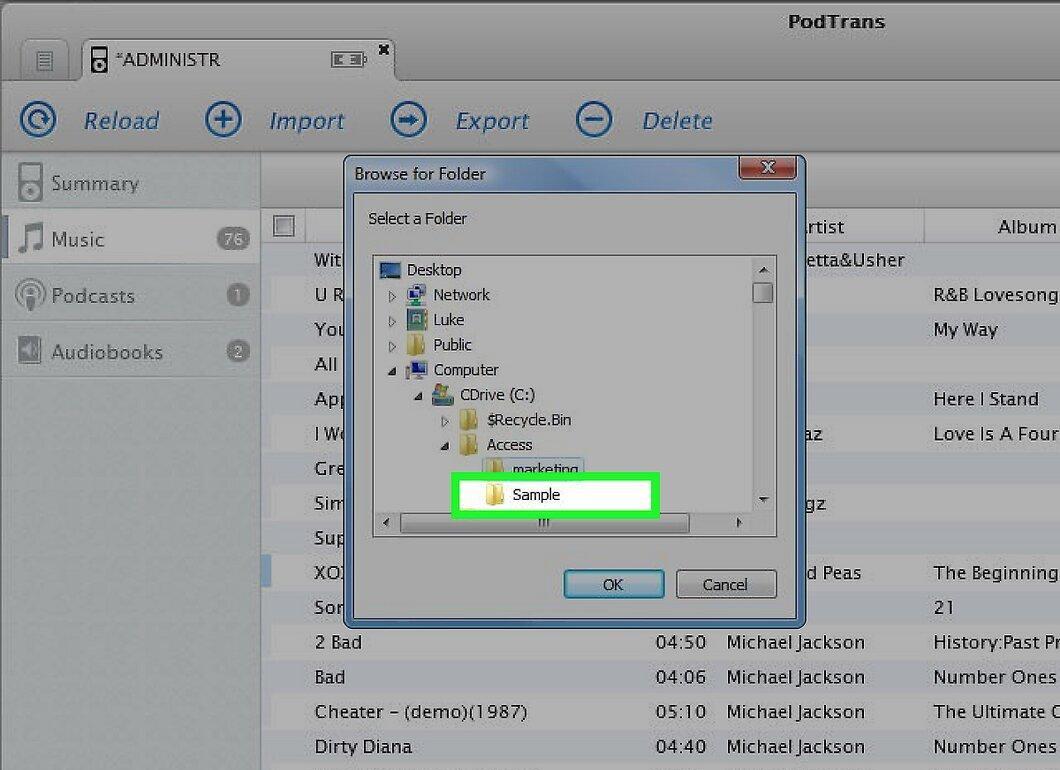
Select the folder where you want to save the music files in the pop-up window (for example, "Desktop").
Step 13. Click OK.
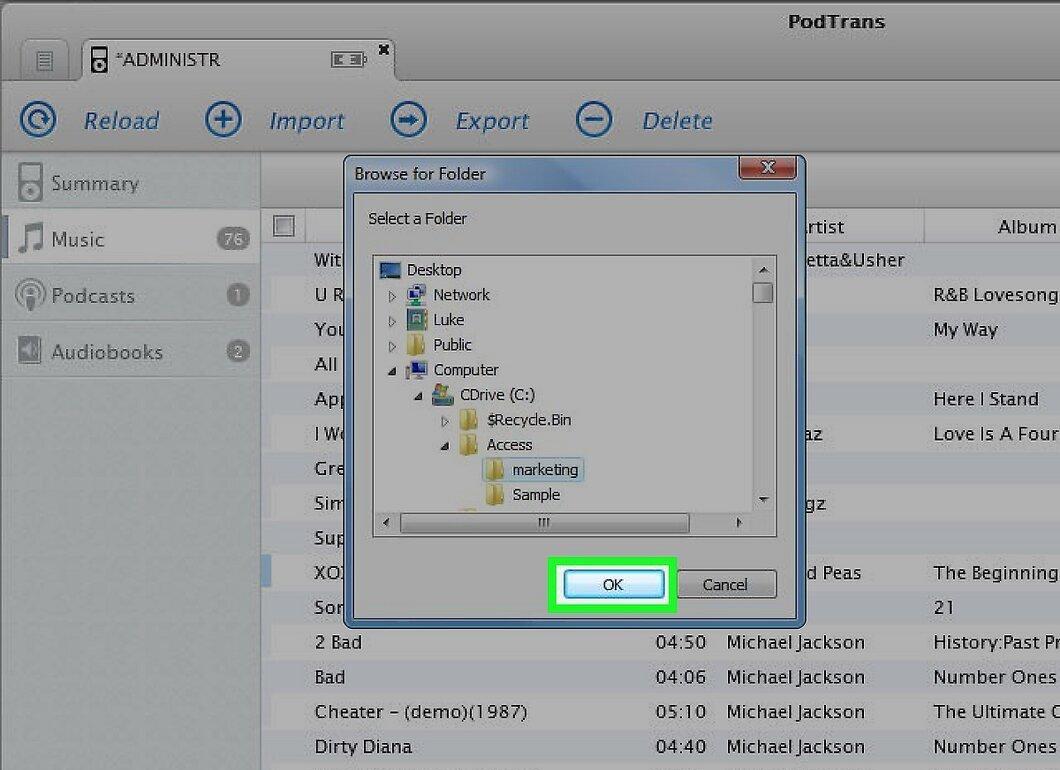
Press the OK button at the bottom of the window. The process of copying music from your iPod to your computer will begin.
- Keep in mind that this may take some time, so it's best to connect your laptop and iPod to a power source.
Mac OS X
Step 1. Enable access to the iTunes Library XML file.
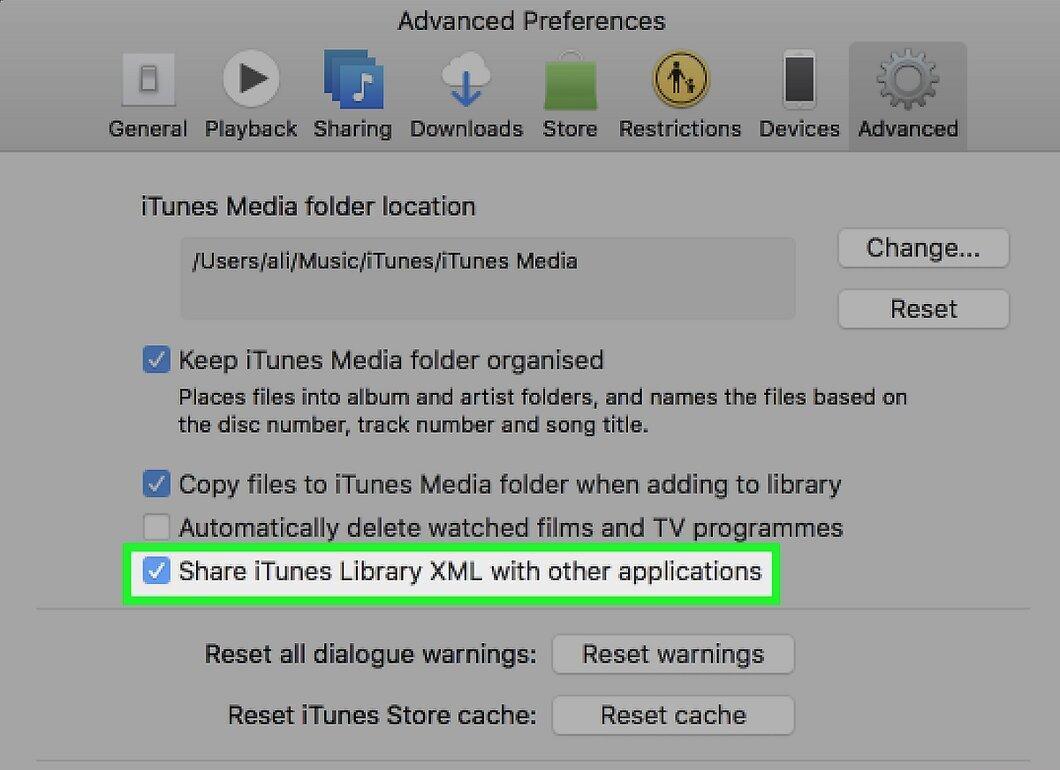
To copy music from your iPod to Mac, you need to enable access to the iTunes Library XML file (even if you don't plan to use iTunes):
- Launch iTunes.
- Click on "iTunes" in the upper left corner of the screen.
- Select "Preferences."
- Go to the "Advanced" tab.
- Check the option "Share iTunes Library XML with other applications."
- Click "OK."
Step 2. Go to the Sharepod website.
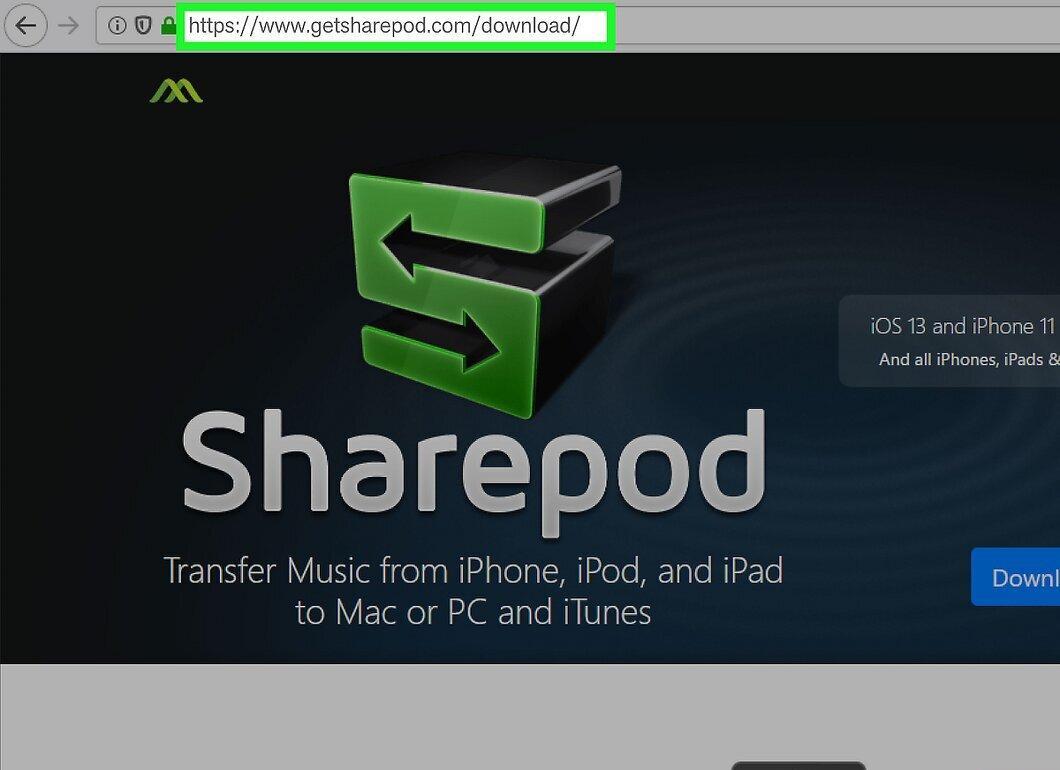
Open the Sharepod website in your web browser by going to https://www.getsharepod.com/download/.
- Note that Sharepod requires iTunes version 12 or later to work, but you won’t need to use iTunes during the copying process.
Step 3. Click Download for Mac.
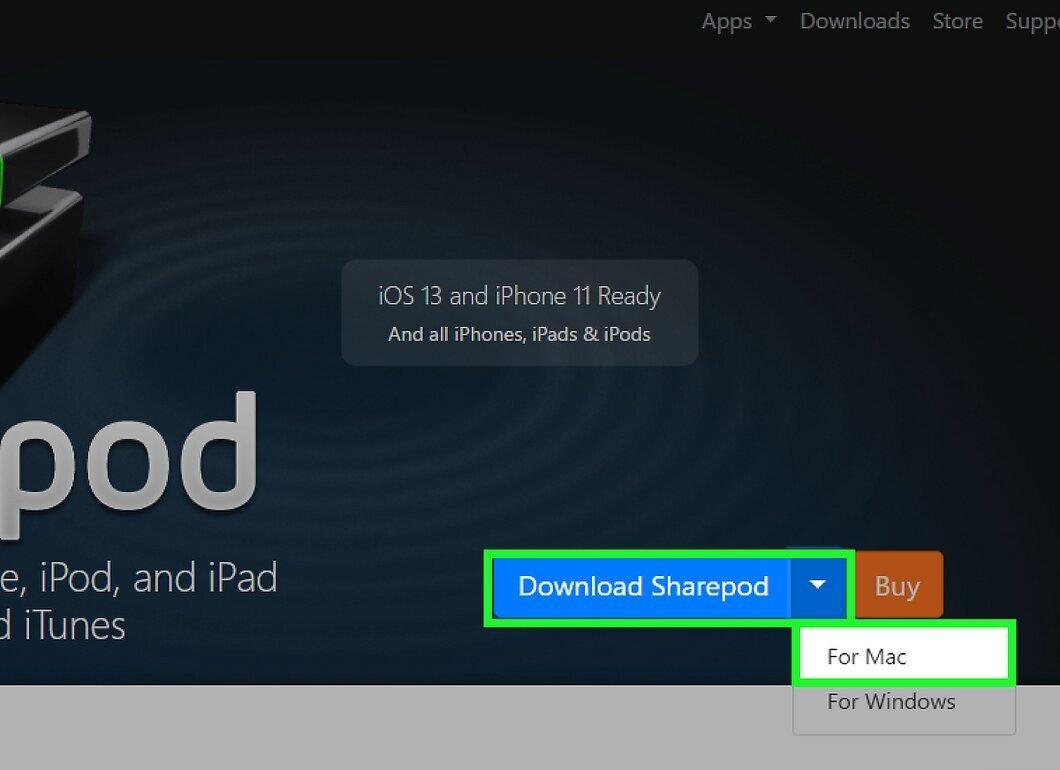
Click the Download for Mac button, which is blue and located at the top of the page. The DMG file will be downloaded to your computer.
Step 4. Install Sharepod.
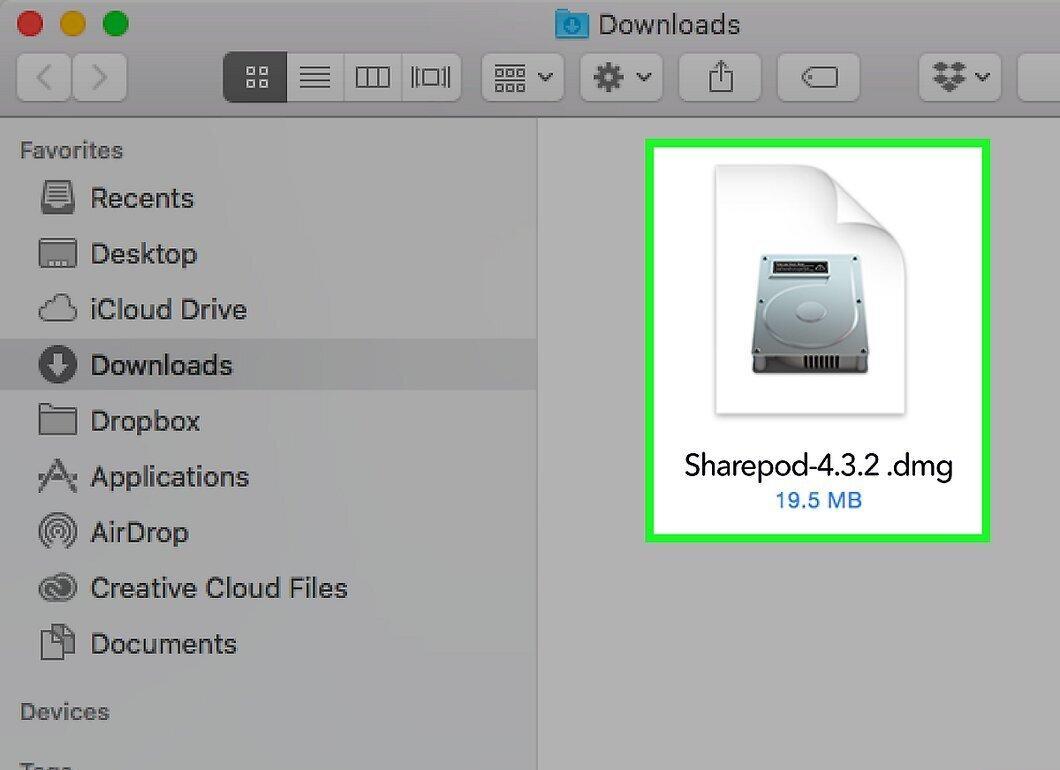
Double-click the downloaded DMG file, drag the Sharepod icon to the Applications folder, and follow the on-screen instructions.
- If Sharepod does not have a digital signature from Apple, you will need to allow installations from unidentified developers in your Mac's security settings.
Step 5. Enable disk mode on your iPod (if necessary).
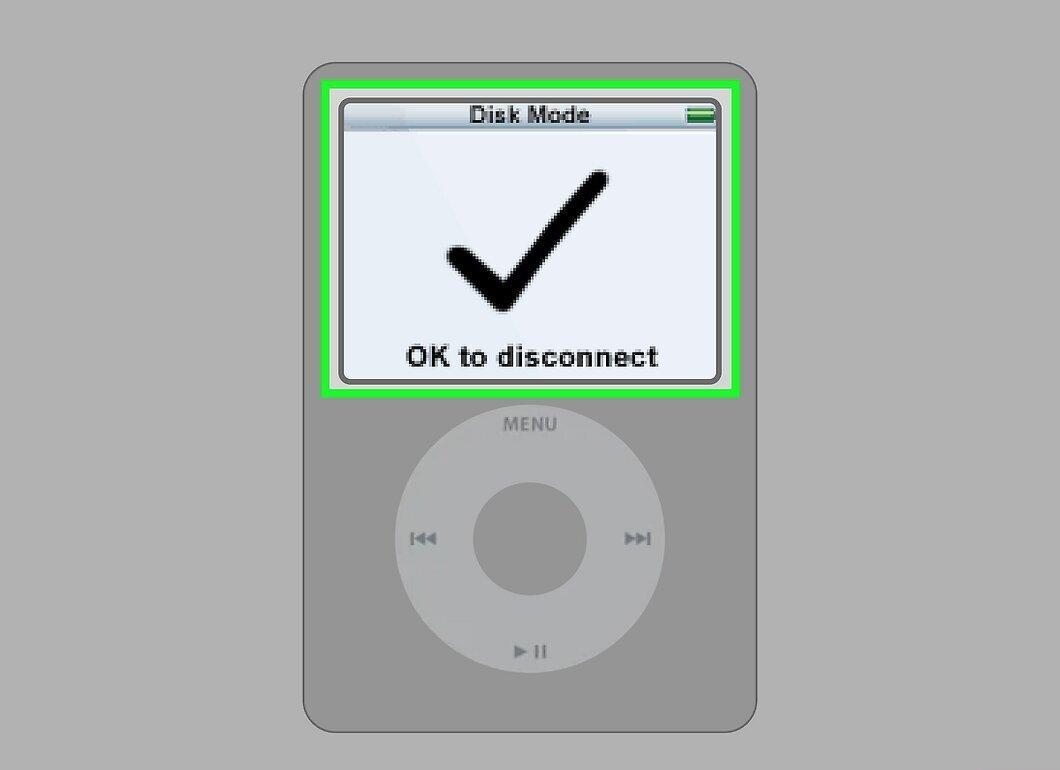
If you are working with a regular iPod (not iPod Touch), enable disk mode:
- For iPod Nano 6th and 7th generation: Hold down the Sleep/Wake button and the Home button (or the volume down button) until the Apple logo appears, then hold the volume buttons until the disk mode screen opens.
- For iPods with a click wheel: Switch the lock to "On" and then to "Off." Hold the Menu and center buttons until the Apple logo appears (about six seconds), then hold the center and Play buttons until the disk mode screen appears.
- For iPods with a touch wheel: Switch the lock to "On" and then to "Off." Hold Menu and Play until the Apple logo appears, then hold the Forward and Back buttons until the disk mode screen appears.
- For iPod Classic: Disk mode is not needed.
Step 6. Connect your iPod to the computer.
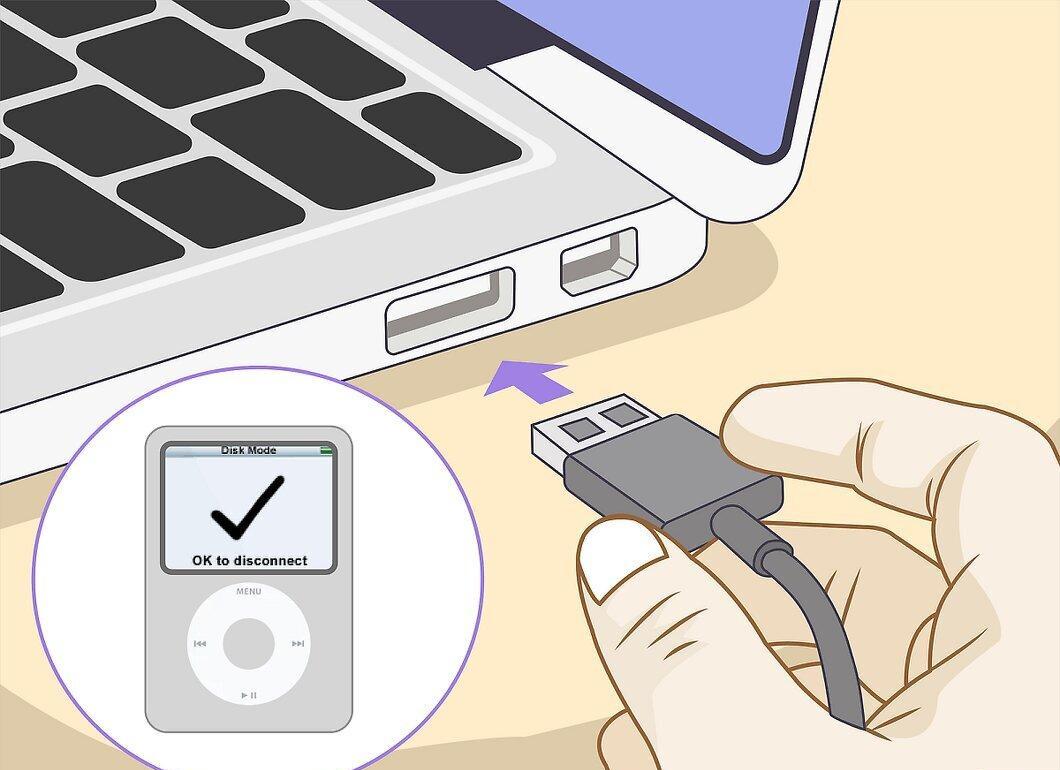
Connect your iPod to the computer by inserting the cable into the USB port and connecting the other end to the iPod.
- If the iPod does not appear within 60 seconds, try another USB port.
- If your computer does not have standard USB ports, you may need a USB3.0–USB/C adapter.
Step 7. Launch Sharepod.
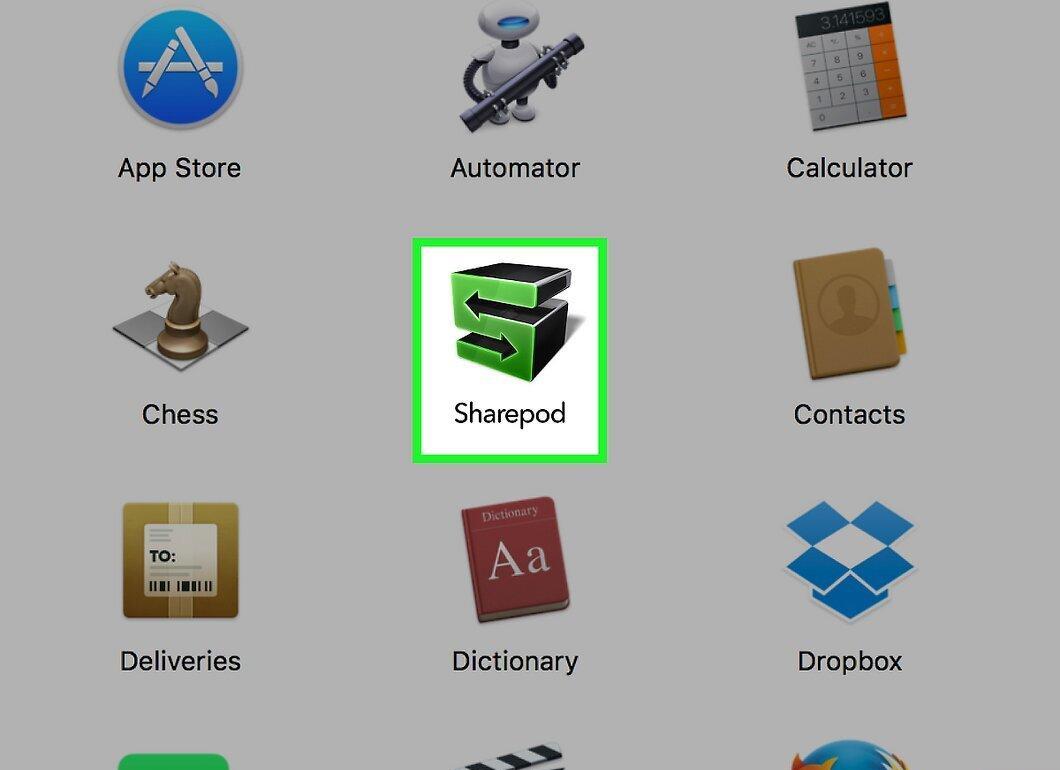
Open Sharepod by double-clicking its icon in the Applications folder.
Step 8. Click Done.
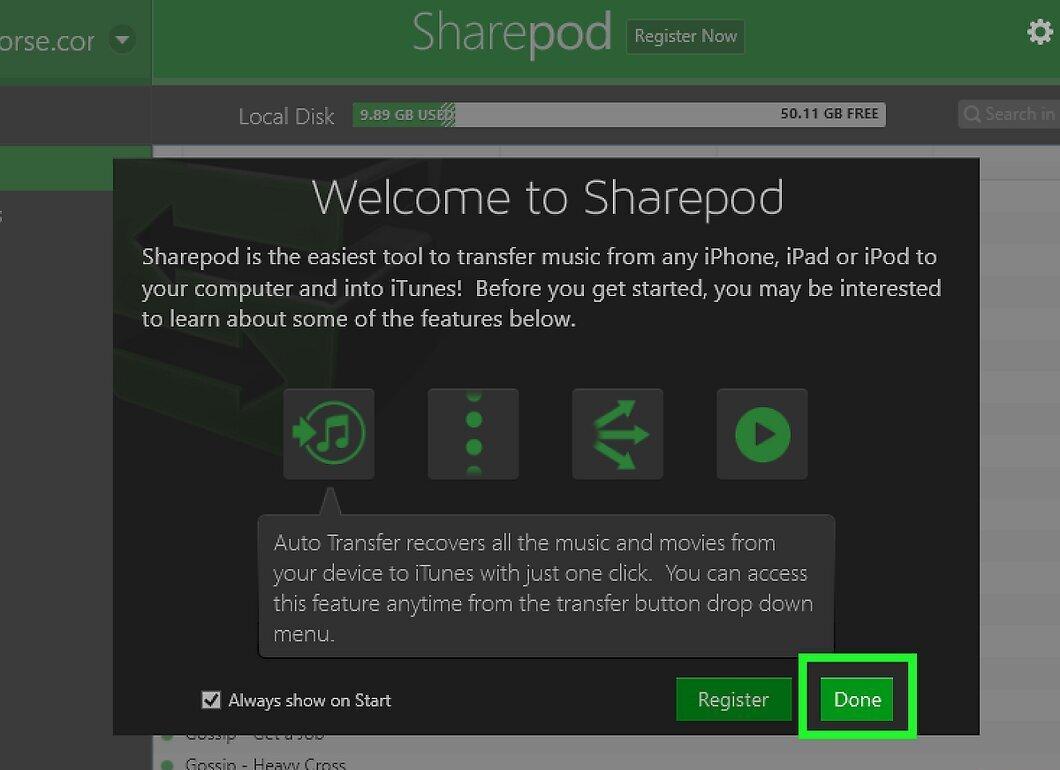
When prompted, click the Done button. This will open the main Sharepod window.
- At this point, iTunes will launch, keep it open as it is needed for Sharepod to function correctly.
Step 9. Select the music tracks.
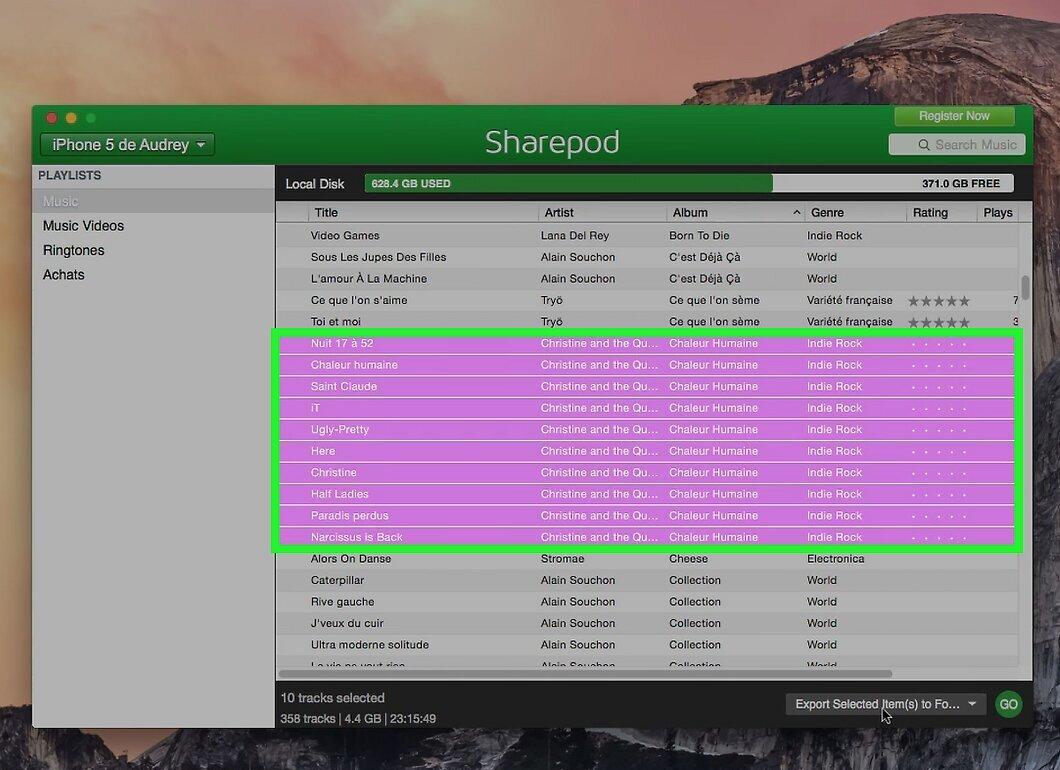
Select the desired songs by holding down the ⌘ Command key and clicking on each one.
- If you want to copy all audio files, proceed to the next step.
Step 10. Specify the folder for saving.
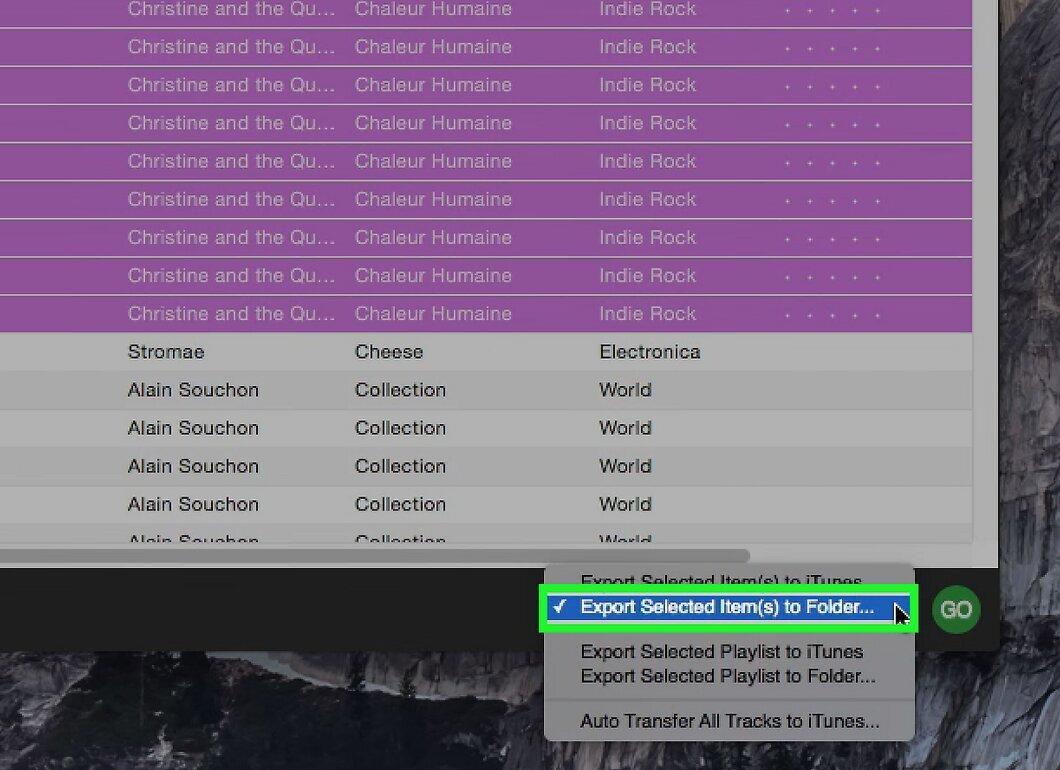
Click "TRANSFER" in the lower right corner of the window, then select "Transfer selected to a folder," specify a folder on your computer, and click "Choose" or "OK."
- To copy all music from the iPod, select "TRANSFER" > "Transfer everything to a folder."
Step 11. Click GO.
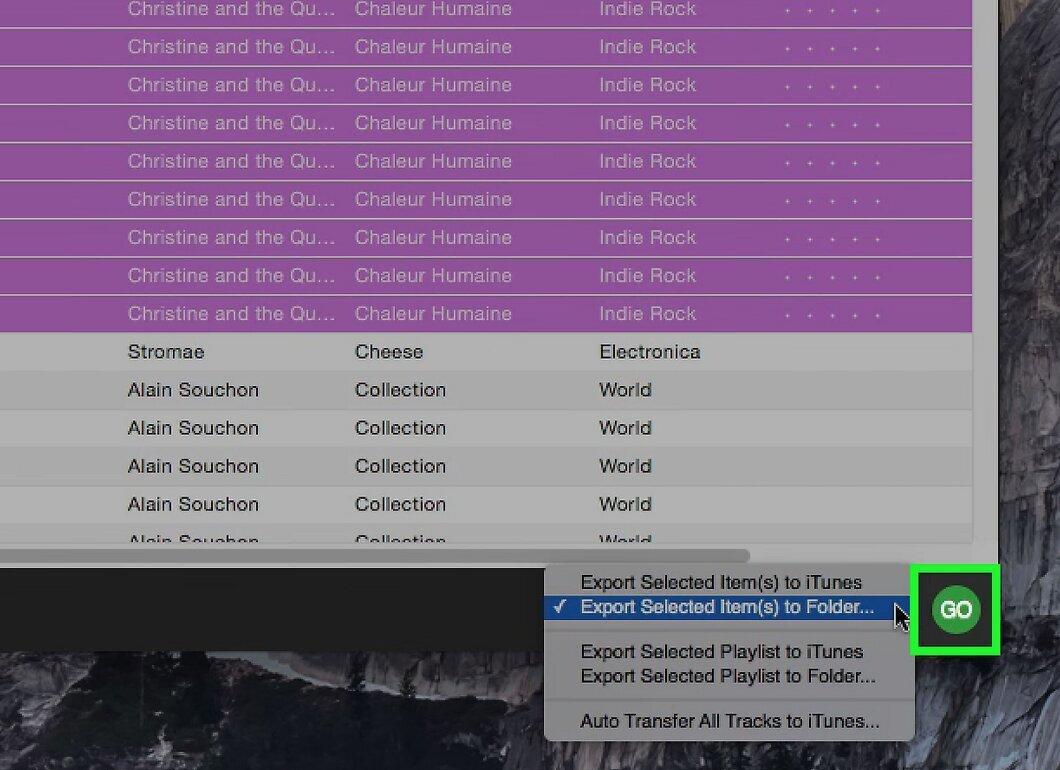
Click the GO button, which is green and located in the lower right corner of the screen. The selected audio files will start copying to the specified folder on your computer.


