Want to clear out an old floppy disk of unwanted information? Both Windows and Mac OS provide handy tools for formatting. Additionally, in Windows, you can use the command line for more detailed control over the process. It's crucial to remember that all data on the floppy disk will be permanently deleted during formatting.
Formatting in Windows Explorer
Step 1. Insert the floppy disk into the drive.
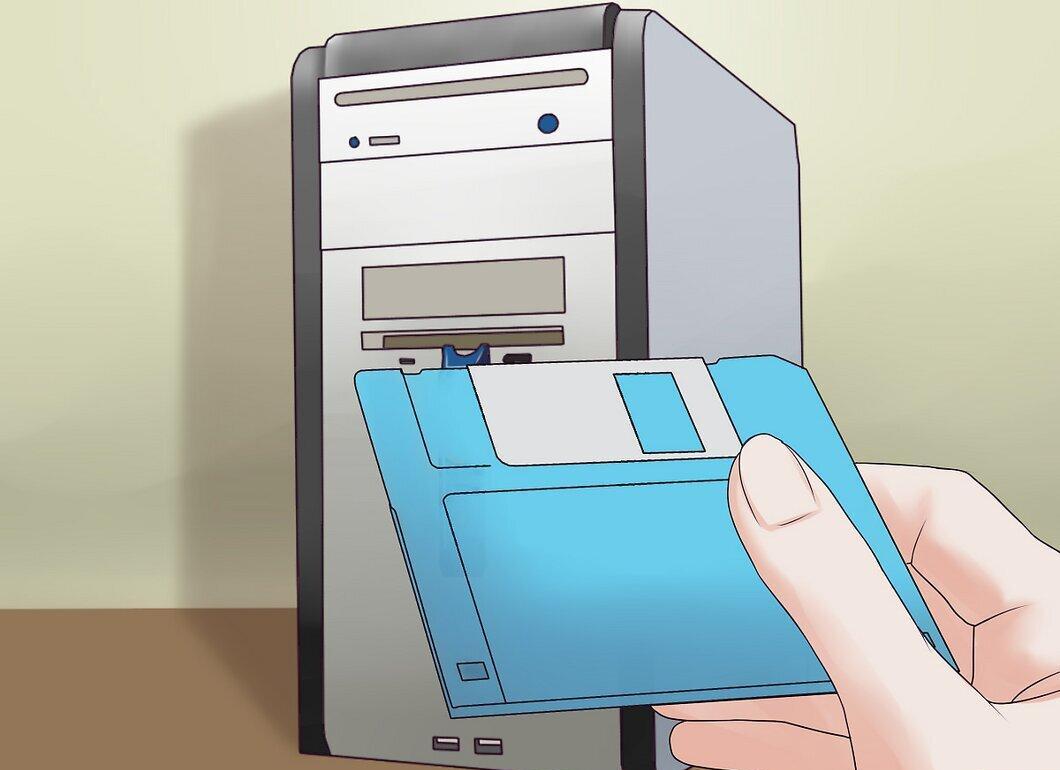
- Ensure the write-protect tab is in the correct position.
- Don't forget to back up all data from the floppy disk before starting the formatting process.
Step 2. Open the Start menu and select "Computer" or "My Computer" (depending on your version of Windows).
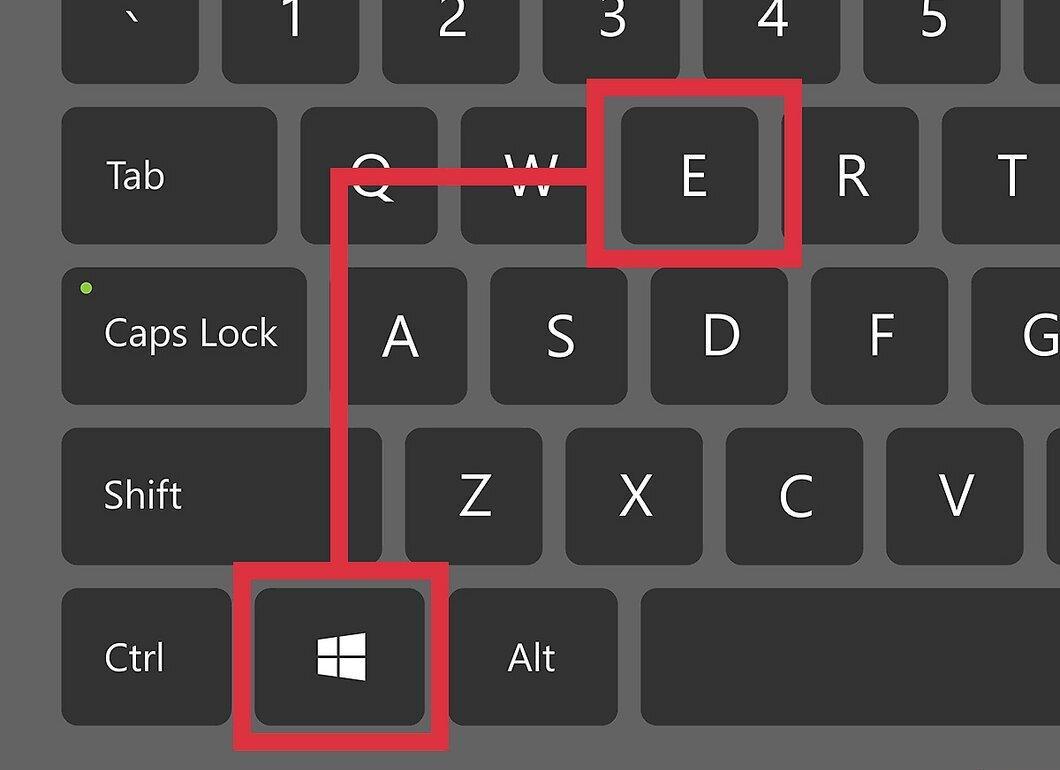
- Alternatively, simply press the Win + E key combination.
Step 3. Right-click on the floppy disk icon in the right part of the window.
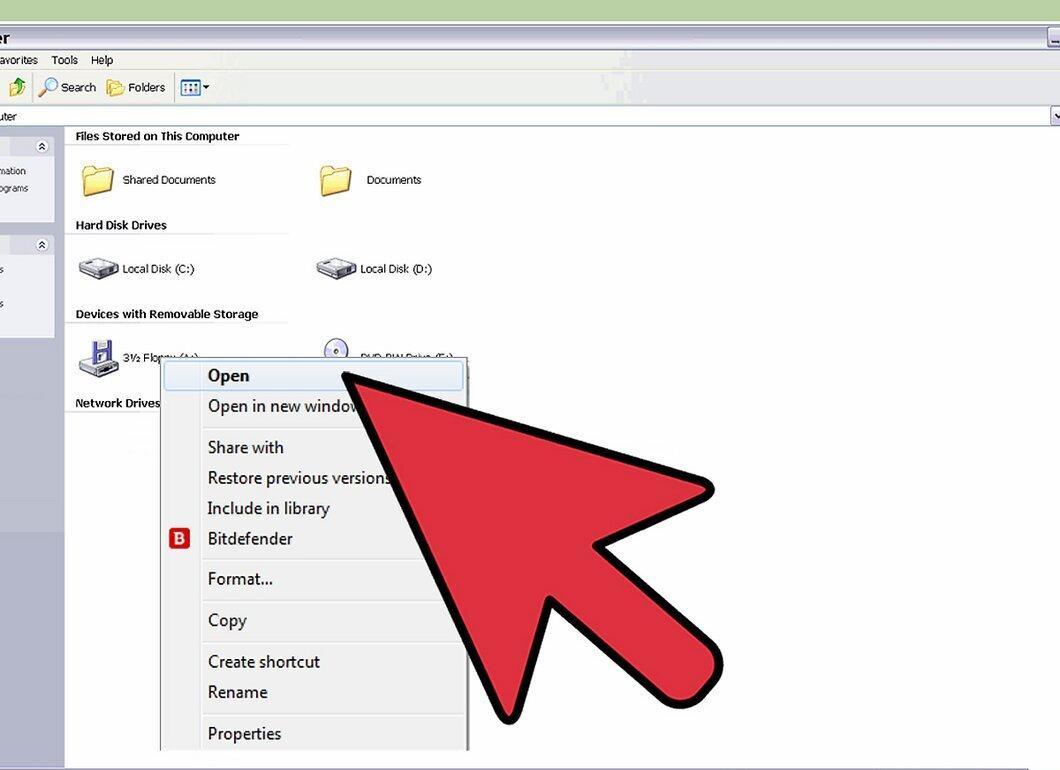
Floppy drives are typically labeled as A: or B:.
Step 4. Choose "Format" from the context menu that appears.
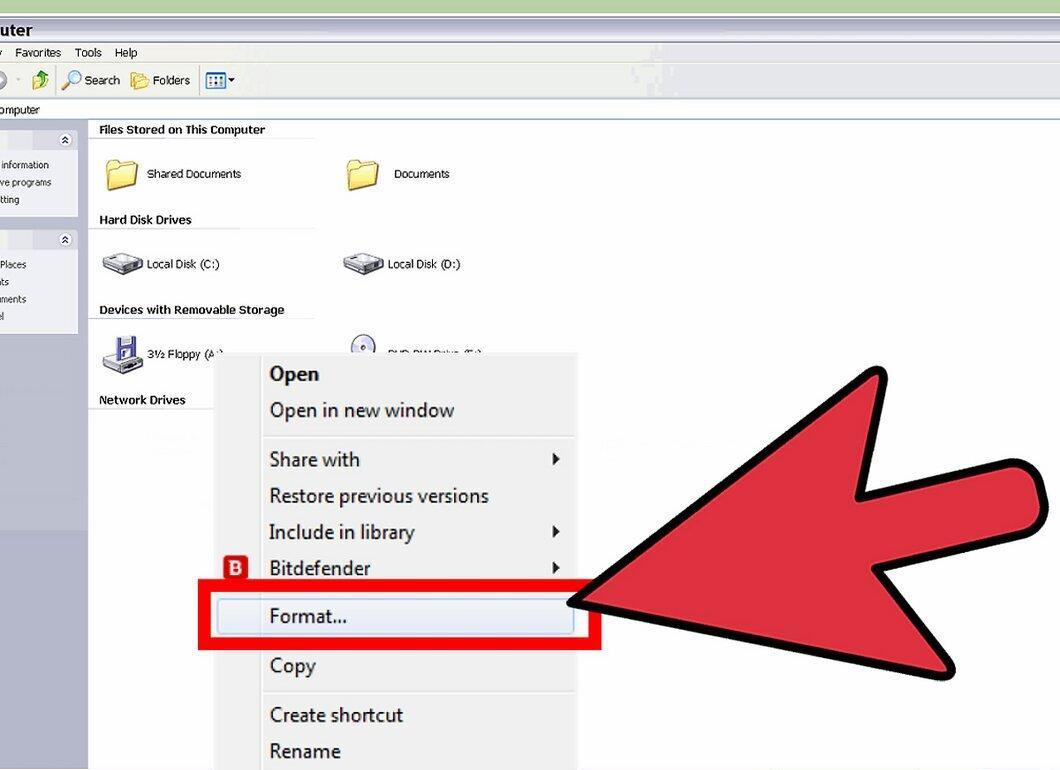
A new window will open where you need to set the formatting options.
- "Capacity" - leave it at 1.44 MB (default).
- "File system" - select FAT (also the default). FAT is compatible with Windows, Mac, and Linux.
- "Cluster size" - select "Default allocation size" (also the default).
- "Volume label" - enter a name for the floppy disk (up to 16 characters) that will be displayed during use.
- "Formatting options". Choose "Quick Format" for a faster process (but note that data will not be completely erased). You can also select "Create an MS-DOS startup disk" if you want to make a bootable floppy disk (data cannot be stored on it).
Step 5. Click "Start" to begin the formatting process.
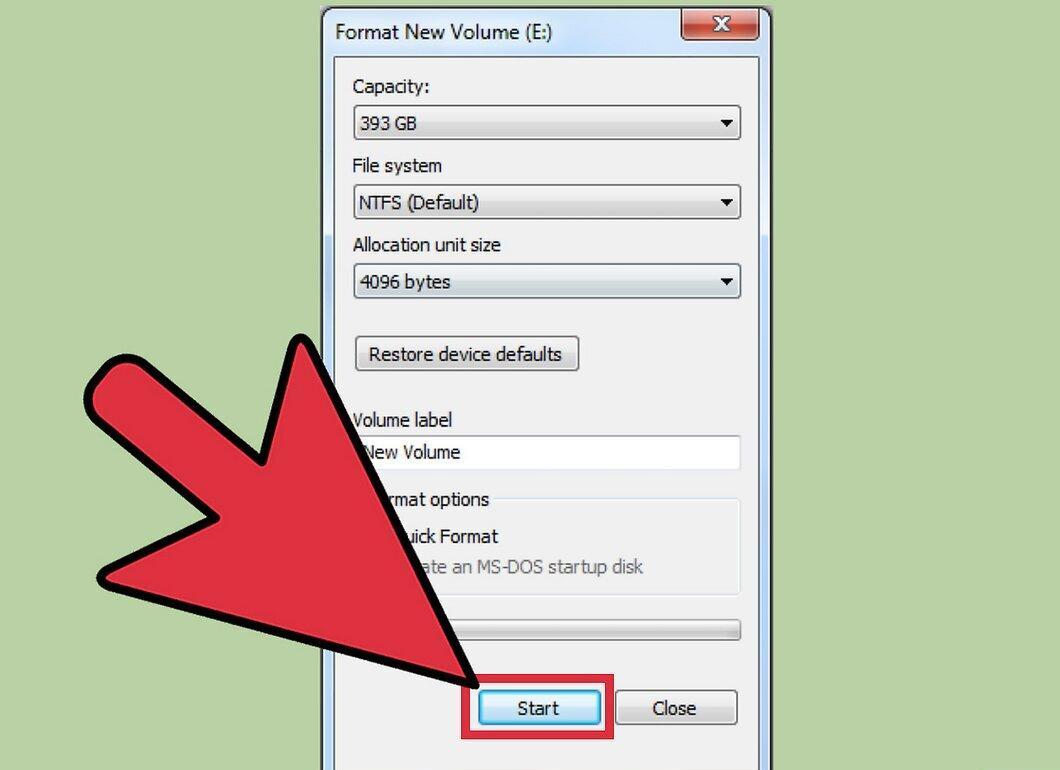
After that, press OK to confirm the start of formatting.
Formatting via Command Line (Windows)
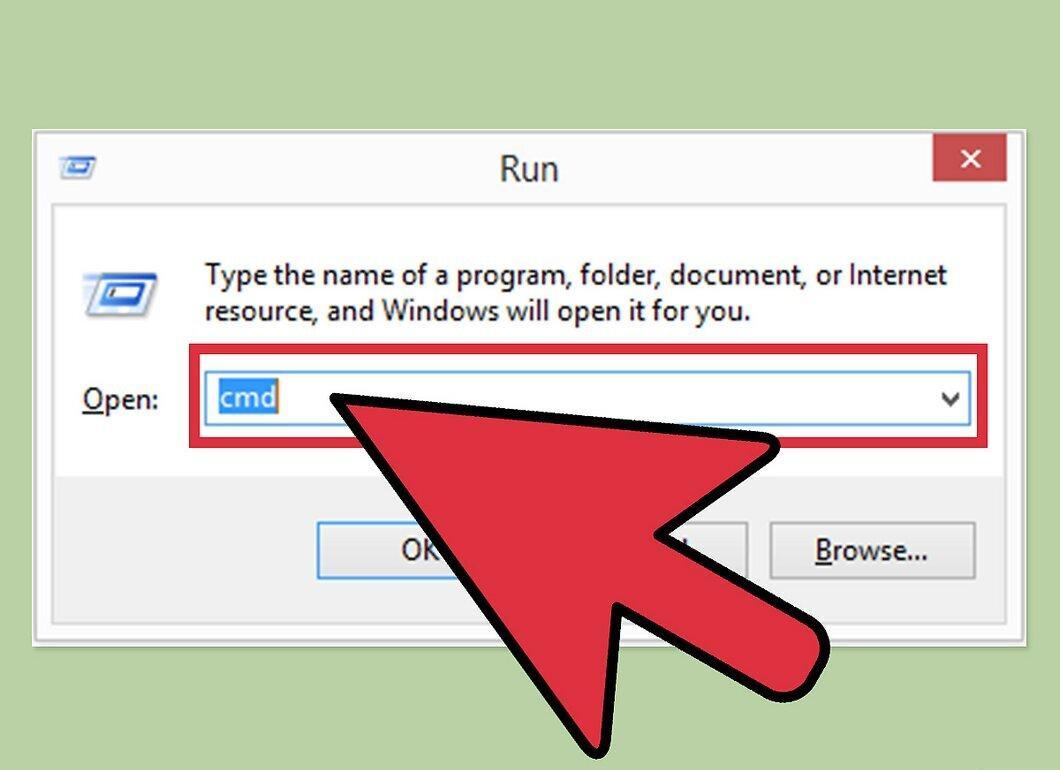
Step 1. Open the Start menu and select "Run" (or press Win + R) and type CMD.
Step 2. Insert the floppy disk into the drive.
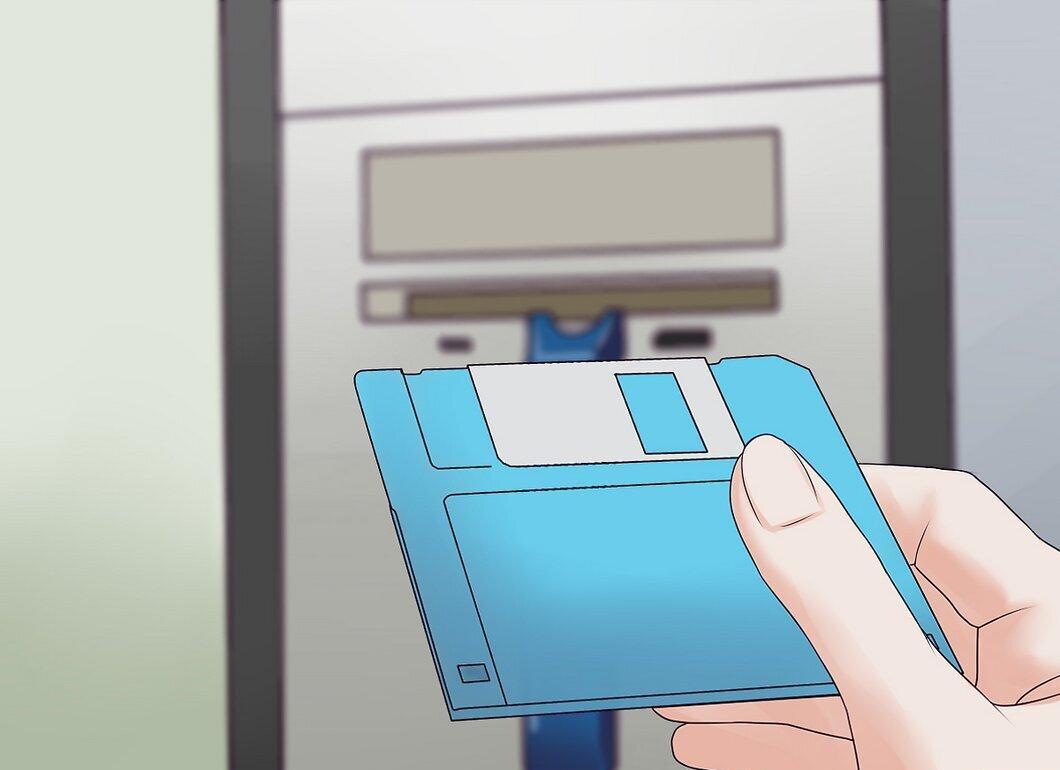
- Check that the write-protect tab is in the correct position.
- Make a backup of the data from the floppy disk before formatting.
Step 3. Enter the formatting command: format x:
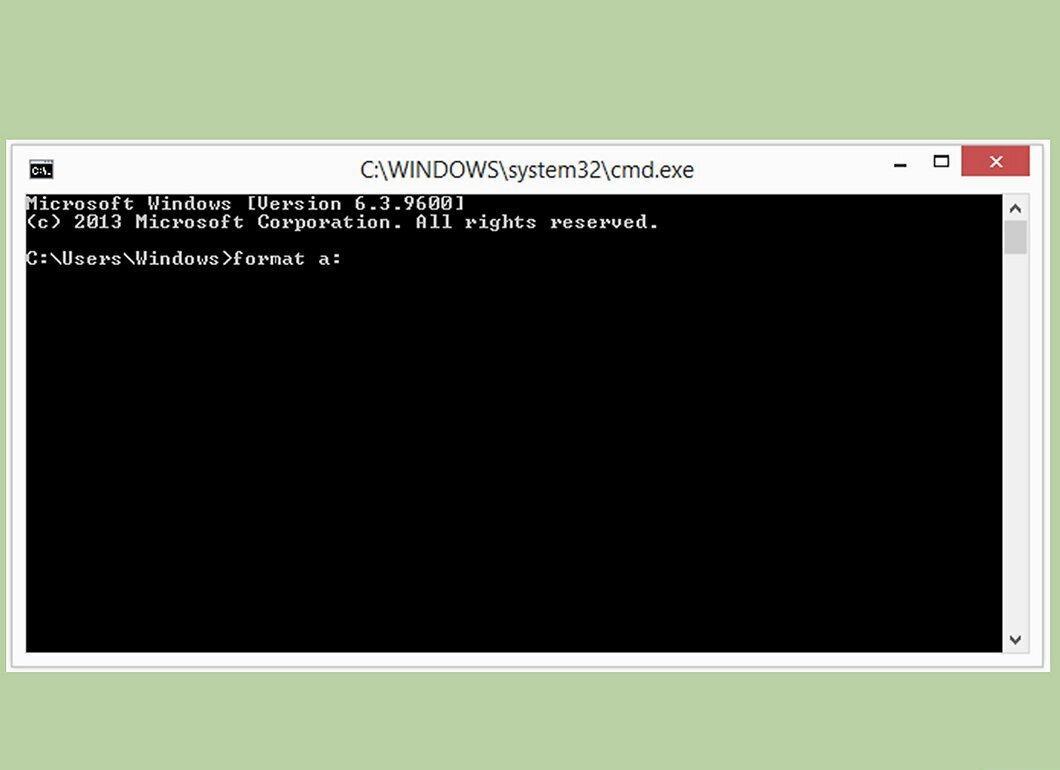
Replace x: with the letter of your drive. Press Y to confirm the formatting.
Step 4. Add formatting options to the format command.
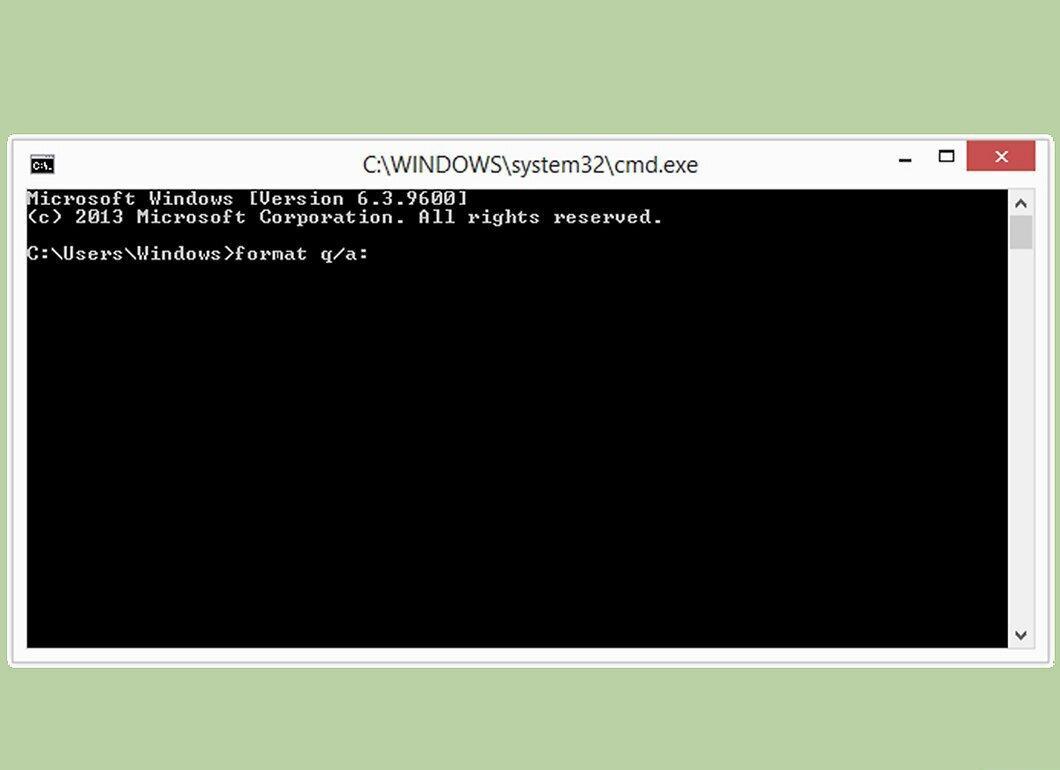
For example, for a quick format, type format /q a:
- /fs:filesystem - replace filesystem with FAT, FAT32, exFAT, NTFS, or UDF.
- /v:label - replace label with the name of the floppy disk (up to 16 characters).
- /q - for a quick format.
- /c - automatic file compression (only in NTFS).
- /p:# - overwrite the disk with zeros and random data. Replace # with the number of overwrite passes. This is necessary for removing sensitive information (only available starting from Vista).
Formatting in Mac OS X
Step 1. Insert the floppy disk into the drive.
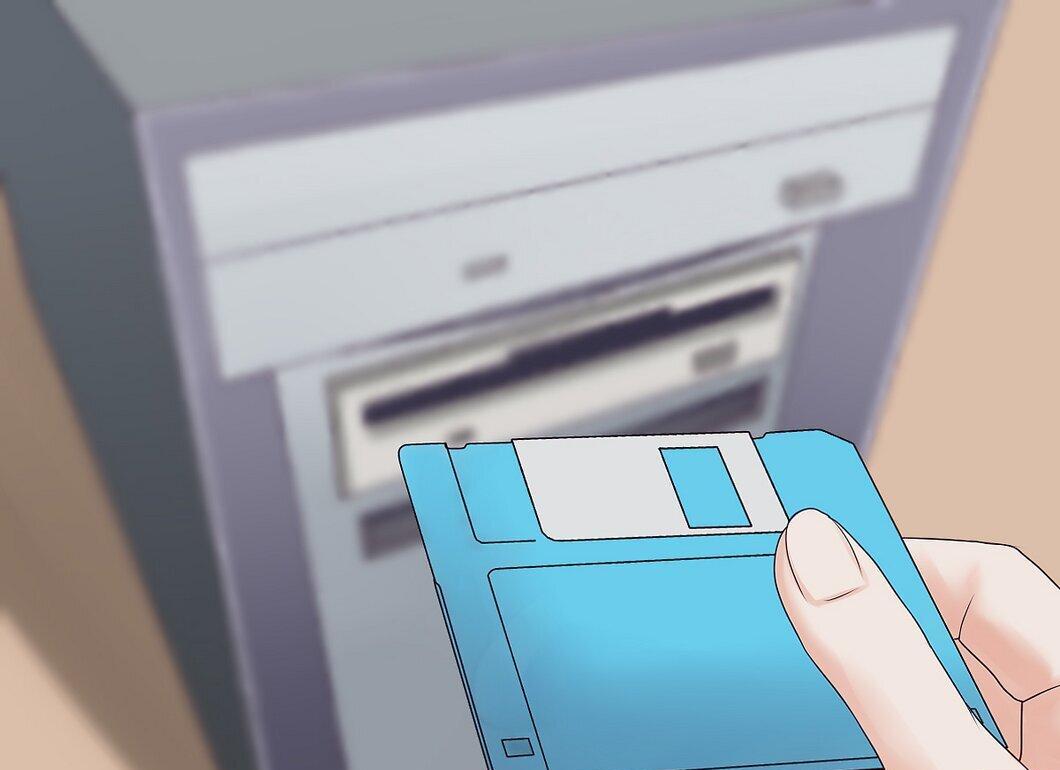
- Ensure the write-protect tab is in the correct position.
- Back up data before formatting.
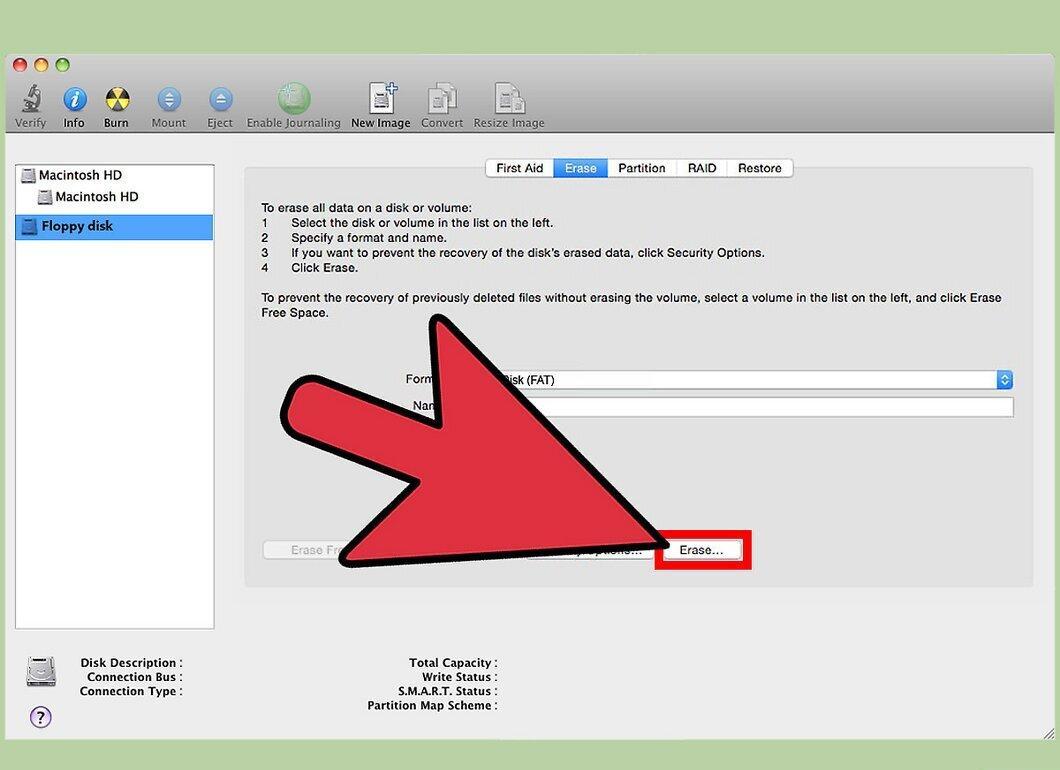
Step 2. Select "Go" - "Utilities" - "Disk Utility".
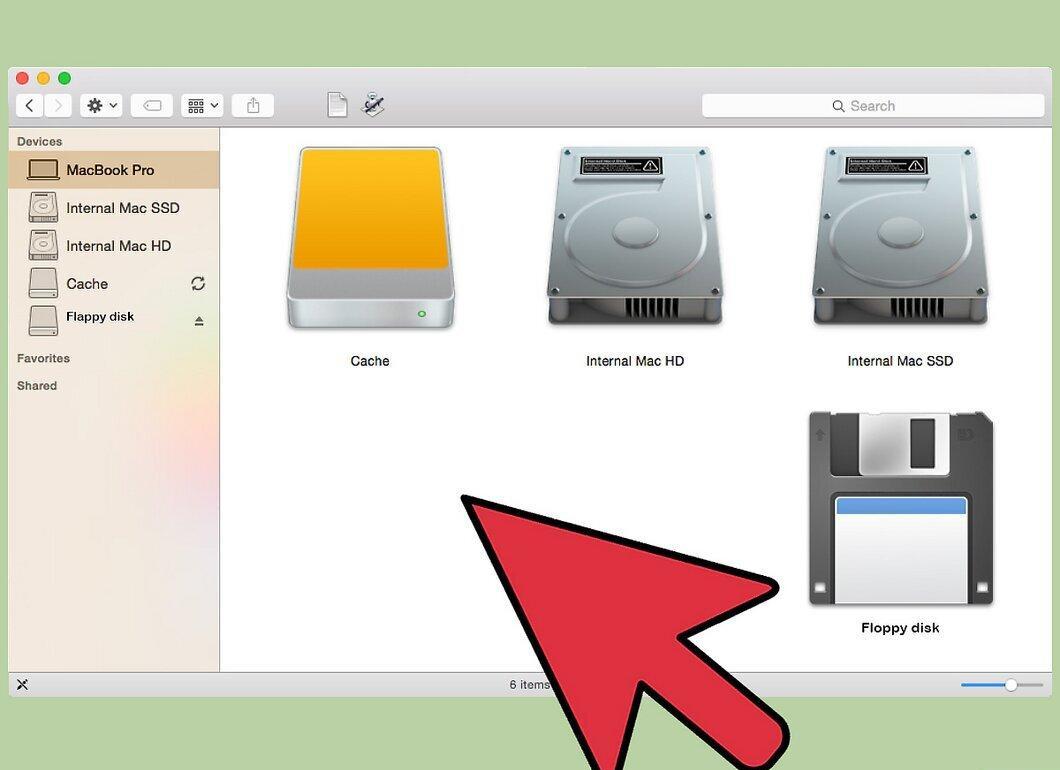
Step 3. Locate and select the drive on the left side of the window.
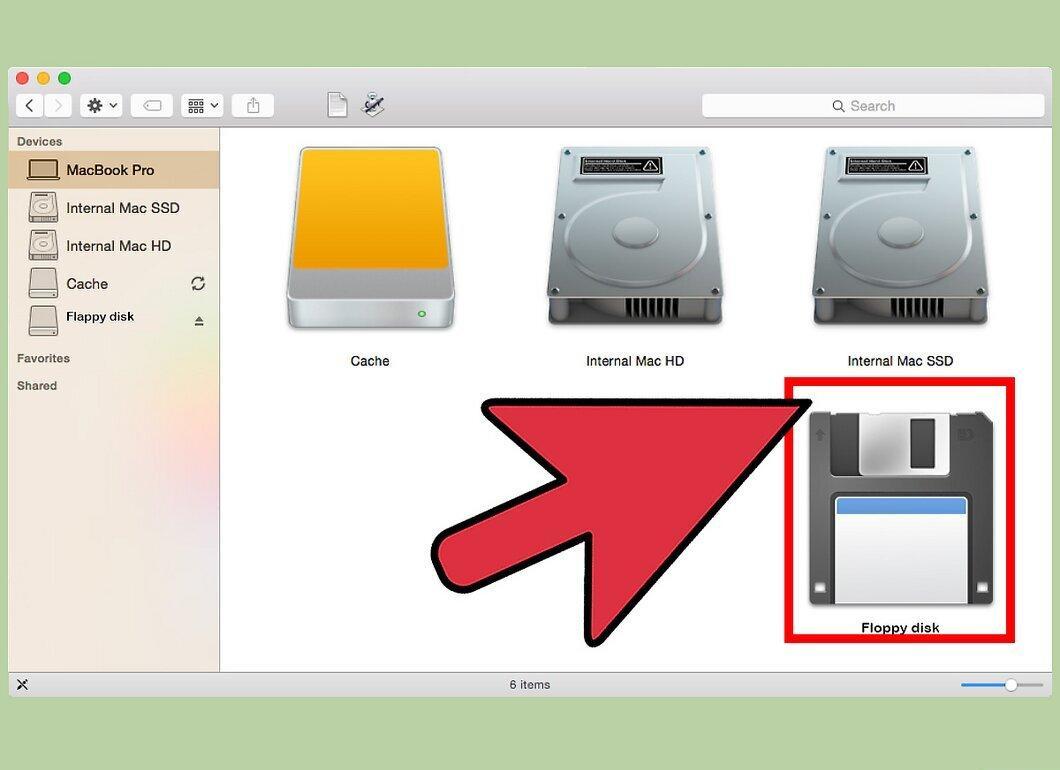
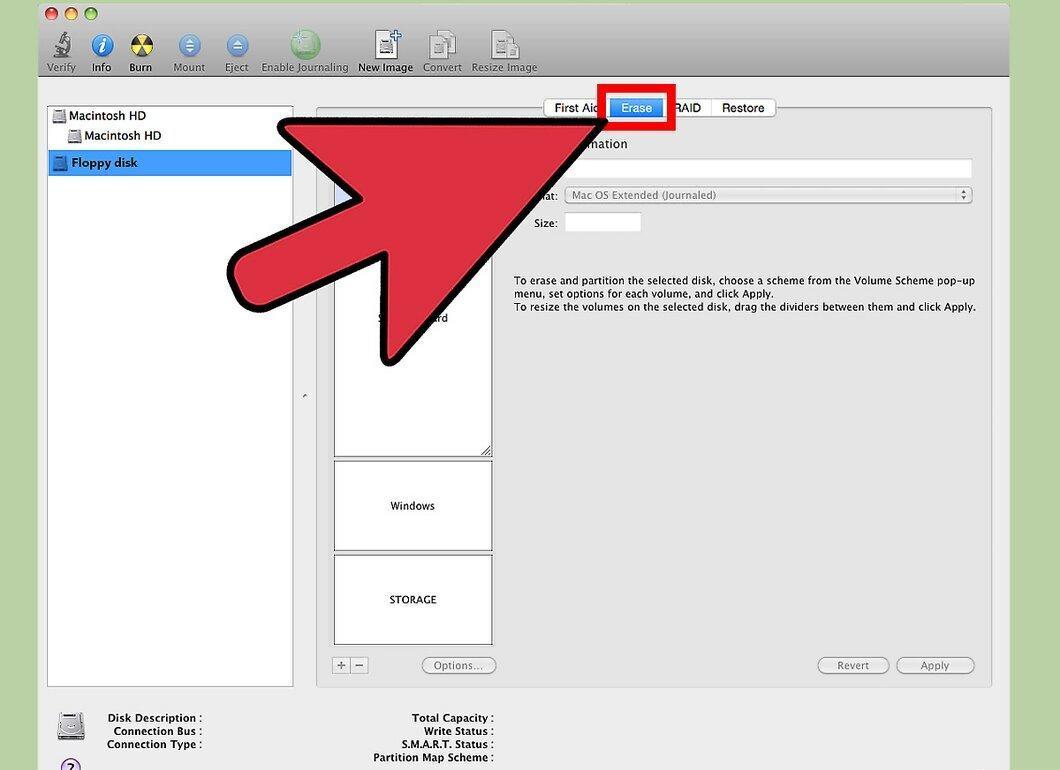
Step 4. Click the "Erase" button on the right side of the window.
Step 5. In the "Format" section, choose "Mac OS Standard" if you plan to use the floppy disk only on Mac OS.
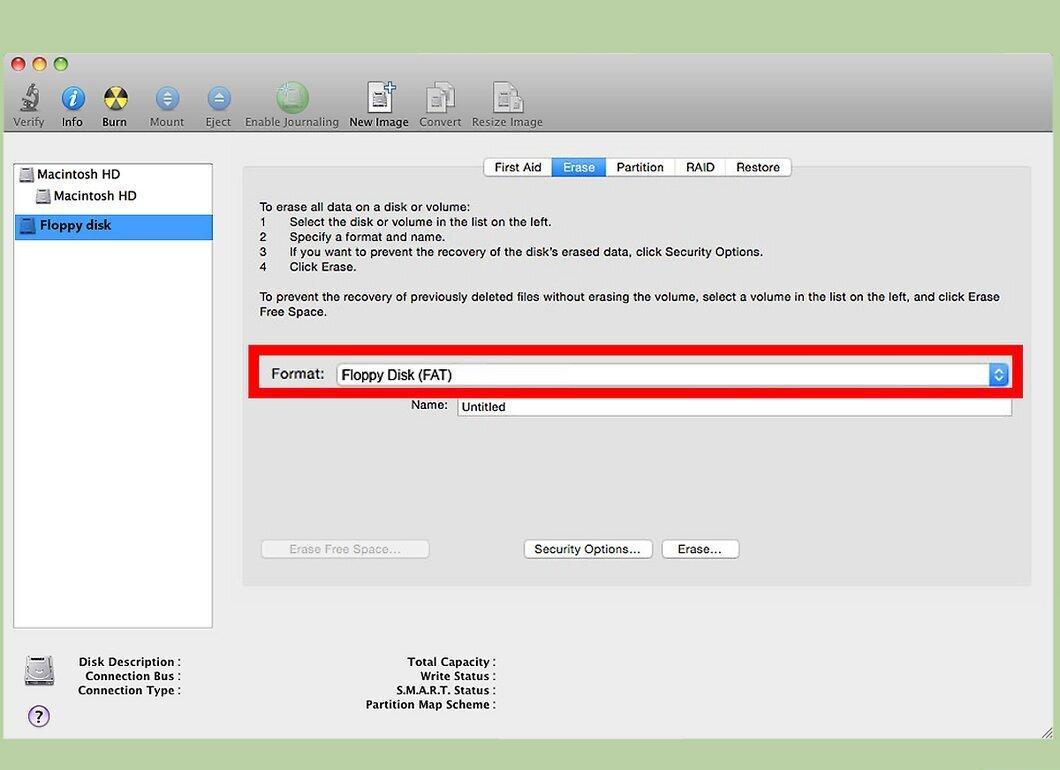
If you plan to use the floppy disk on other systems as well, select "FAT".
- Enter a name for the floppy disk in the "Name" field.
Step 6. Confirm by clicking "Erase" to start the formatting.