
In this article, you will find out how to properly format a USB drive. Remember, formatting will erase all files and folders from the device, so make sure to back up any important data first.
Windows
Step 1: Connect the USB Drive to Your Computer.
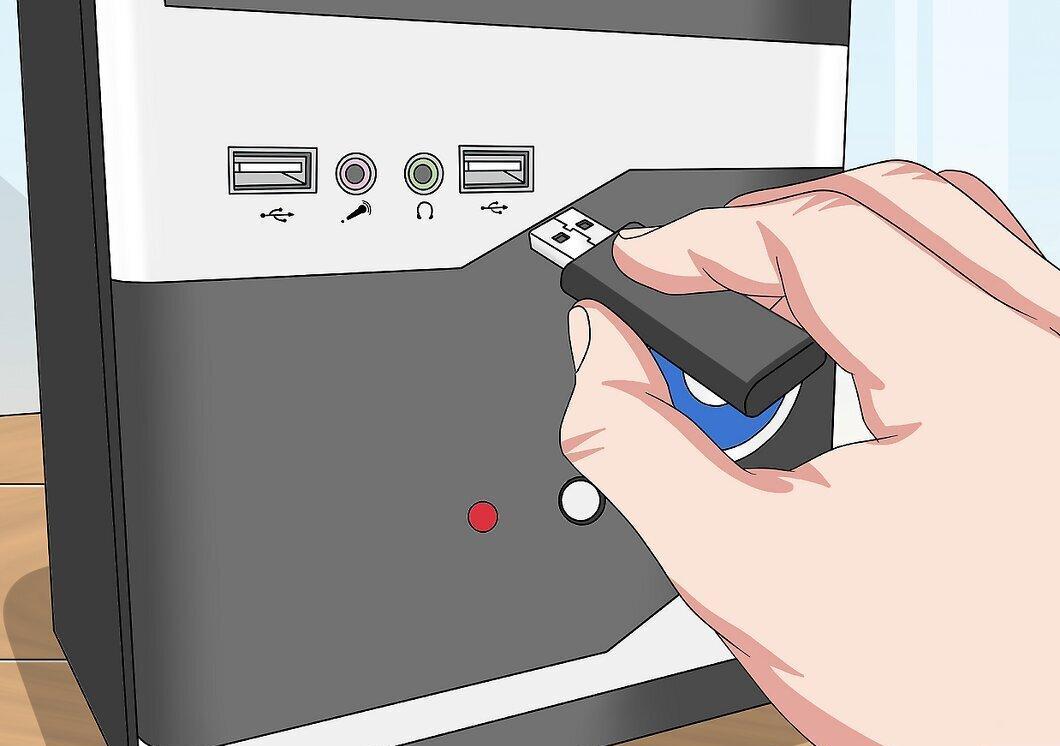
Insert the USB drive into one of the USB ports on your computer. These ports have a narrow rectangular shape.
Step 2: Open the Start Menu.
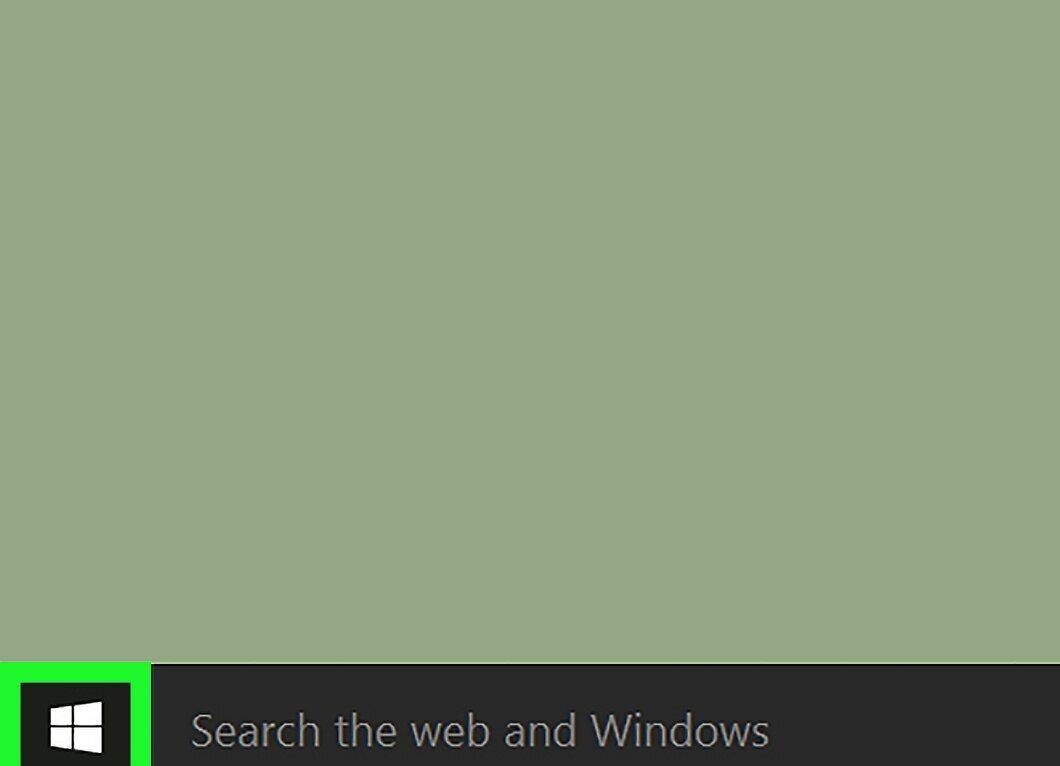
Click on the Windows icon in the lower-left corner of the screen or press the ⊞ Win key on your keyboard.
Step 3: Search for "This PC" in the Start Menu.
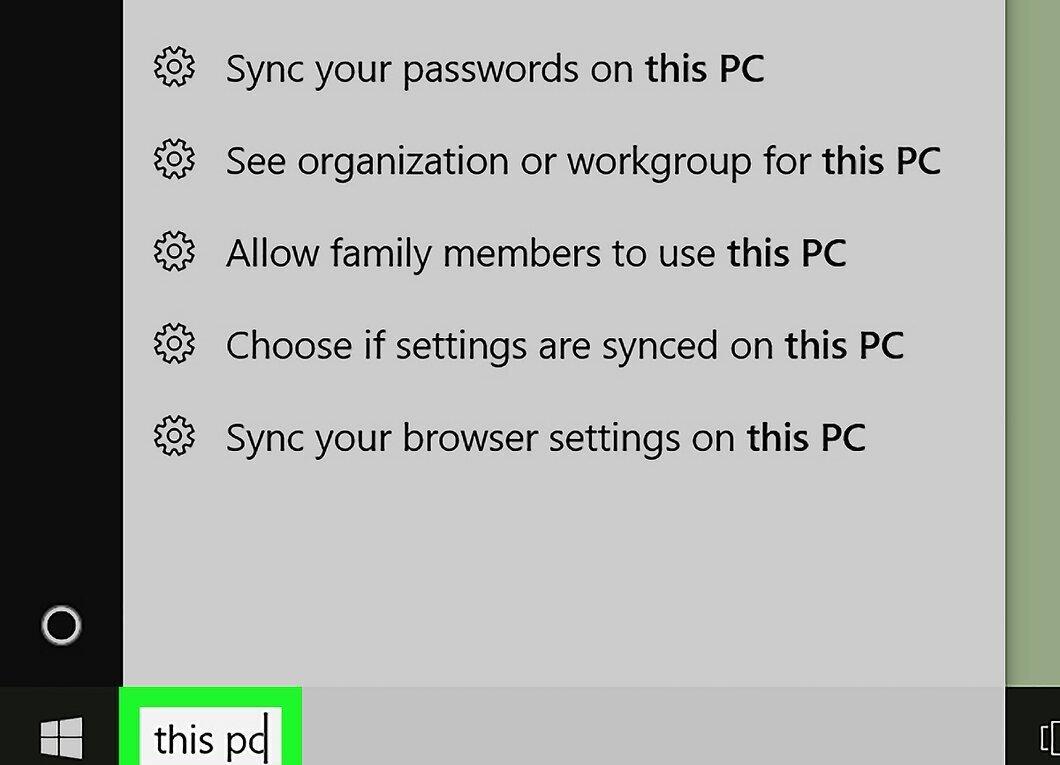
Type "This PC" in the search bar. An icon resembling a monitor will appear at the top of the menu.
- For Windows 7, click on "Computer" in the right side of the menu.
Step 4: Click on the "This PC" Icon.
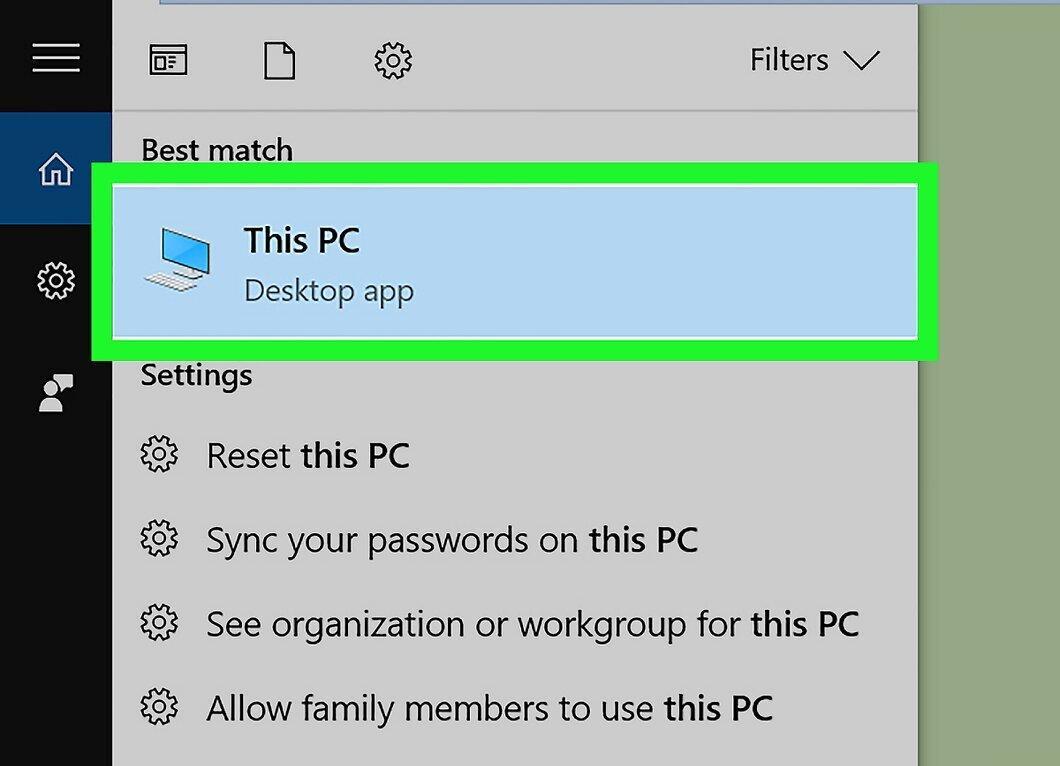
Click on the "This PC" icon. This will open a window with information about your computer.
- In Windows 7, you can skip this step.
Step 5: Right-click on the USB Drive Icon.
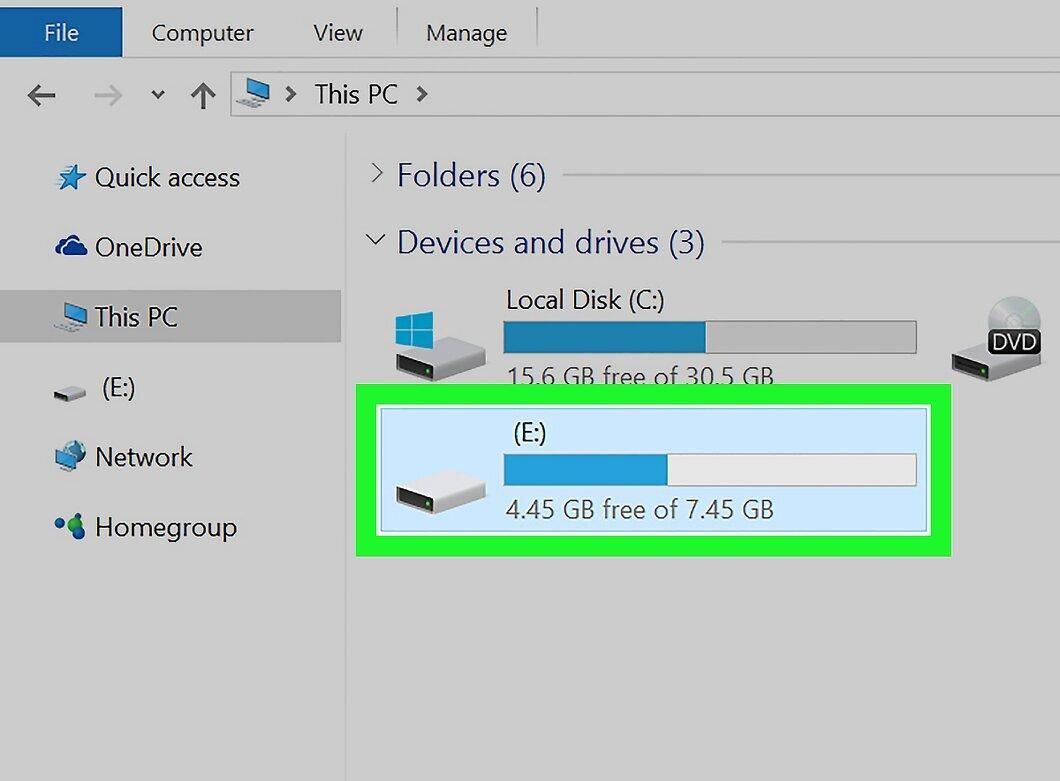
Right-click on the icon representing your USB drive. This icon is located under "Devices and drives." A context menu will appear.
- If you're using a laptop with a trackpad, tap it with two fingers to bring up the context menu.
Step 6: Select "Format."
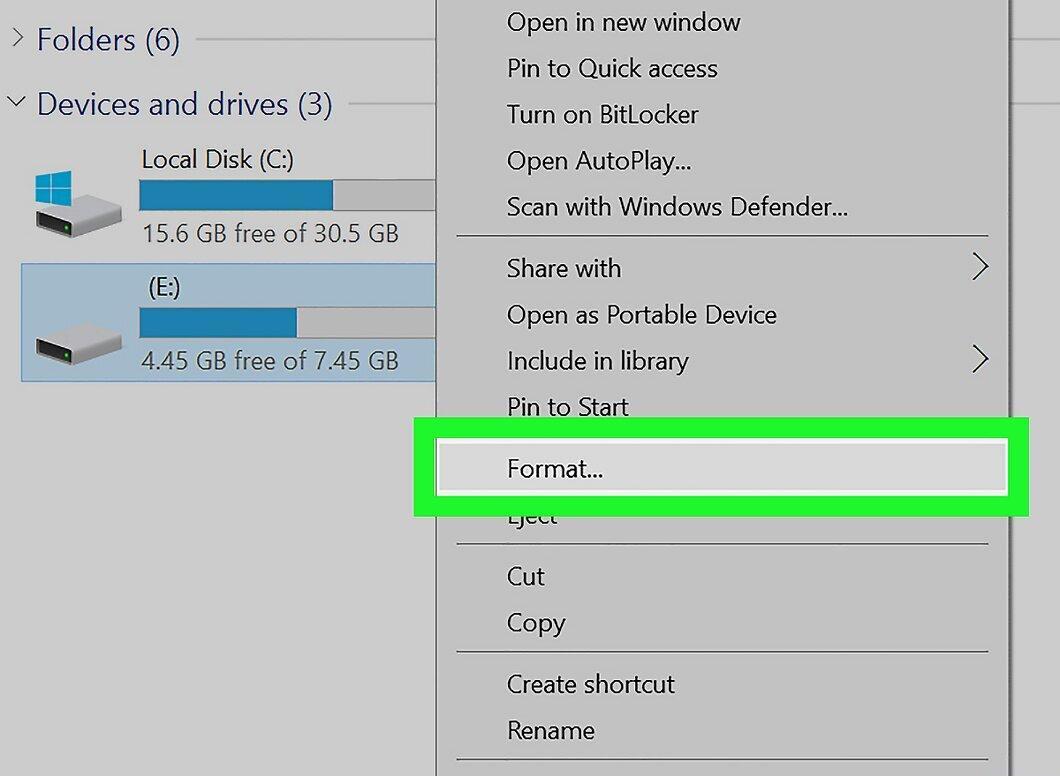
Choose the "Format" option from the menu. A formatting options window will appear.
Step 7: Choose the File System.
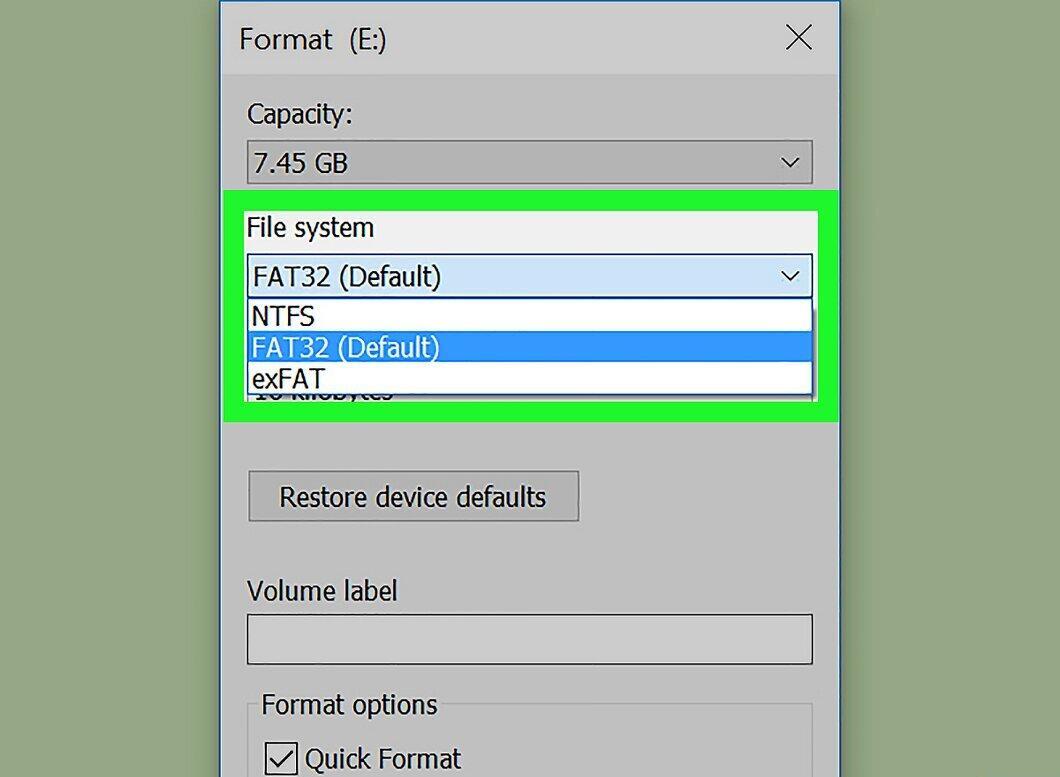
Click on the "File system" dropdown located at the top of the window. You will have the following options:
- NTFS: the standard file system for Windows. Suitable if the USB drive will only be used in Windows.
- FAT32: a universal file system supported by most operating systems.
- exFAT: similar to FAT32 but optimized for external drives.
Step 8: Choose the Desired Option.
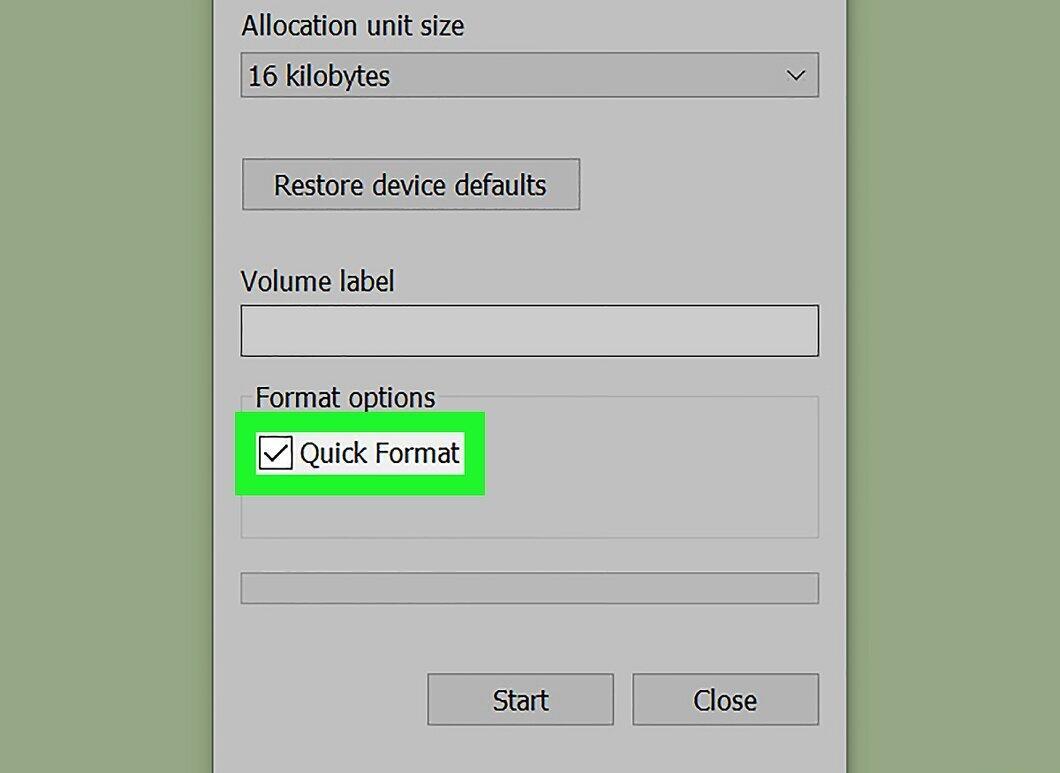
Select the appropriate file system based on your needs. For example, choose FAT32 for connecting to a gaming console or NTFS if the USB drive will only be used in Windows.
- If you are confident that the USB drive has not had any issues before, you can enable the "Quick Format" option.
Step 9: Click "Start."
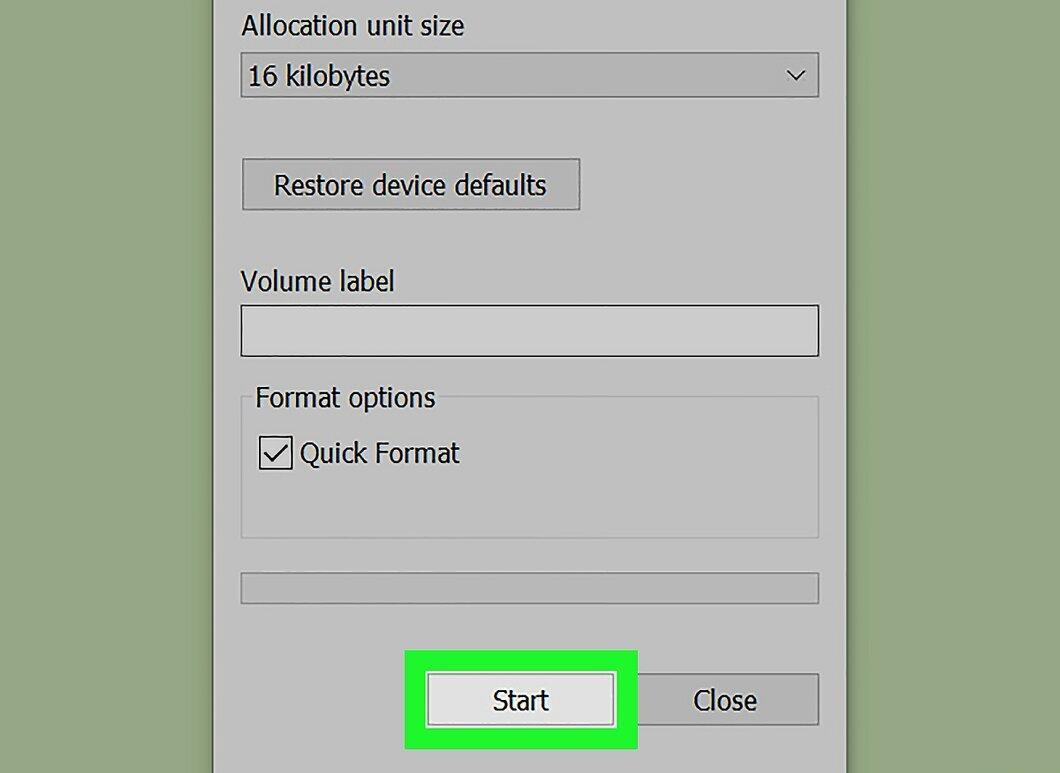
Click "Start," then confirm by pressing "OK." The formatting process will begin.
Step 10: Confirm Completion.
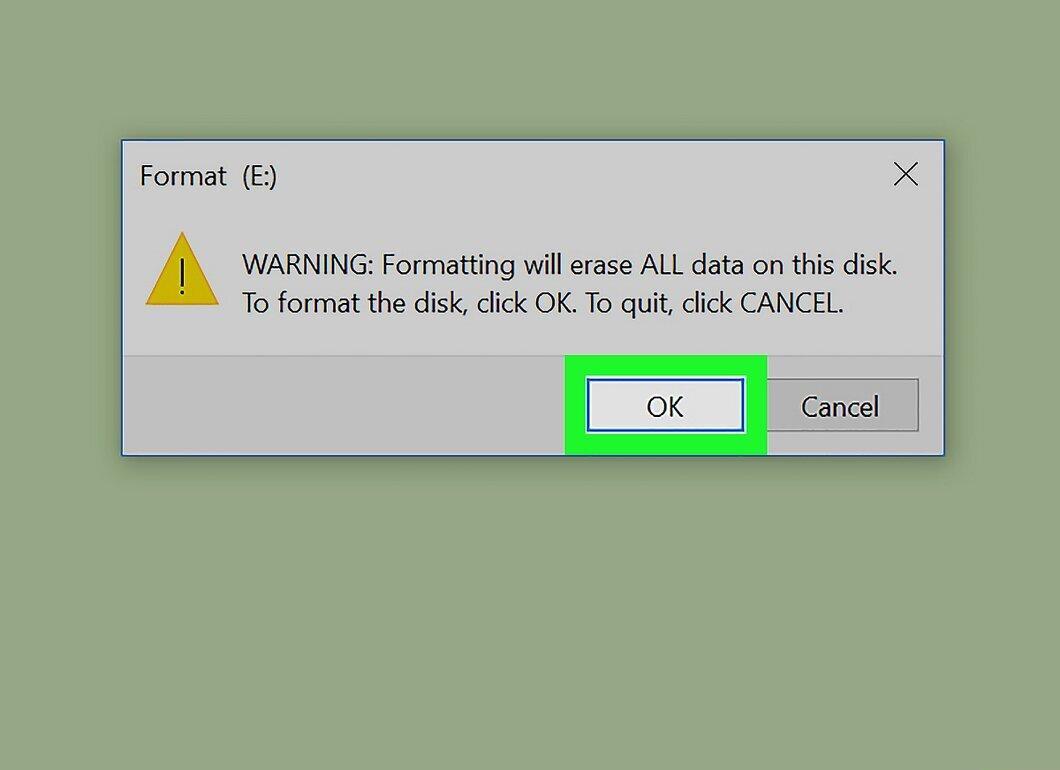
Click "OK" when the notification appears. Congratulations, your USB drive is successfully formatted!
Mac
Step 1: Connect the USB Drive to Your Computer.
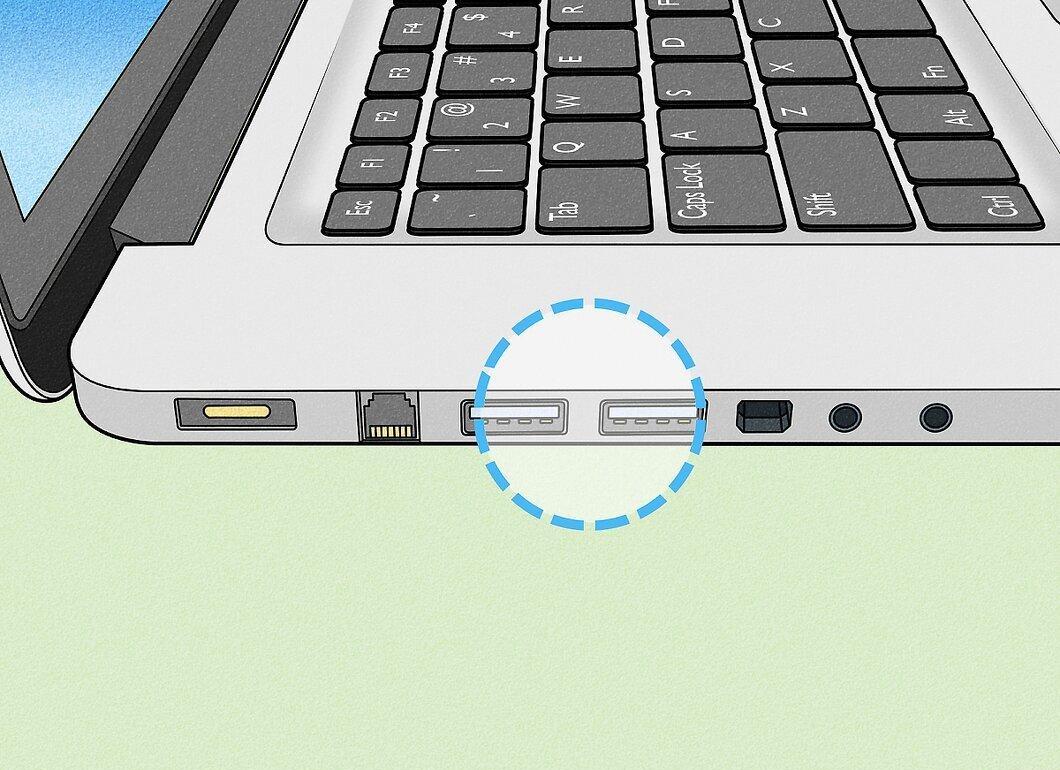
Insert the USB drive into the USB port on your Mac. If your device doesn't have such ports, you'll need an adapter.
Step 2: Open the "Go" Menu.
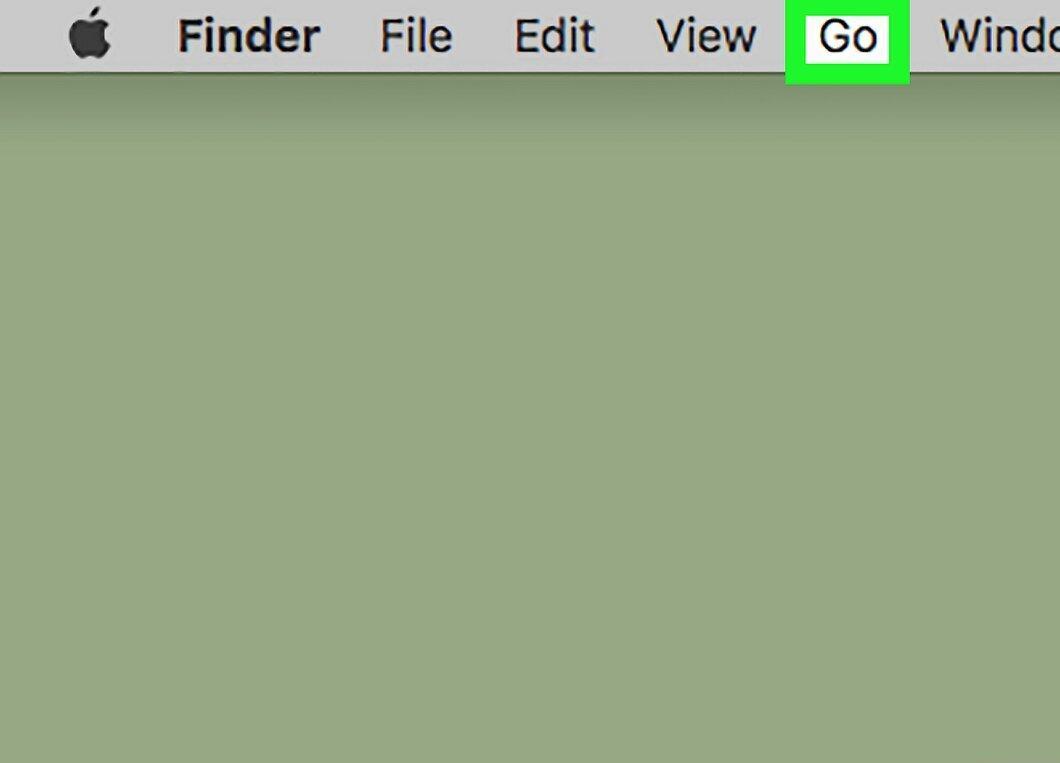
Click on "Go" in the upper left menu.
- If the "Go" option is inactive, first select the Finder icon in the dock, which looks like a blue face.
Step 3: Select "Utilities."
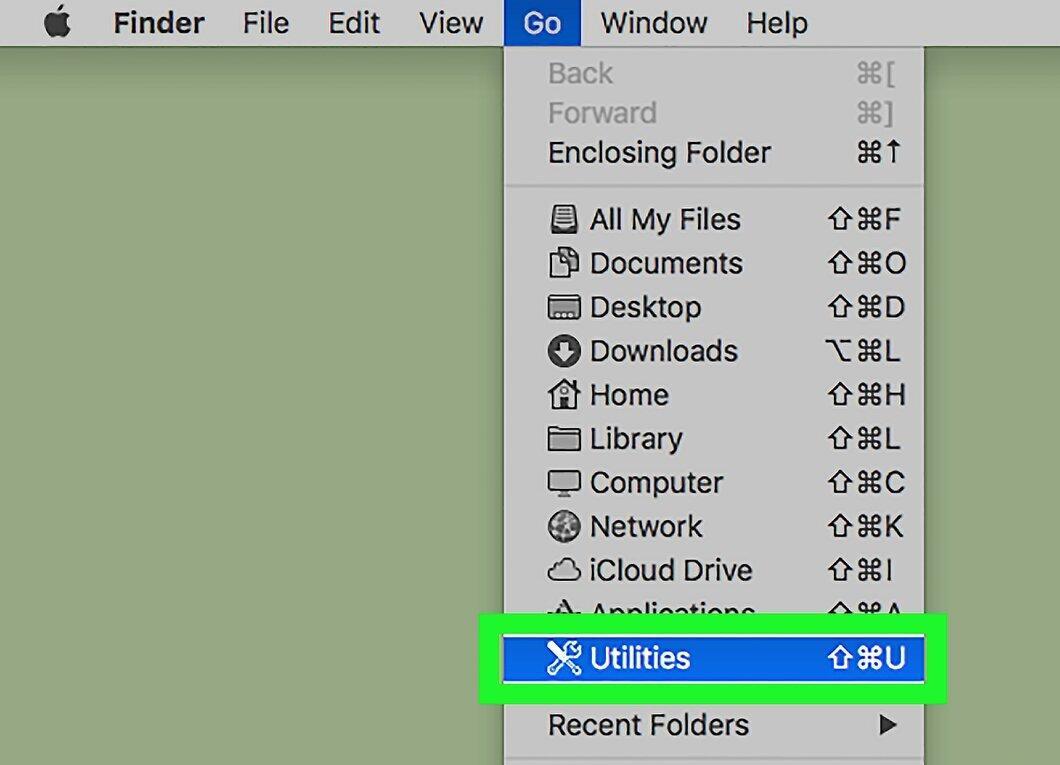
Click on the "Utilities" option found in the "Go" menu.
Step 4: Open "Disk Utility."
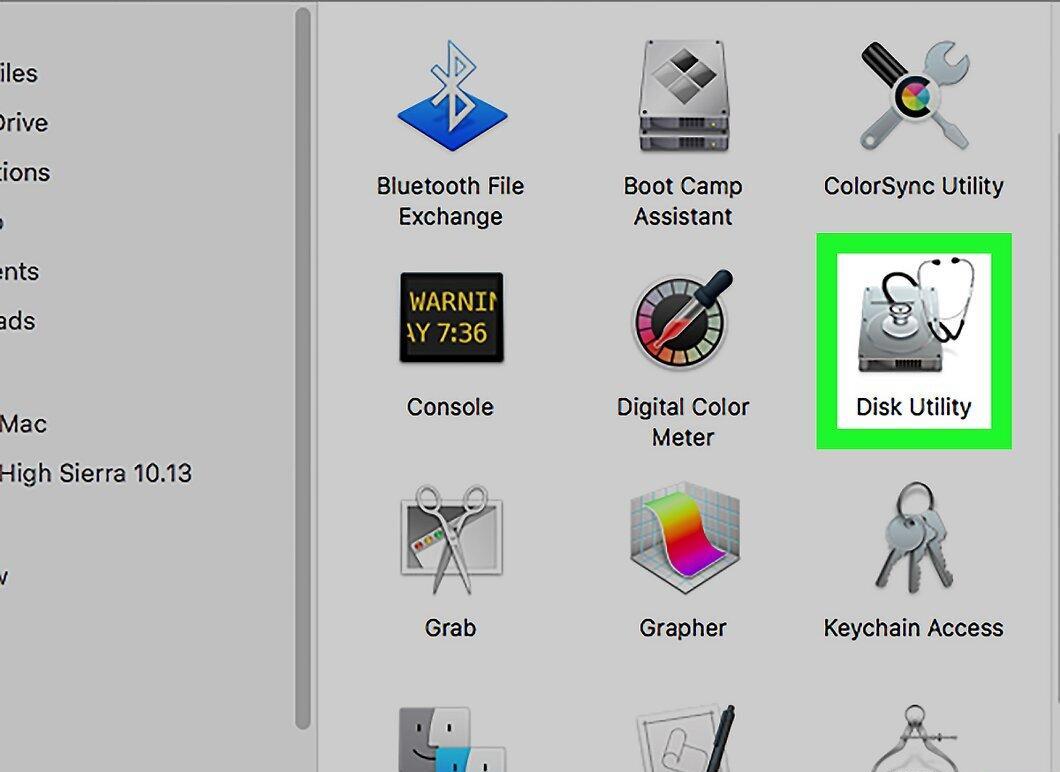
Double-click the "Disk Utility" icon located on the "Utilities" page.
Step 5: Locate Your USB Drive.
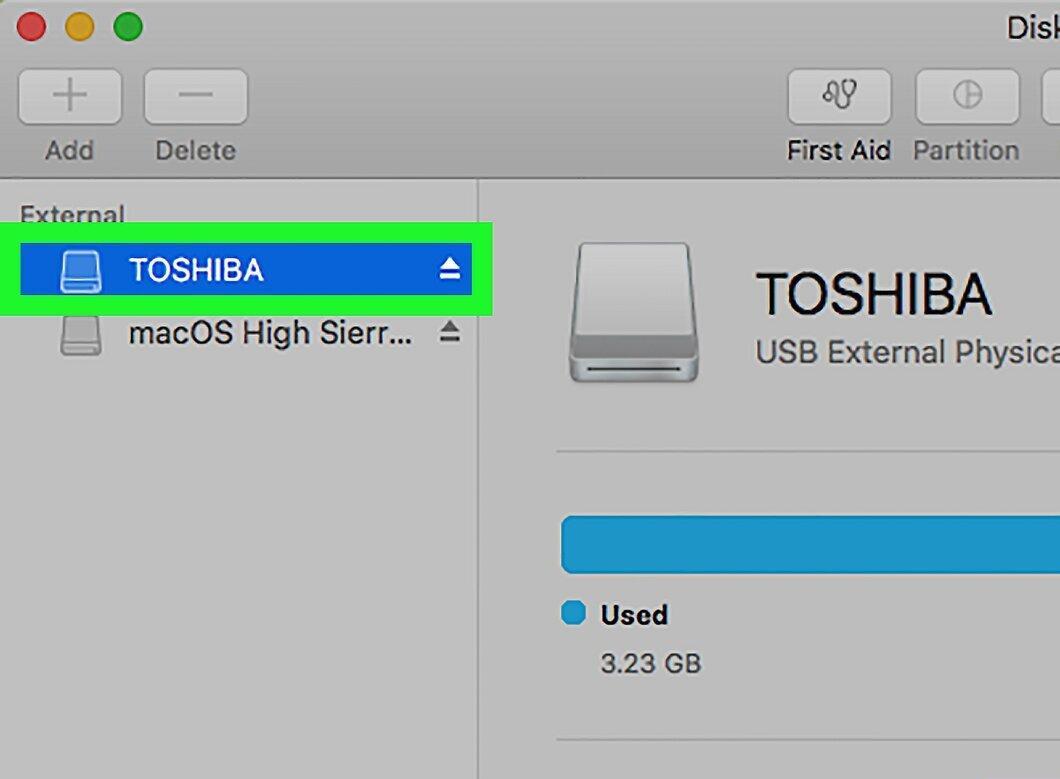
Select your USB drive's name from the left side of the "Disk Utility" window.
Step 6: Go to the "Erase" Tab.
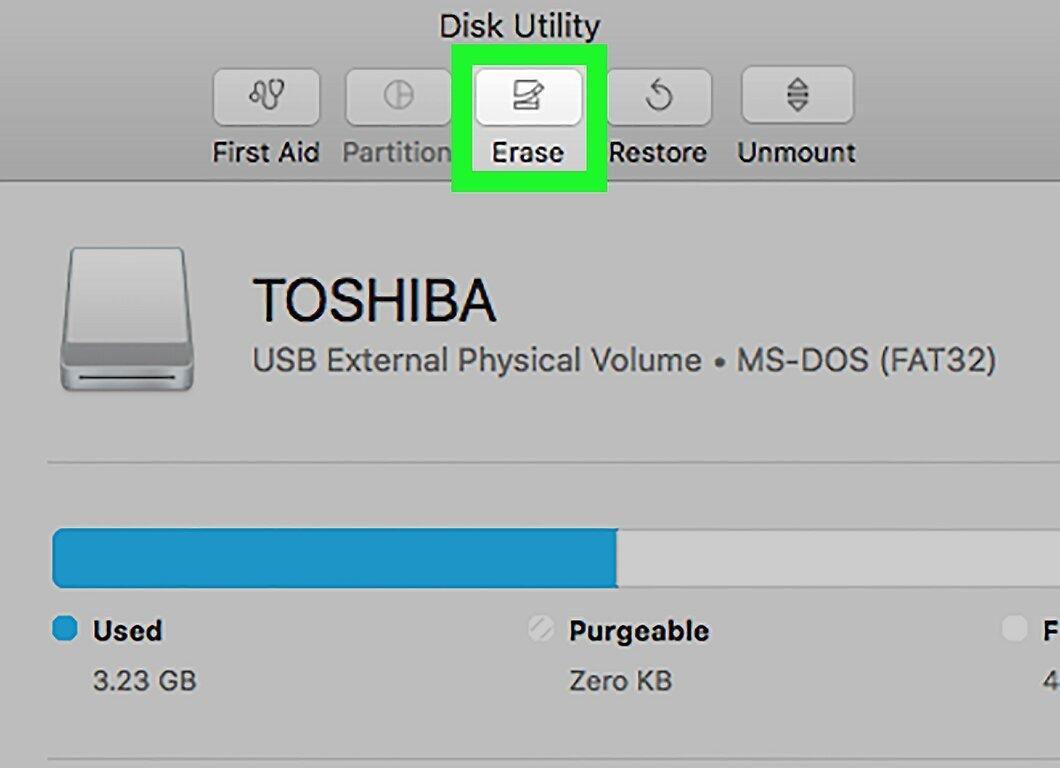
Click on the "Erase" tab at the top of the "Disk Utility" window.
Step 7: Choose the Format.
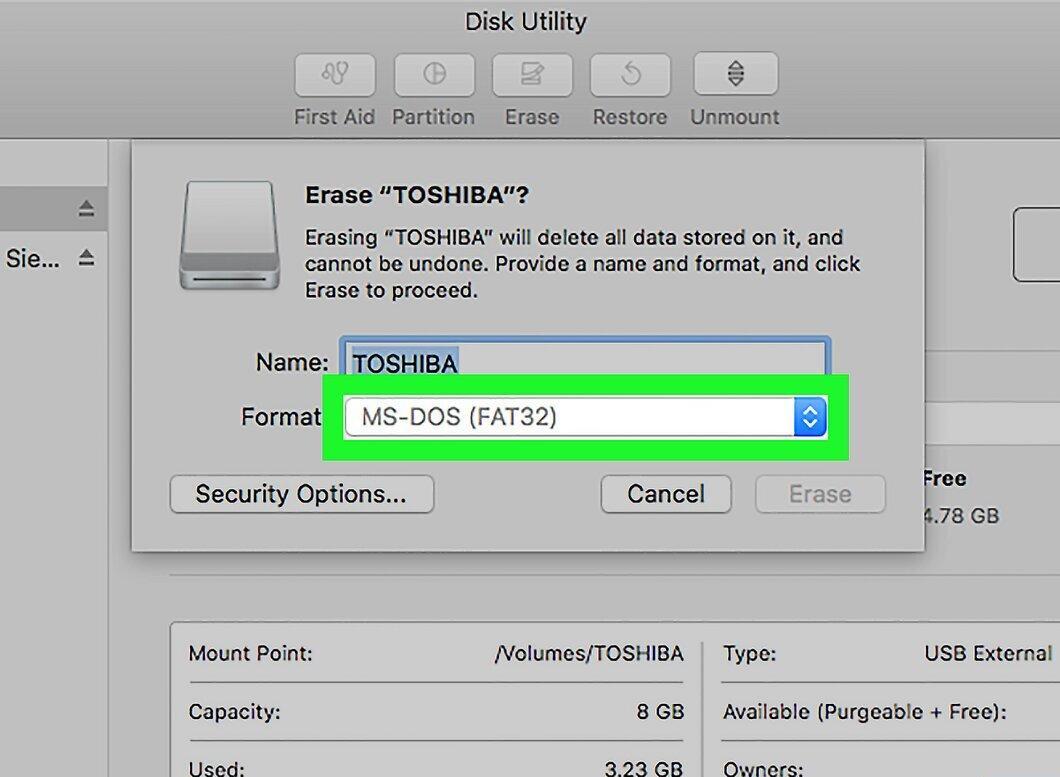
Click on the "Format" menu in the center of the page to see the available options:
- Mac OS Extended (Journaled);
- Mac OS Extended (Journaled, Encrypted);
- MS-DOS (FAT);
- ExFAT.
Step 8: Decide on the Format.
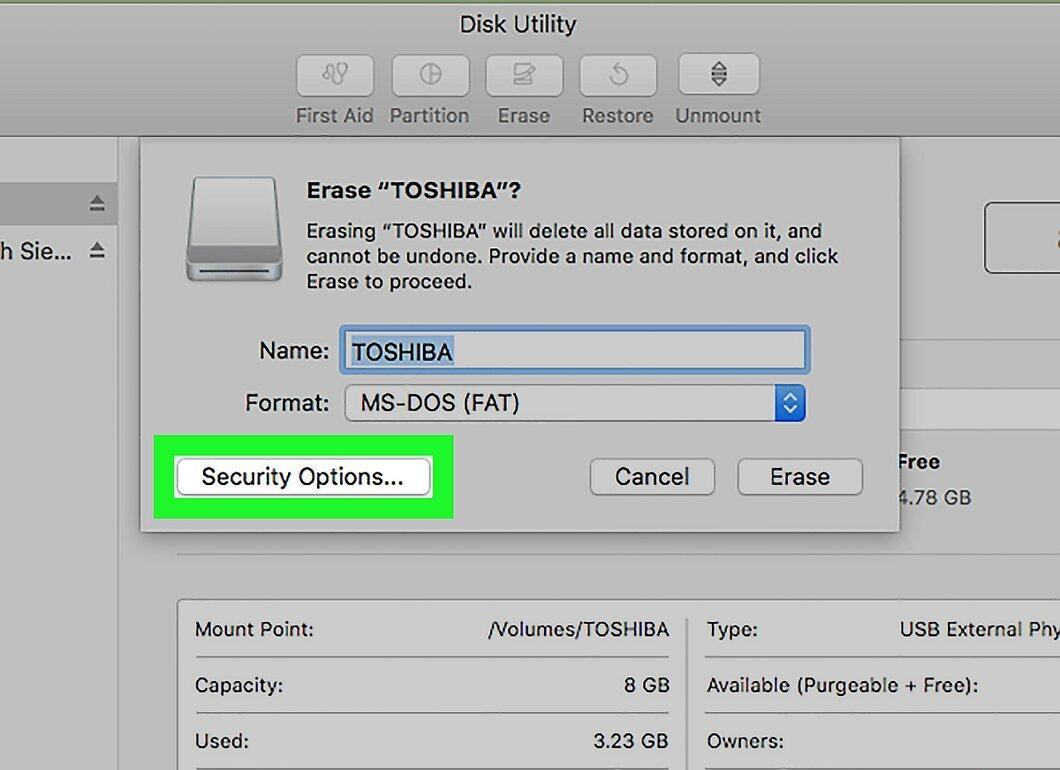
Choose the format based on your needs. Typically, one of the "Mac OS Extended" options is selected, but keep in mind that it will only work with Mac OS X. For compatibility with other systems, "MS-DOS (FAT)" or "ExFAT" would be suitable.
Step 9: Start the Formatting Process.
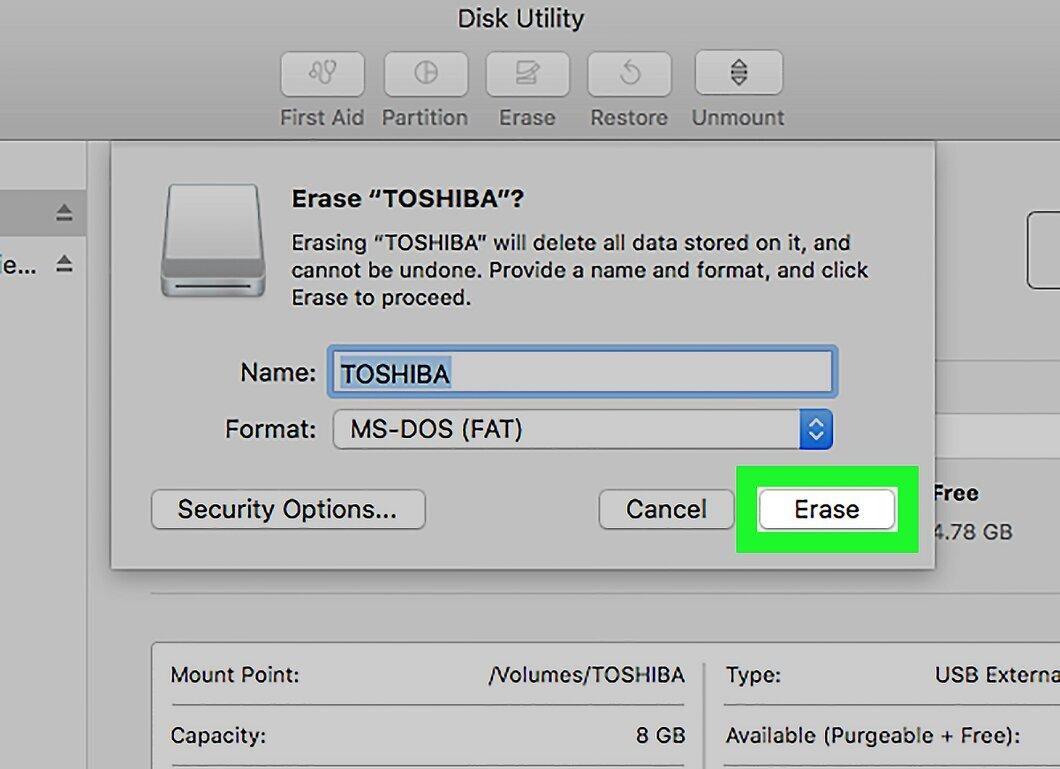
Double-click the "Erase" button. The formatting will begin, and once completed, your USB drive's icon will appear on the desktop.


