RJ-45 connectors have gained popularity due to their use in telephone and network cables. They are also employed for serial network connections. Initially designed for phones, the RJ-45 emerged as technology advanced and the need for more compact connectors arose. Today, you can find two types of RJ-45 connectors for Cat 5 and Cat 6 cables. Make sure your connector matches the type of cable you have purchased. For a visual comparison, place the connectors side by side: you'll notice that the Cat 6 is larger than the Cat 5. Below is a step-by-step guide on how to crimp an RJ-45 connector onto a cable.
Part 1
Step 1. Purchase Ethernet cable and RJ-45 connectors.
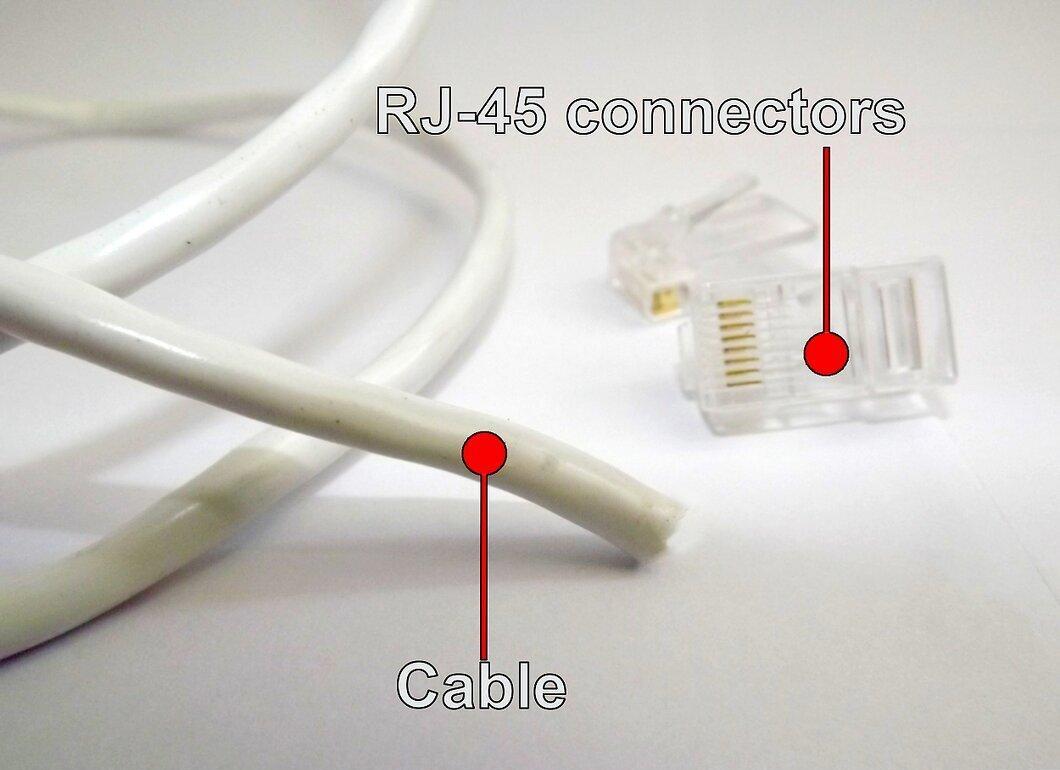
First, buy an Ethernet cable and RJ-45 connectors. Typically, the cable is sold in spools of specific lengths, so once you’re home, measure the required distance and cut the appropriate length.
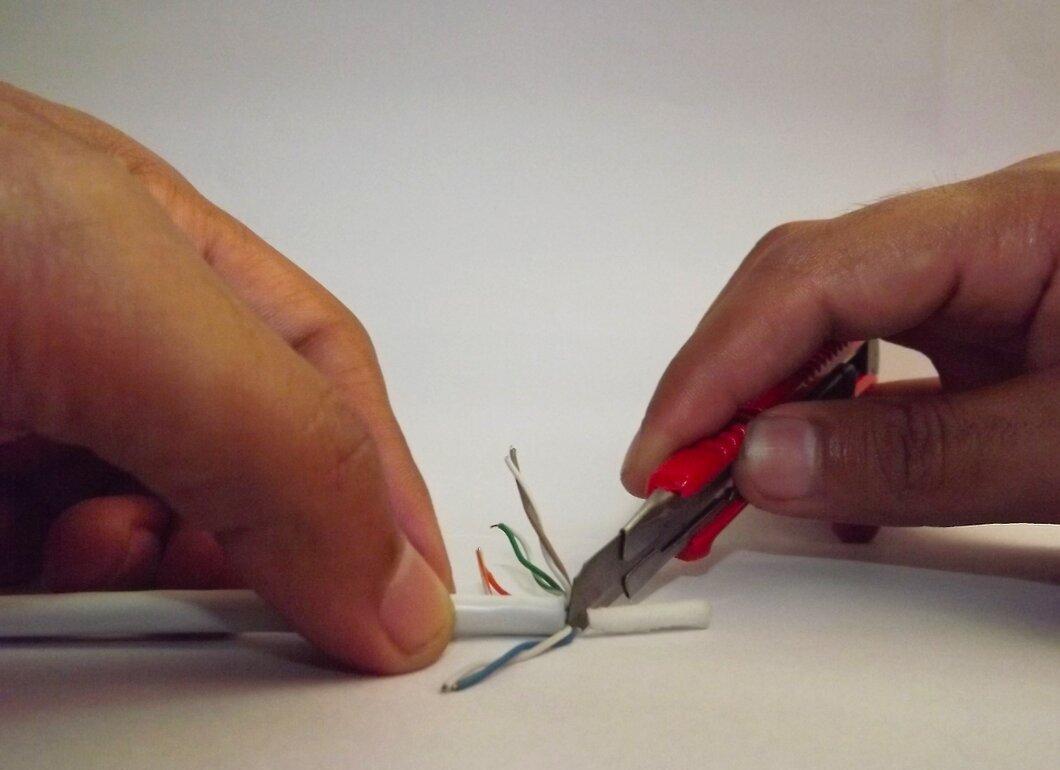
Step 2. Using a utility knife, make a shallow cut on the outer insulation and strip 2.5 - 5.1 cm of insulation from one end.
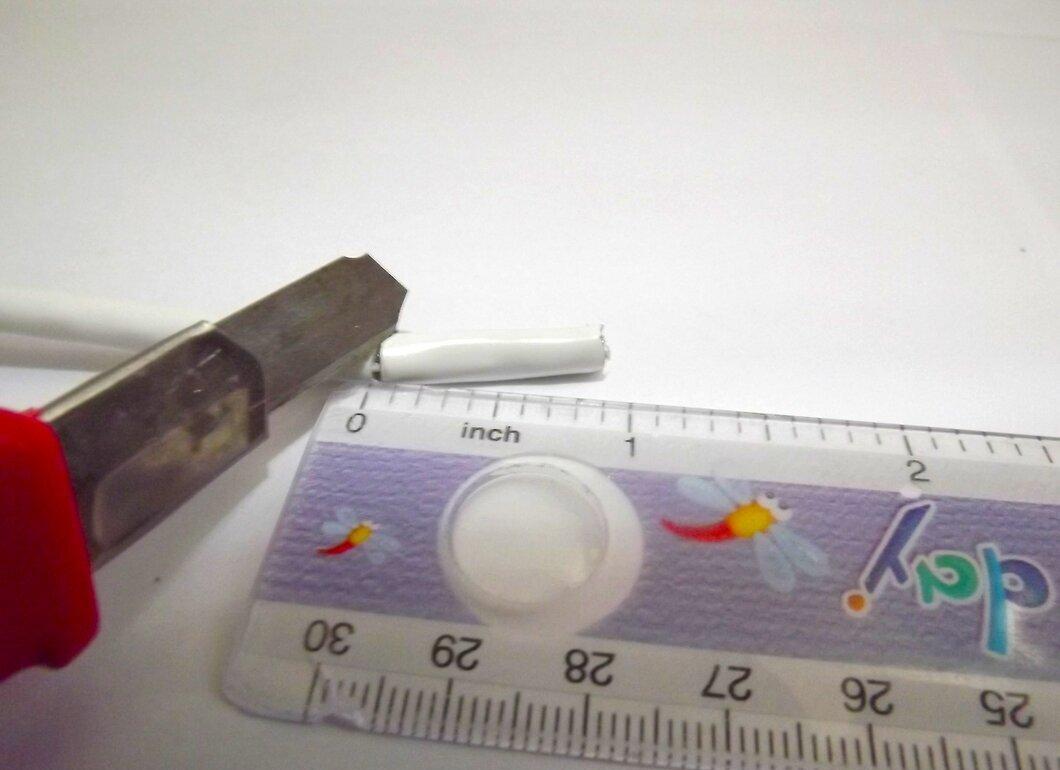
Carefully make a circular cut around the cable with the utility knife so that the insulation comes off easily. You will find four pairs of twisted wires in different colors.
- White with an orange stripe and orange
- White with a green stripe and green
- White with a blue stripe and blue
- White with a brown stripe and brown
Step 3. Fold each pair of wires back to expose the center of the cable.
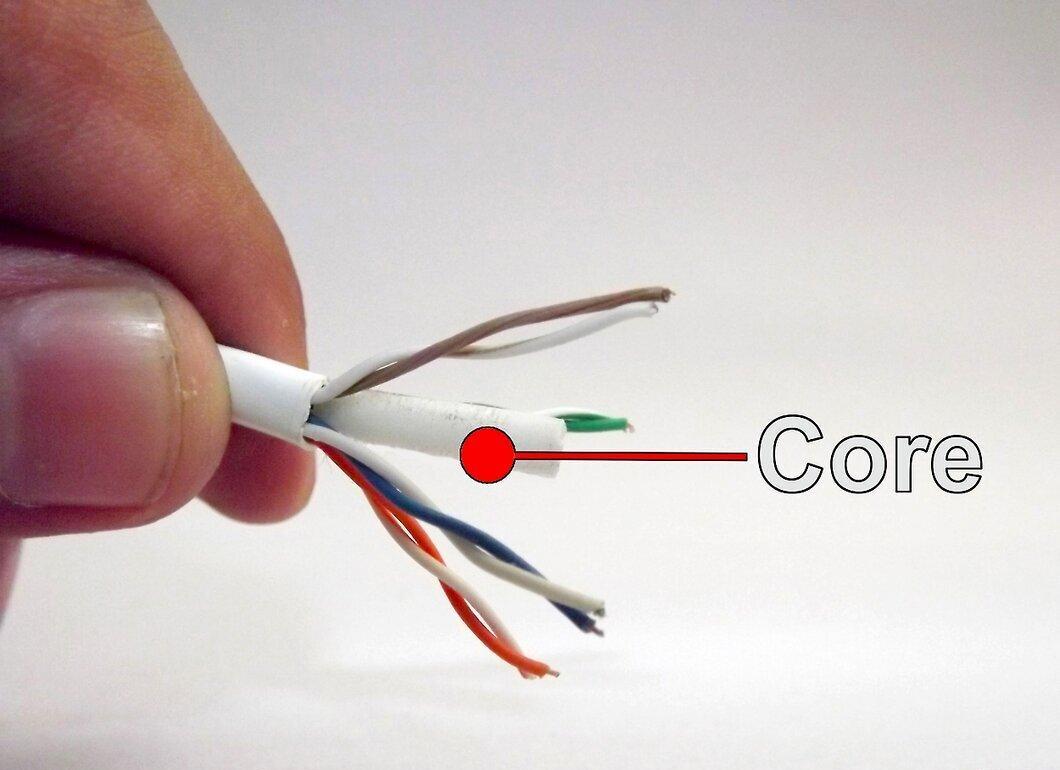
Step 4. Cut the core of the cable.
Step 5. Align the wires using two tweezers.
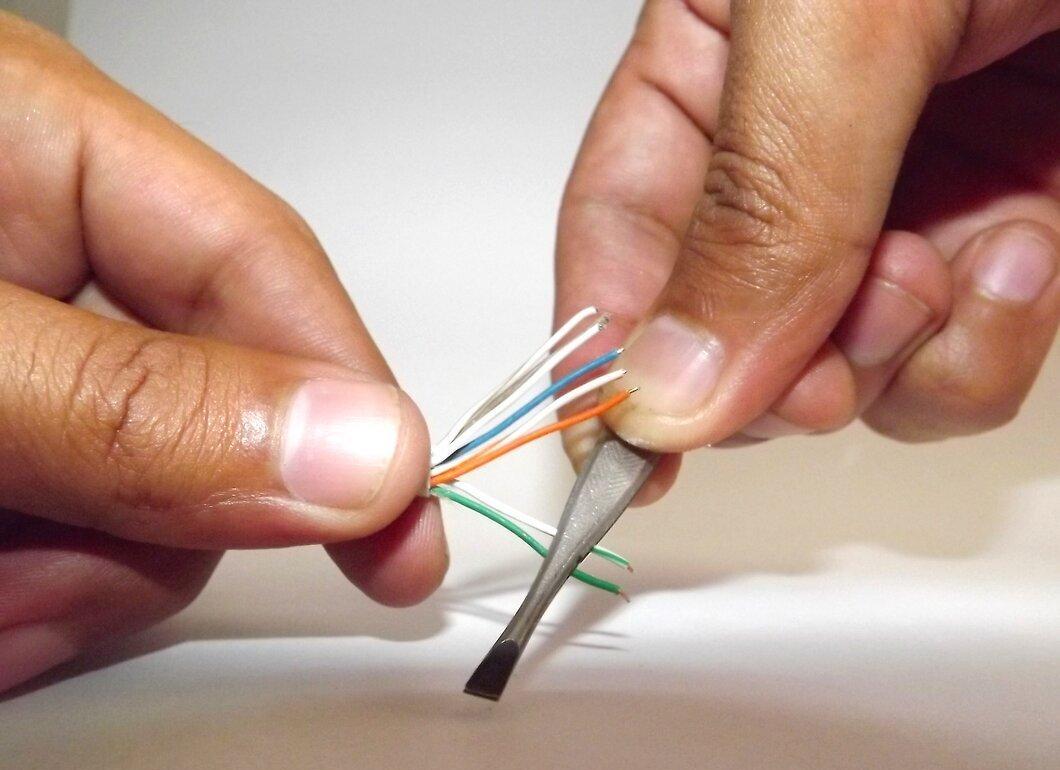
Using two tweezers, carefully align the wires. Hold one wire at an angle with one tweezer and use the other to straighten them. The straighter the wires are, the easier the following steps will be.
Step 6. Arrange the wires in the correct order from left to right as they will be inserted into the RJ-45 connector:
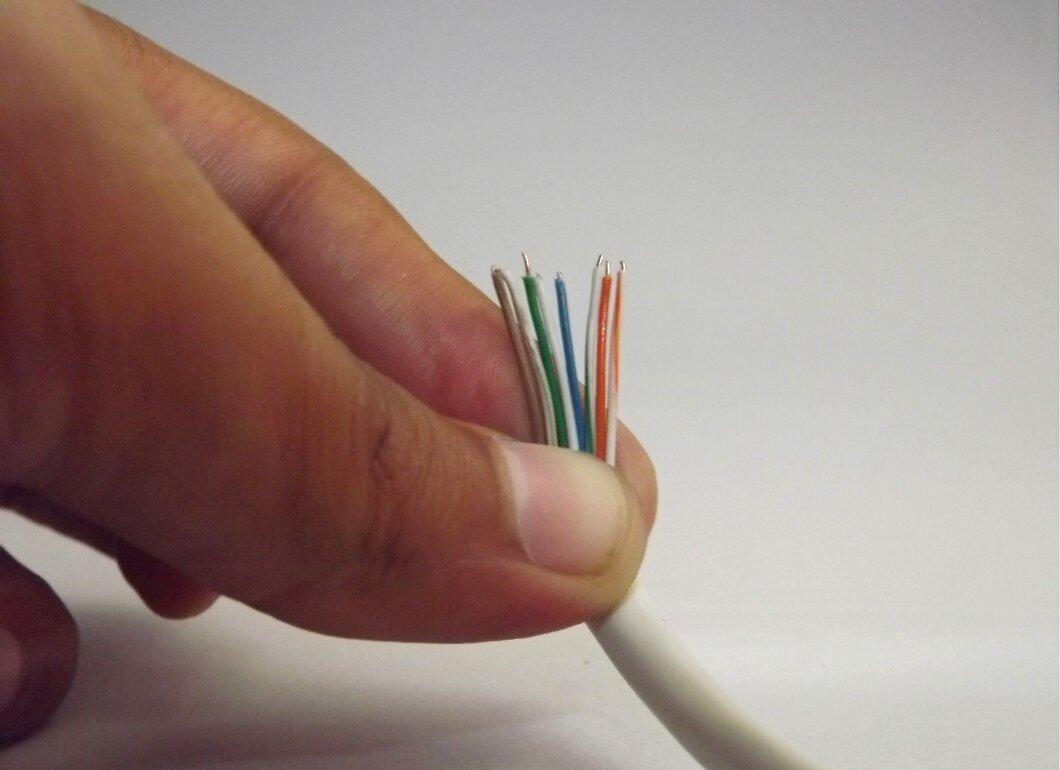
- White with an orange stripe
- Orange
- White with a green stripe
- Green
- White with a blue stripe
- Blue
- White with a brown stripe
- Brown
Step 7. Position the RJ-45 connector against the wires and trim them to the desired length.
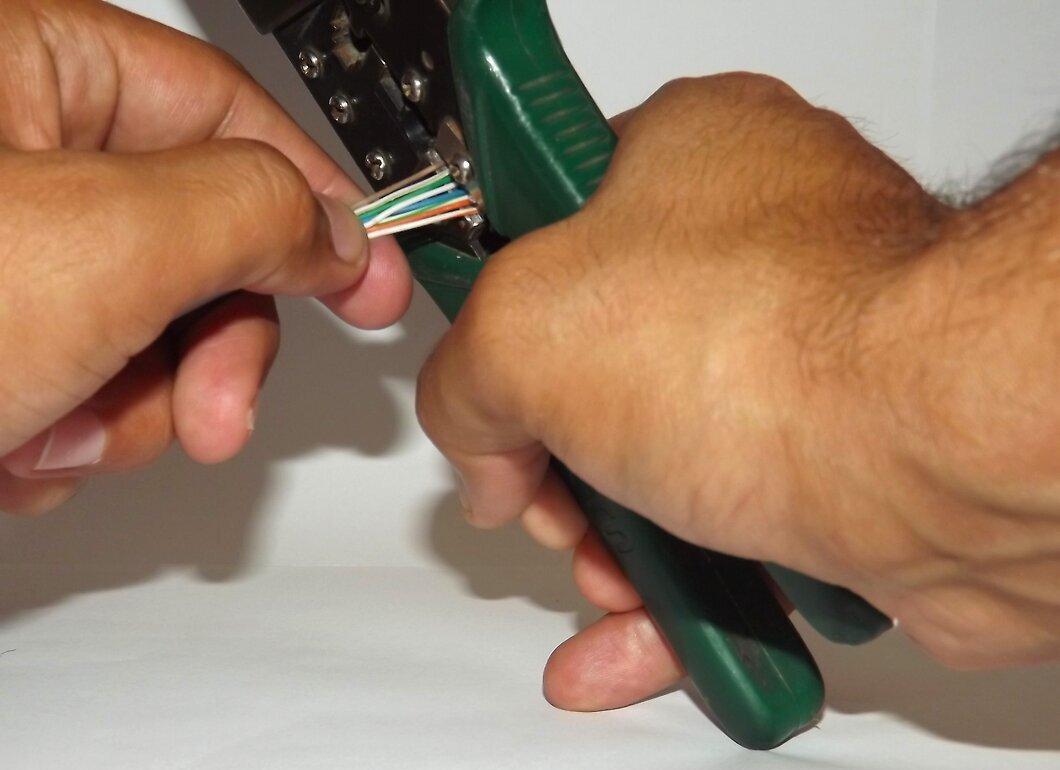
Align the RJ-45 connector with the wires and carefully trim them so that they reach the desired length. The cable insulation should slightly enter the connector. Ensure that the ends of the wires align with the top of the RJ-45 connector.
- Trim the wires gradually, checking the length periodically. It's better to cut a little at a time than to ruin the entire process by cutting too much.
Step 8. Insert the wires into the RJ-45 connector.
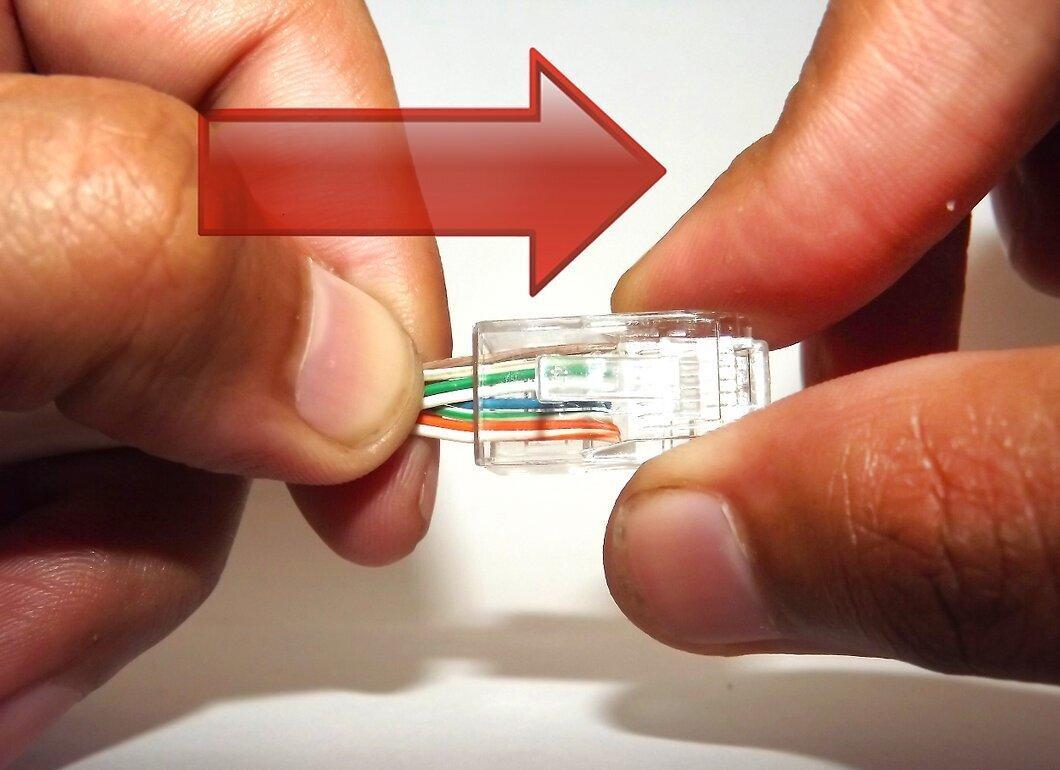
Carefully insert the wires into the RJ-45 connector. Make sure they are correctly aligned and each color fits into its respective slot. Check that the wires reach the end of the connector; otherwise, your crimped connector may be useless.
Step 9. Use a crimping tool to crimp the RJ-45 connector.
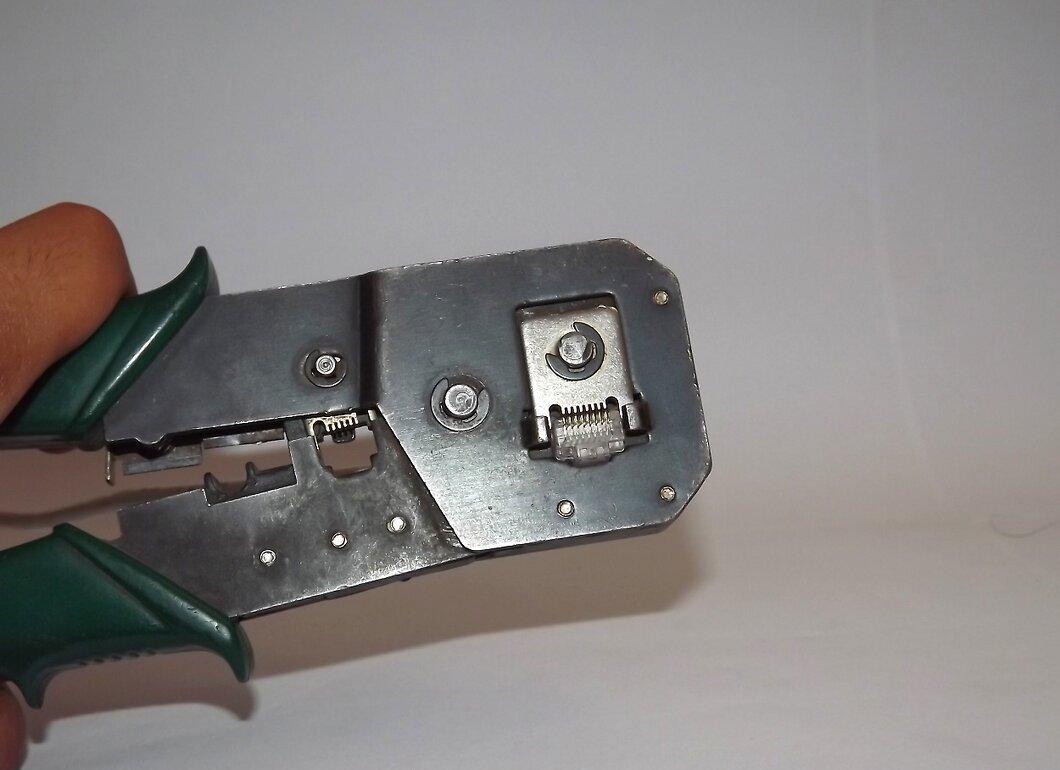
Insert the cable into the connector so that the tab at the bottom presses the insulation along with the wires. Crimp the cable again to ensure a secure connection.
Step 10. Repeat the previous steps to crimp the second end of the cable.
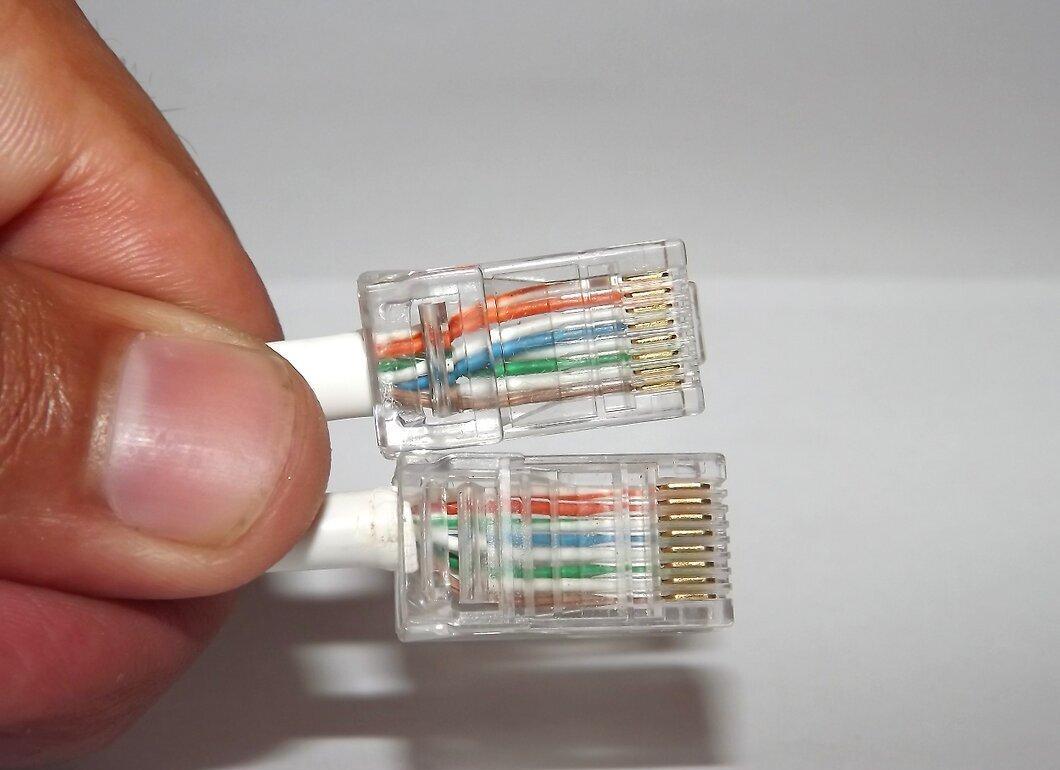
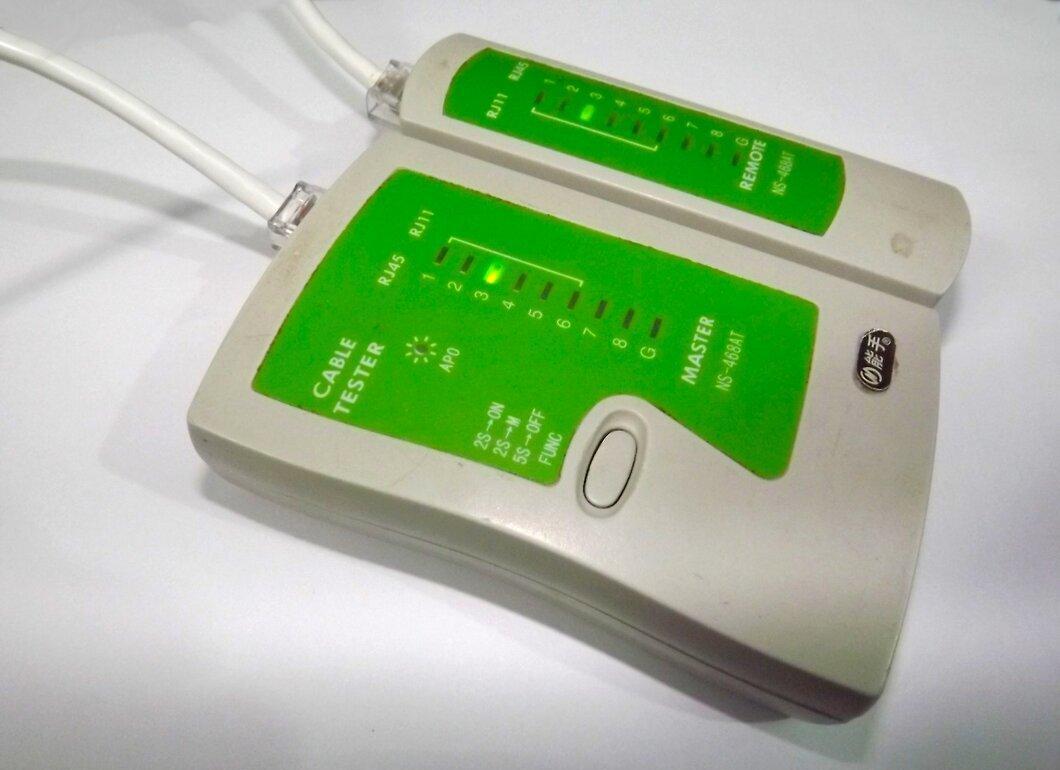
Step 11. After crimping both ends, test the cable's functionality using a tester.