
Every year, more devices are capable of connecting to wireless networks, and setting up a wireless router becomes an essential part of establishing a home network. With it, your gadgets can access the internet from anywhere in your home without the hassle of wires. Let's go through the steps for setting up your router.
Connecting the Equipment
Step 1. Purchase a Wireless Router.
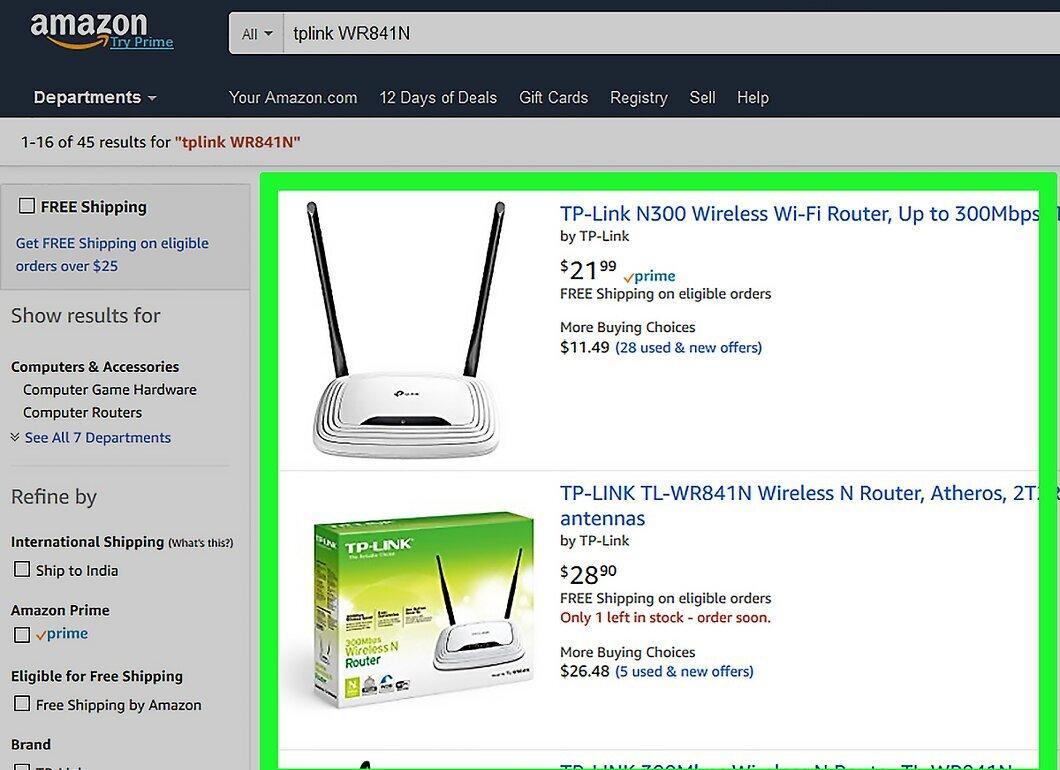
Start by buying a wireless router. These devices come in various shapes and sizes, so it's worth comparing their features to choose one that best fits your needs. If you need to cover a larger area or have many walls in your home, opt for a router with multiple antennas.
- Ensure that your new router supports the 802.11n standard (or Wireless-N), as it offers better speed and stability compared to older standards like 802.11g.
Step 2. Connect the Router to the Modem.
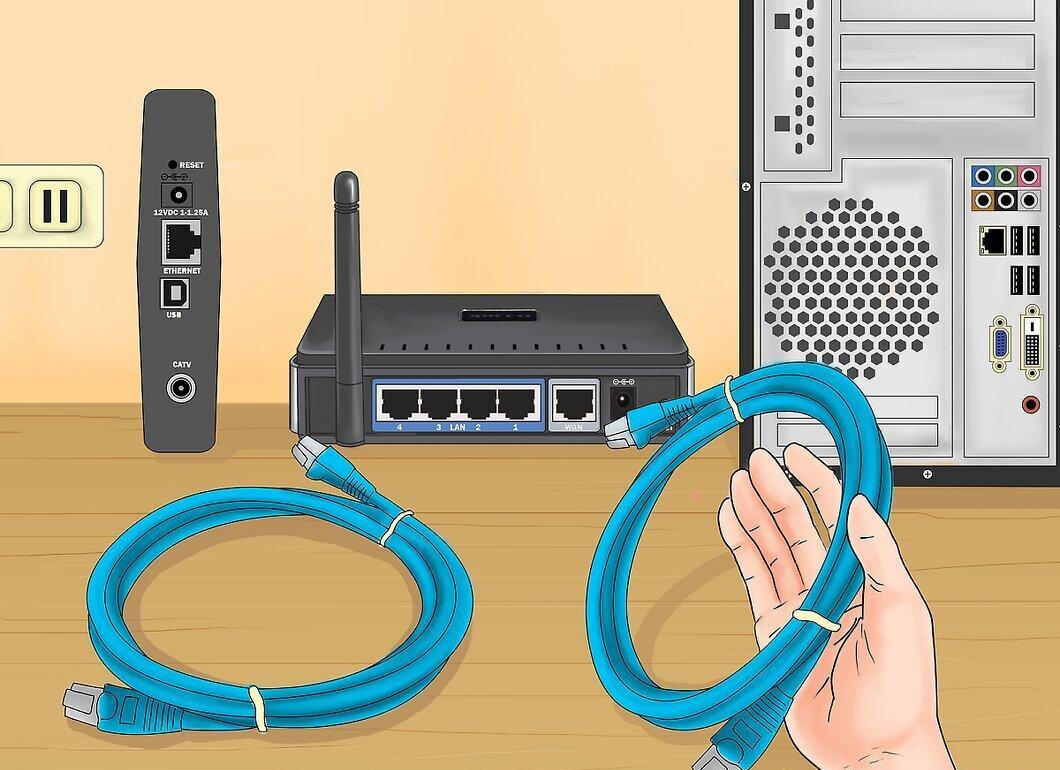
The next step is to connect the router to the modem. With wireless routers, you can use the internet on multiple devices simultaneously. For this, the modem needs to be connected to the router, and it's best to place them close to each other.
- Connect the router and modem using an Ethernet cable, which usually comes with the router.
- Insert the cable into the WAN/Internet port of the router, which is typically color-coded (often yellow).
Step 3. Connect Some Devices with a Wire.
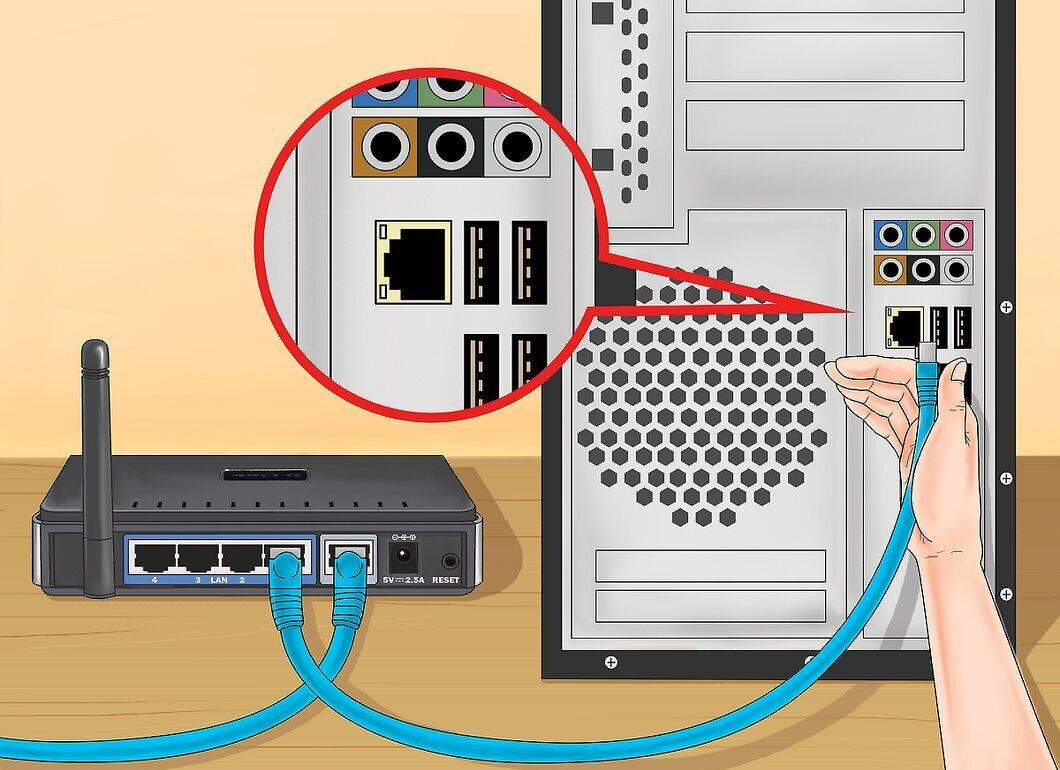
If you have a computer, gaming console, or TV near the router, connect them using Ethernet. This will provide a more stable and faster connection with no extra setup required.
Step 4. Connect at Least One Computer via Ethernet.
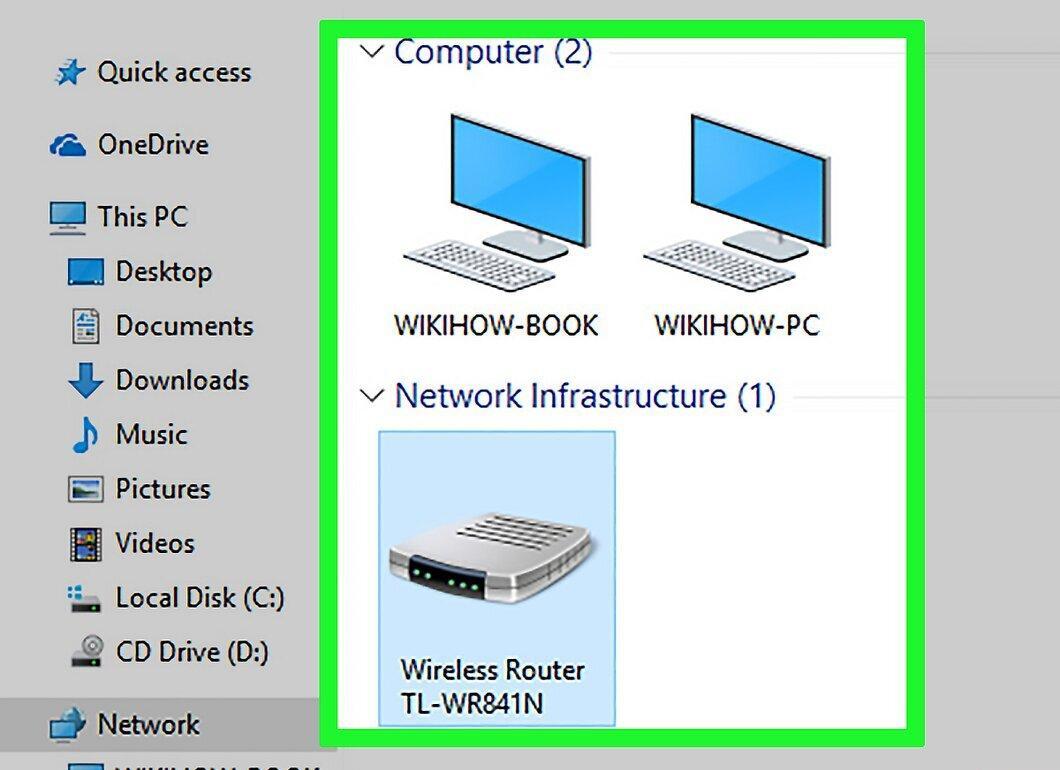
Make sure to connect at least one computer using an Ethernet cable. This will allow you to change the router's settings. You can disconnect this computer later.
Configuring the Router
Step 1. Find the Router's IP Address.
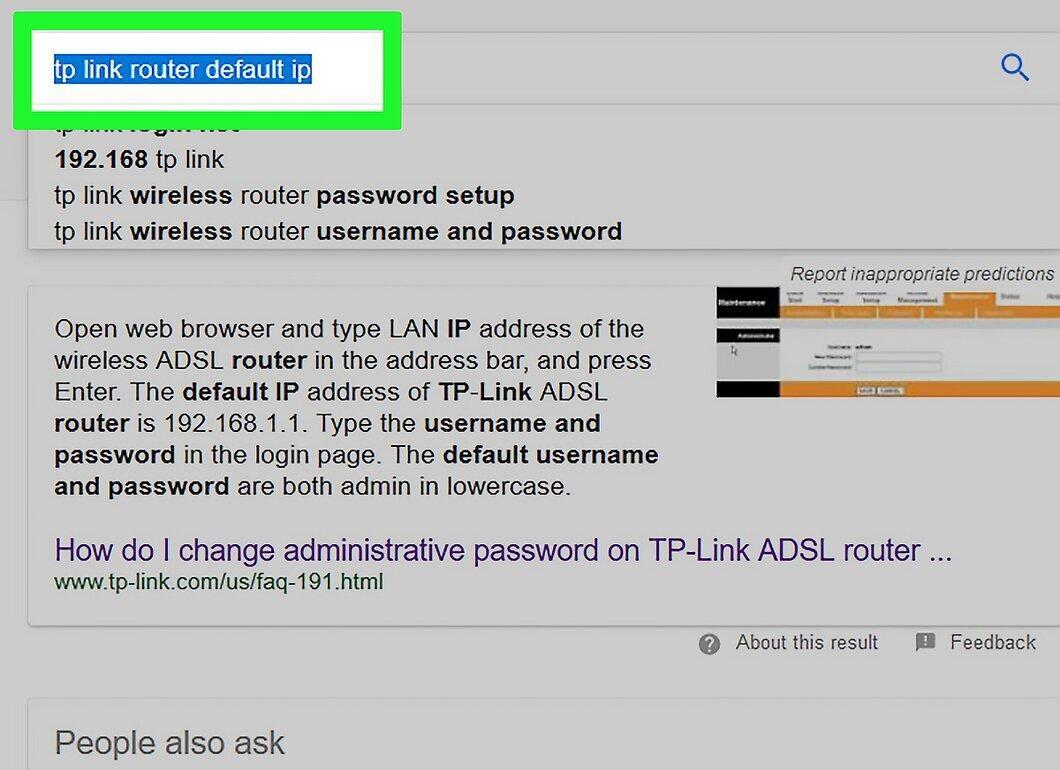
To begin setup, find the IP address of your router. New models typically have a sticker with this information, while older models may require you to consult the documentation. If you can't find it, try searching online for your router's model.
- The IP address consists of four groups of three digits separated by periods.
- Common IP addresses include: 192.168.1.1, 192.168.0.1, or 192.168.2.1.
Step 2. Open a Web Browser on the Connected Computer.
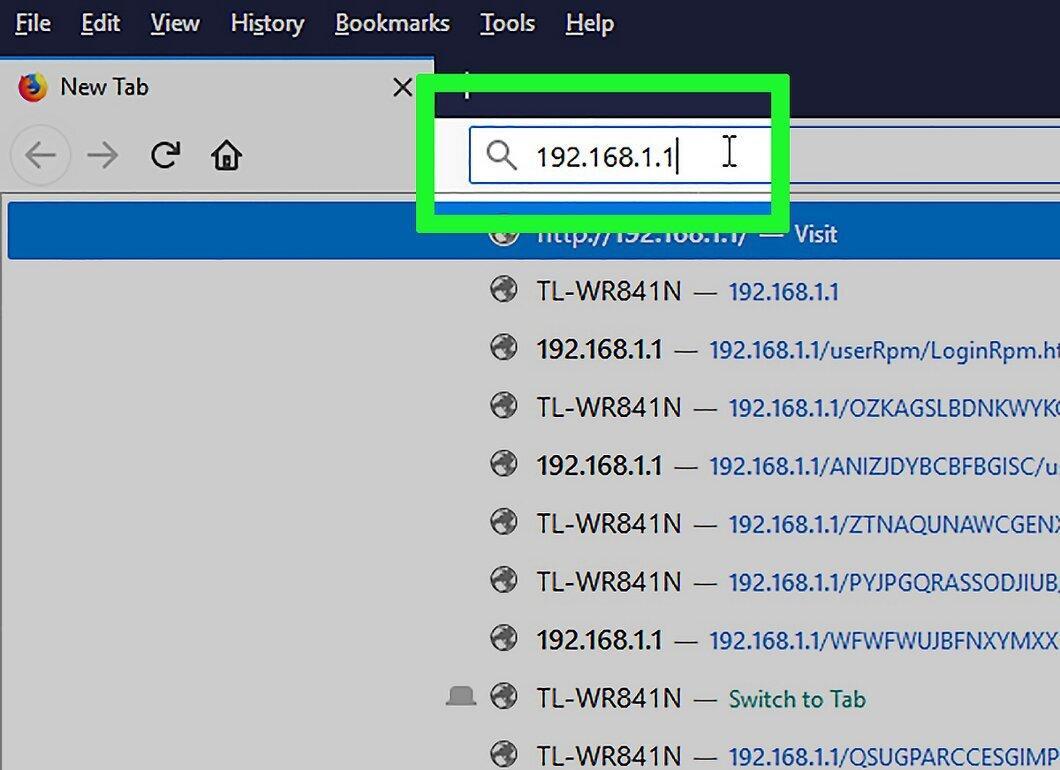
On the computer connected to the router, open a web browser. Enter the router's IP address in the address bar and press Enter. The browser will attempt to load the configuration menu of your router.
- If you have a setup disc, you can also use the configuration program, which will perform similar actions.
Step 3. Enter the Username and Password.
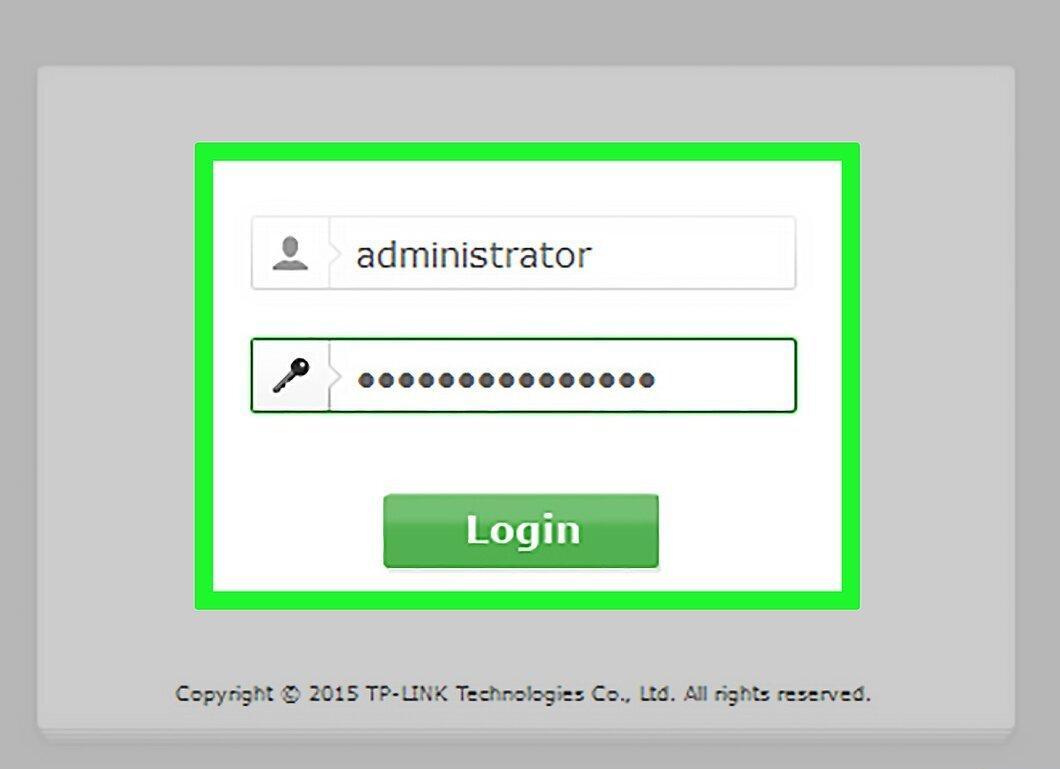
To access the router's configuration page, enter your username and password. Routers typically have default usernames and passwords that can be found on the device or in the documentation.
- The most common username is admin.
- Common passwords include admin or password.
- Sometimes you only need to enter the username, leaving the password blank. In some cases, you might not need to enter a username at all.
- If you cannot find the default credentials, try searching online for your model. If they have been changed, you can reset the settings by holding the reset button on the back of the router for 10 seconds.
Step 4. Navigate to Wireless Settings.
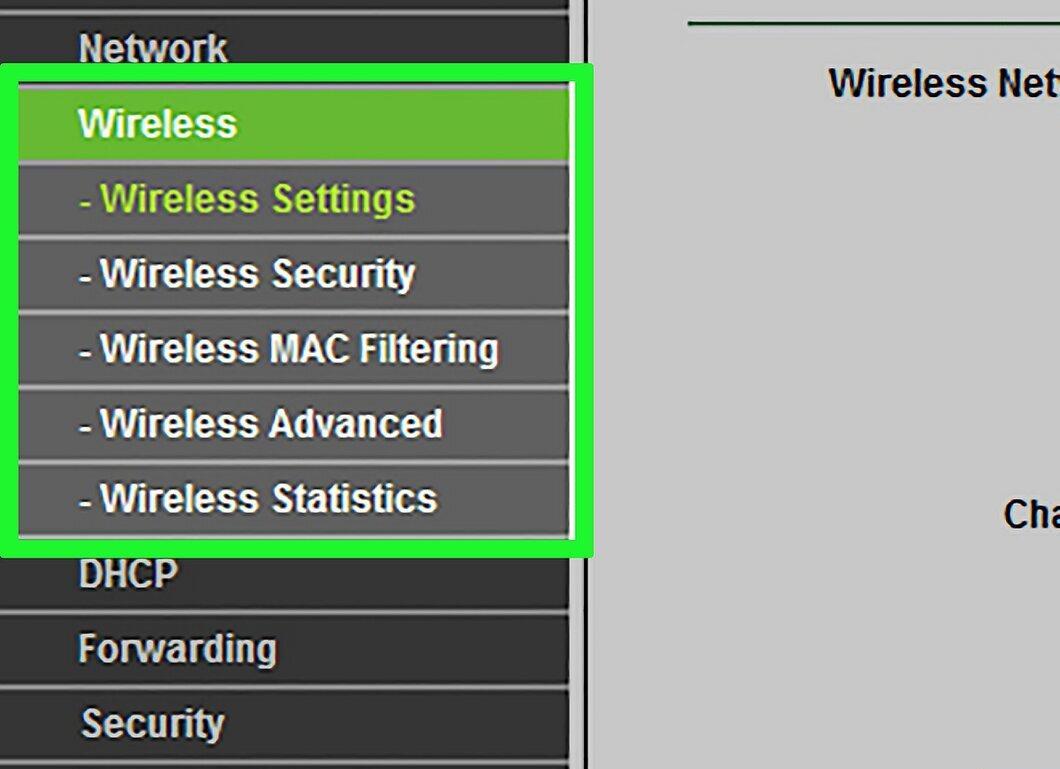
After logging into the router's control panel, you will see the main menu or status screen. Here, various options will be available. You can leave the "Internet" section unchanged unless you have specific instructions from your provider. In the "Wireless Networks" section, you will be able to change your wireless network settings.
Step 5. Enter a Name for the Wireless Network.
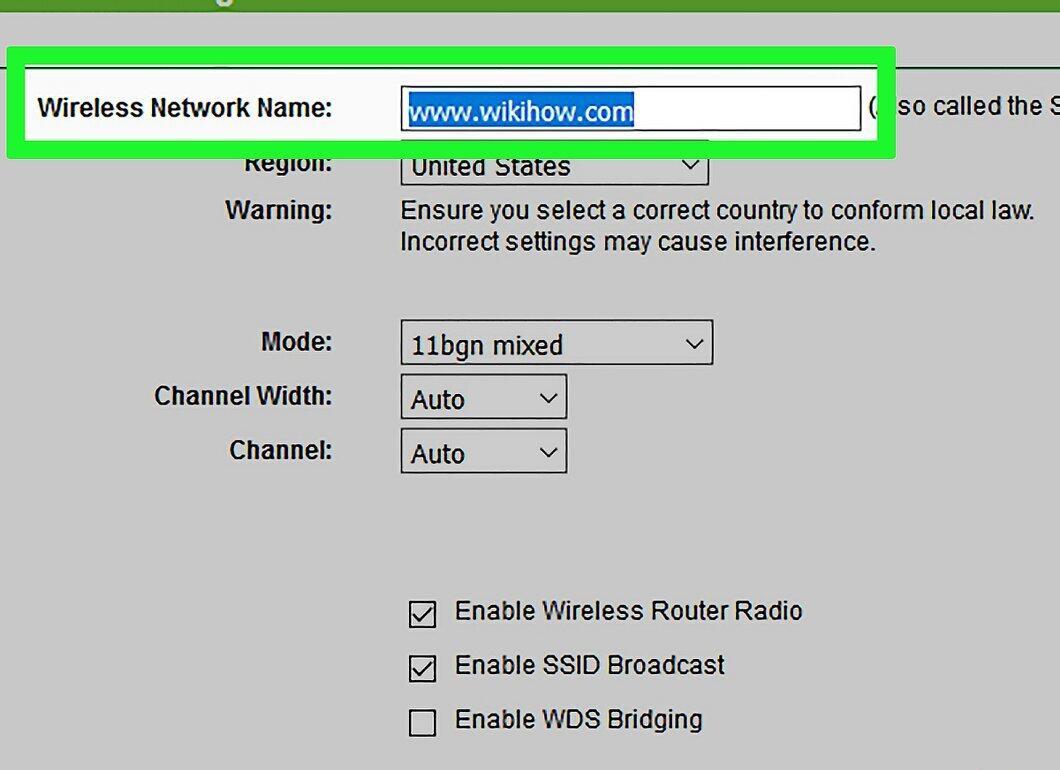
In the "Wireless Networks" section, find the SSID or "Name" field. Enter a unique name for your wireless network. This name will be visible to other devices when searching for available networks.
- Make sure that broadcast information about the service area is enabled to activate the wireless network.
Step 6. Choose a Security Method.
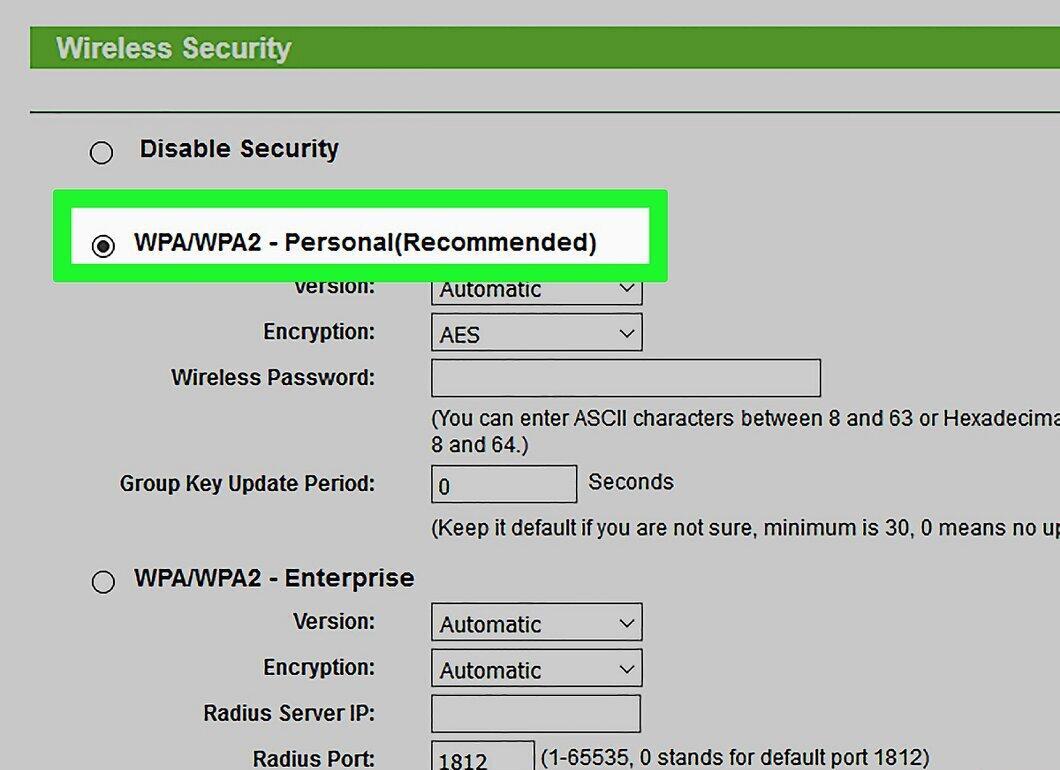
Select an appropriate security method from the available options. For maximum protection, choose WPA2-PSK, as it is the safest option and effectively protects against hacking attempts.
Step 7. Create a Passphrase.
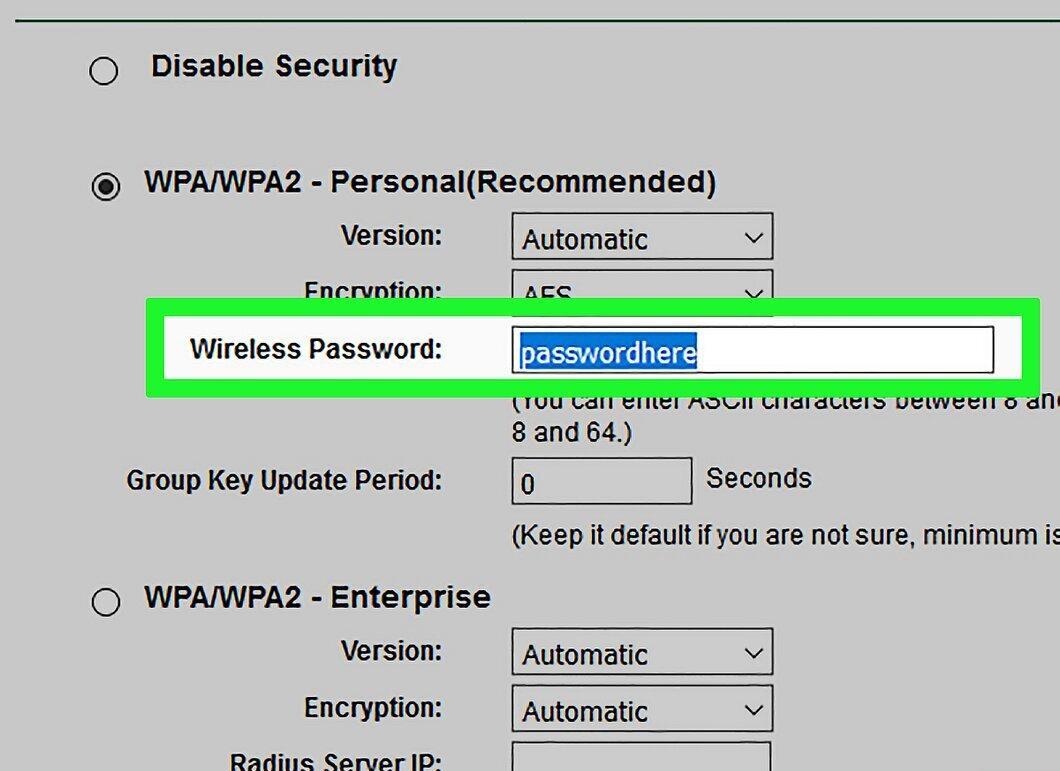
After selecting the encryption method, enter a passphrase. It should be complex enough, consisting of a mixture of letters, numbers, and symbols. Avoid using passwords that can be easily guessed based on your information or network name.
Step 8. Save the Settings.
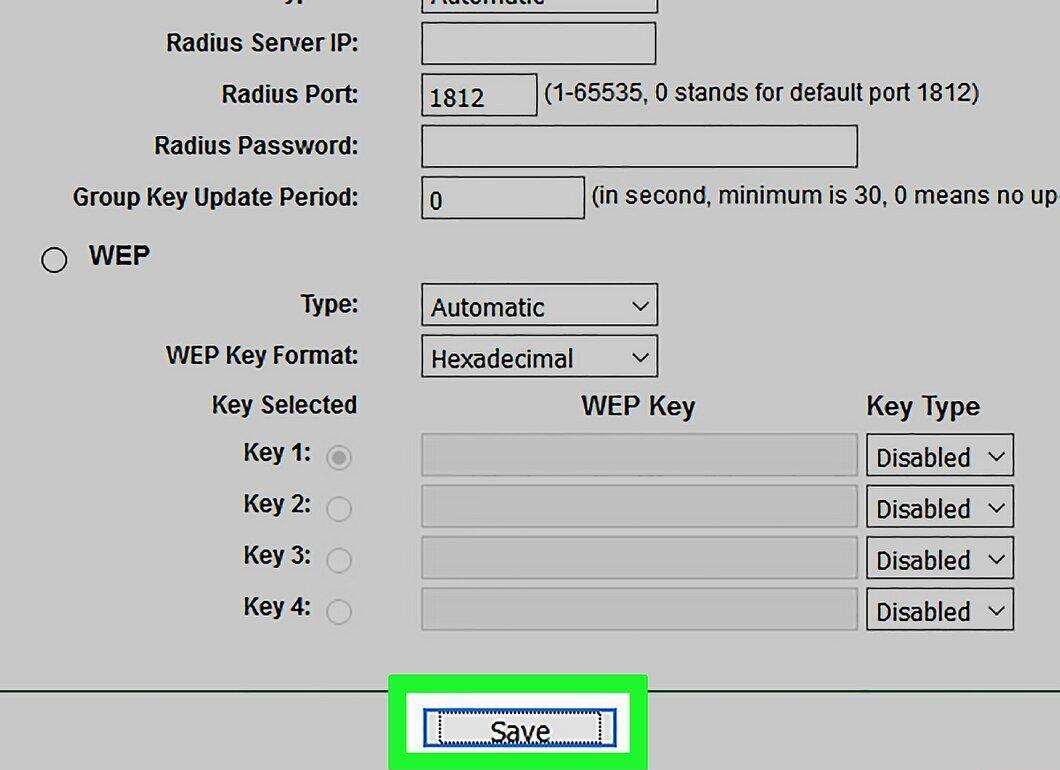
After entering the name and configuring the security of your wireless network, click the "Apply" or "Save" button. Applying the settings may take some time, and after rebooting, the router will be available for connections.
Step 9. Change the Router's Login and Password.
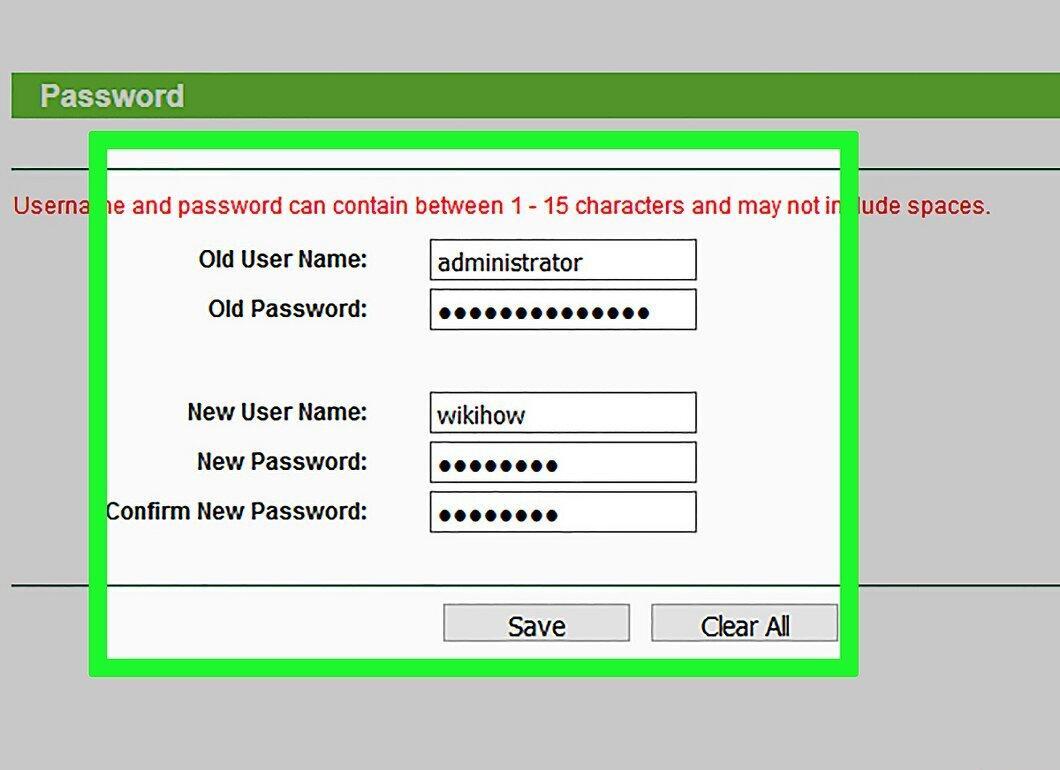
Once you've finished configuring the network, change the login and password for accessing the router. This will help protect it from unauthorized changes. You can do this in the "Administration" section of the configuration menu.
Step 10. Block Unwanted Websites.
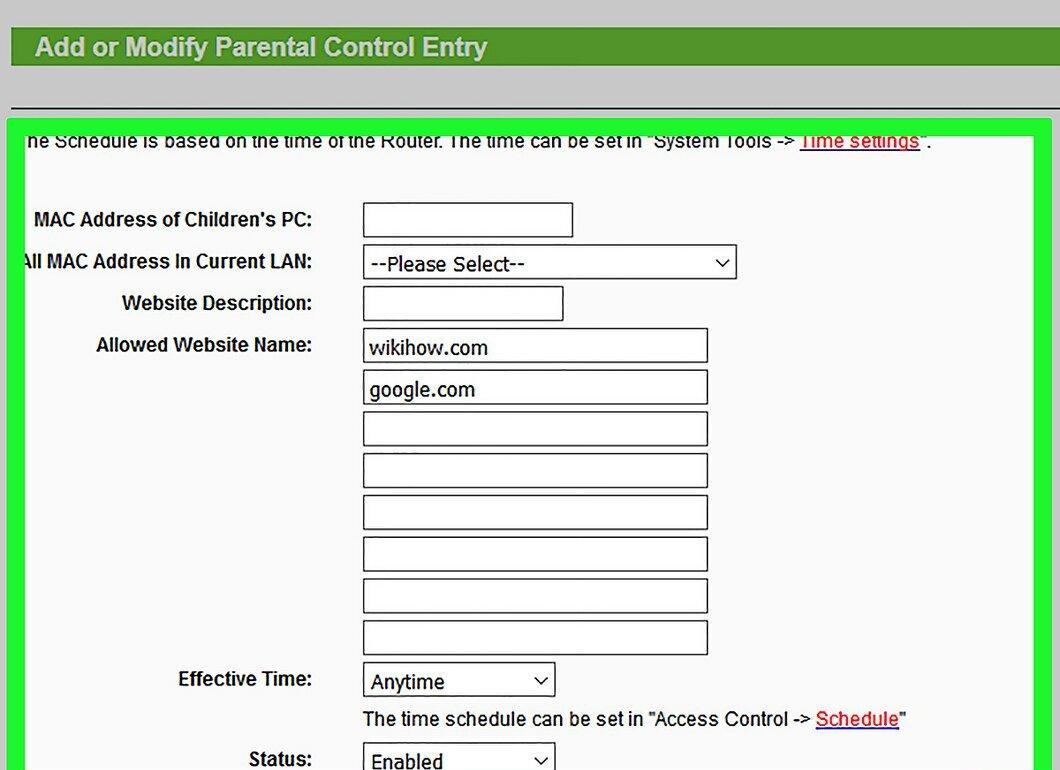
If you want to restrict access to certain websites for devices connected to your network, use the built-in blocking tools on the router. These are usually found in the "Security" section.
- You can block websites by both domain name and keywords.
Connecting Devices
Step 1. Connect a Computer, Tablet, or Smartphone to the Network.
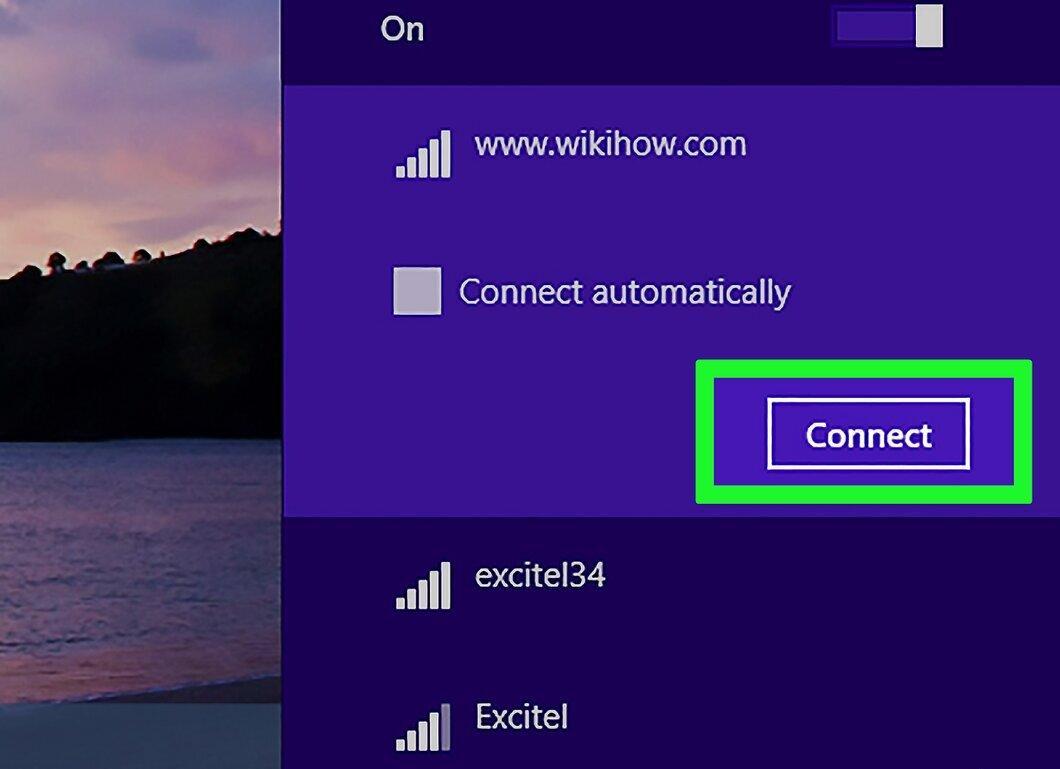
Scan for available wireless networks on your computer, tablet, or smartphone. Your network name should appear if you are within the range of your router. When selecting the network, enter the passphrase.
Step 2. Enter the Passphrase for the Wireless Network.
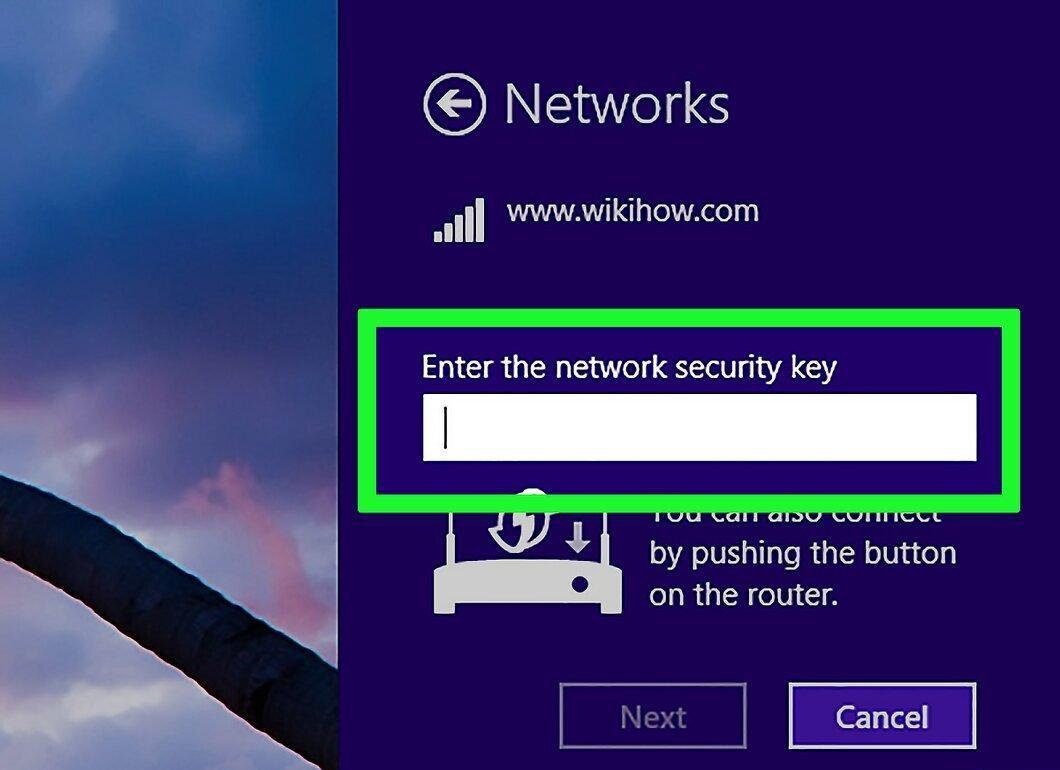
After entering the passphrase, your device will automatically connect to the network. Your network information will be saved, and when you next come within range, the device will connect automatically.
Step 3. Connect Your Other Devices.
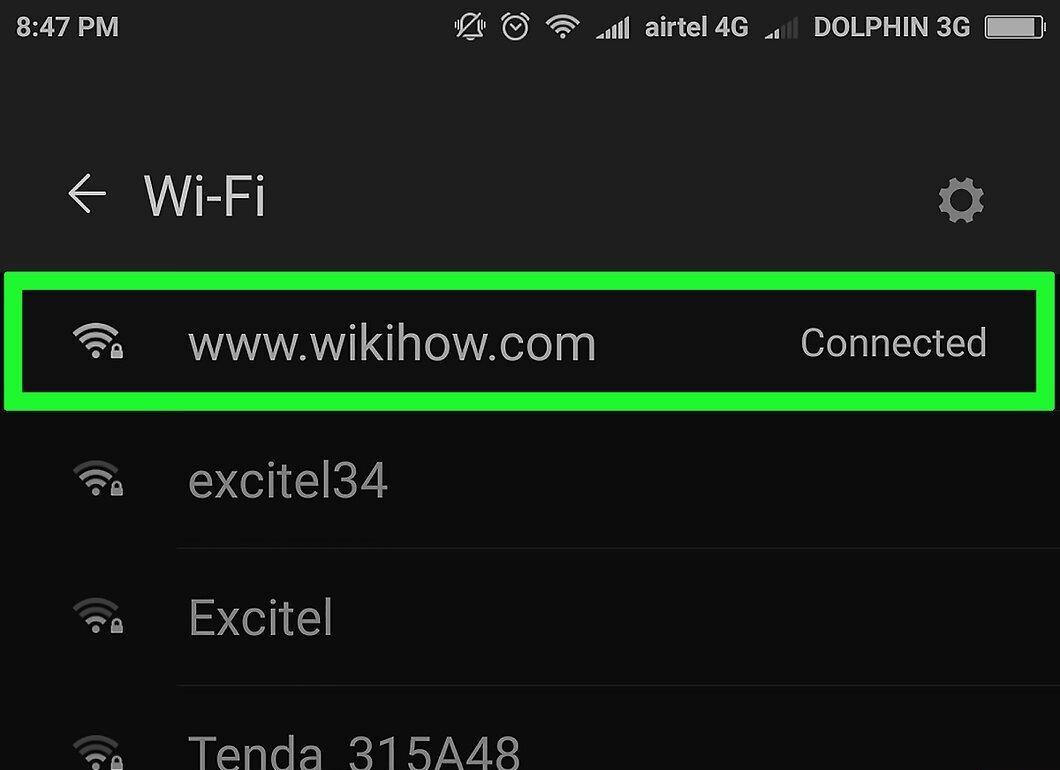
Remember that you can connect other devices — such as printers, gaming consoles, TVs, etc. — to your wireless network.


