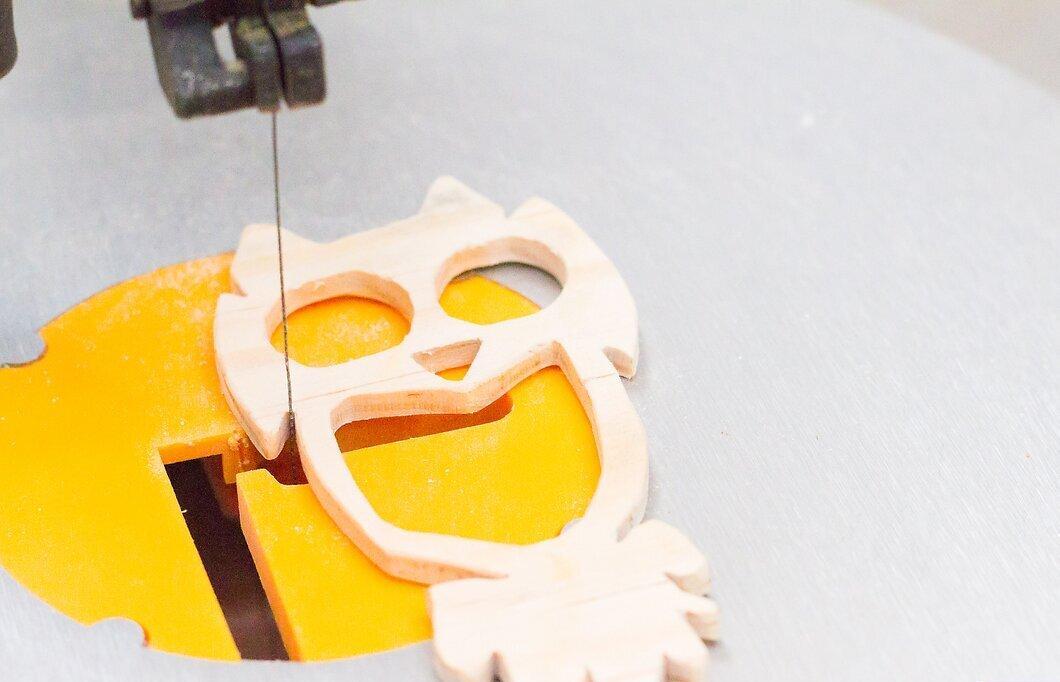
Jigsaw: Your Reliable Companion for Woodworking
The jigsaw is a small yet powerful tool featuring a thin blade, ideal for intricate work with thin wooden materials. The first mechanical versions of this device appeared in the 1860s, and since then, over 50 different models have been developed, including jigsaws with adjustable speeds and various cutting blades. These tools can have either a parallel or C-shaped holder and are used to create complex wooden items often referred to as lace patterns. With a jigsaw, you can cut out numerous small crafts, such as ornate medallions, miniature furniture pieces, clock cases, and much more. In this article, we will share step-by-step instructions on how to use a jigsaw to create wooden items and decorations with curved surfaces.
Part 1
Step 1. Turn on the jigsaw and cut out a rough blank.

First, turn on the jigsaw and cut out a rough blank. The choice of blade depends on the type of wood you are working with; it can be a blade with fine or variable tooth count.
Step 2. Adjust the blade speed (if your model supports this feature).
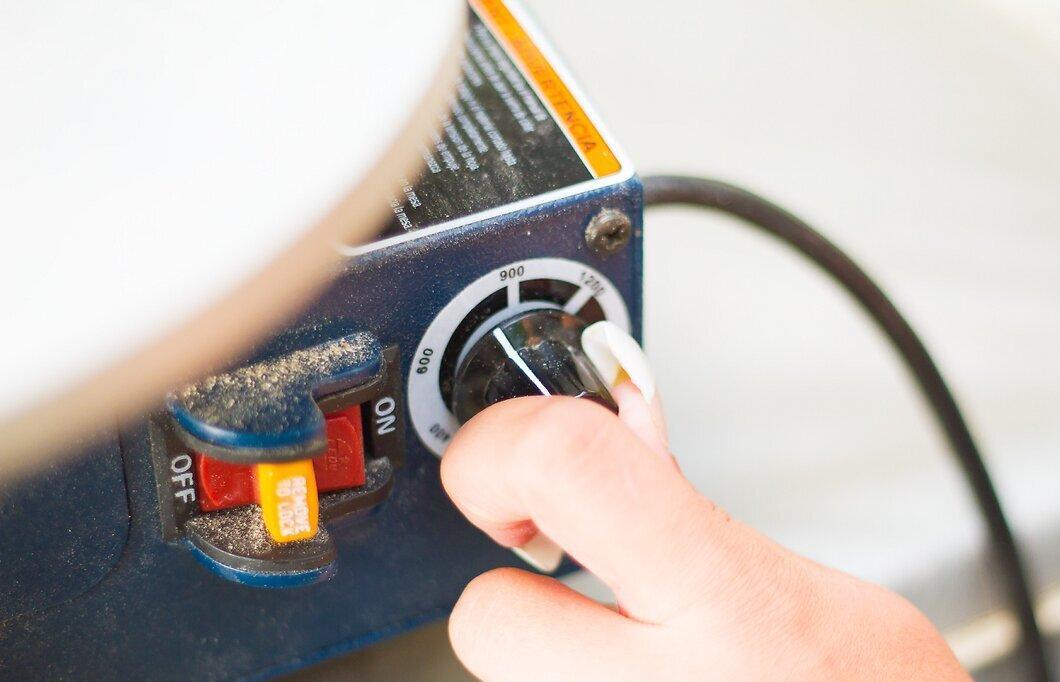
If you are using a variable-speed jigsaw model, adjust it according to the type of wood. For cutting hardwood, set a low speed, while for softwoods like maple, a higher speed can be used.
Step 3. Align the blade with the first cutting line.
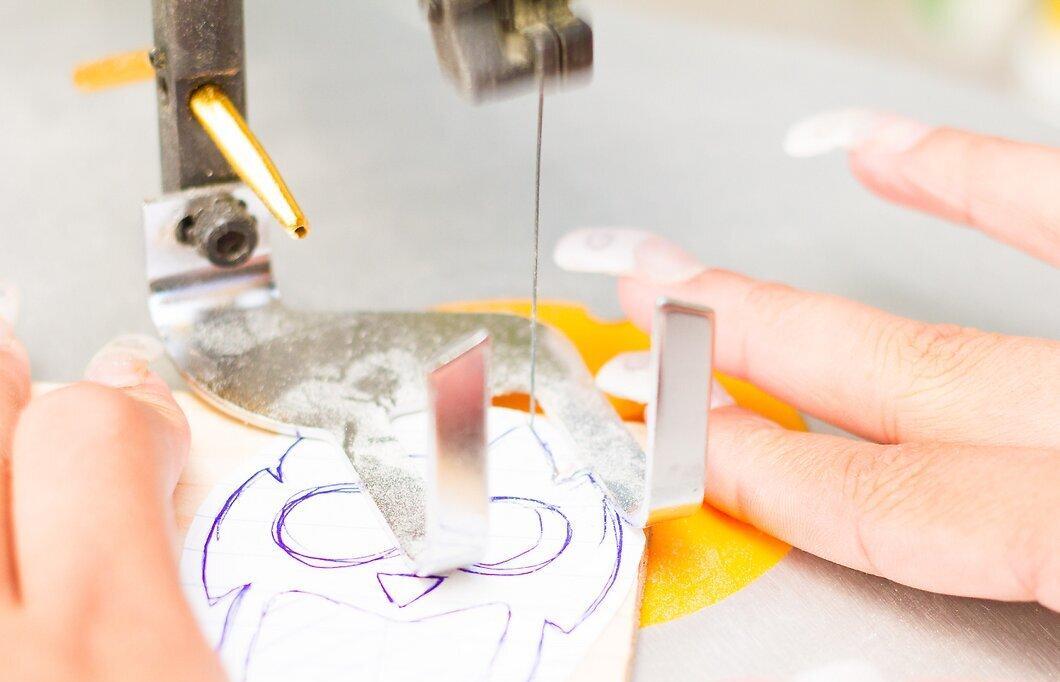
Step 4. Hold the wood with both hands and carefully bring it toward the blade.

Step 5. Use your index and thumb fingers to guide the blank along the blade.

Using the index fingers of both hands and the thumb of one, gently push the blank along the blade. Support the blank and carefully move it forward along the cutting line.
- As you move the blank forward, lift one of your fingers off the blade while moving it back. Avoid lifting both hands or two fingers at once to prevent shifting the cutting line.
Step 6. Find the optimal feed rate for the blank.

Adjust the feed rate of the blank to what feels comfortable. Keep an eye on the blade and listen to the sound; if you feel it is straining, slow down the feed.
Step 7. After completing the first cut, gently retract the blade and clean off the sawdust.

Step 8. Rotate the blank so the next cutting line is in front of the blade.
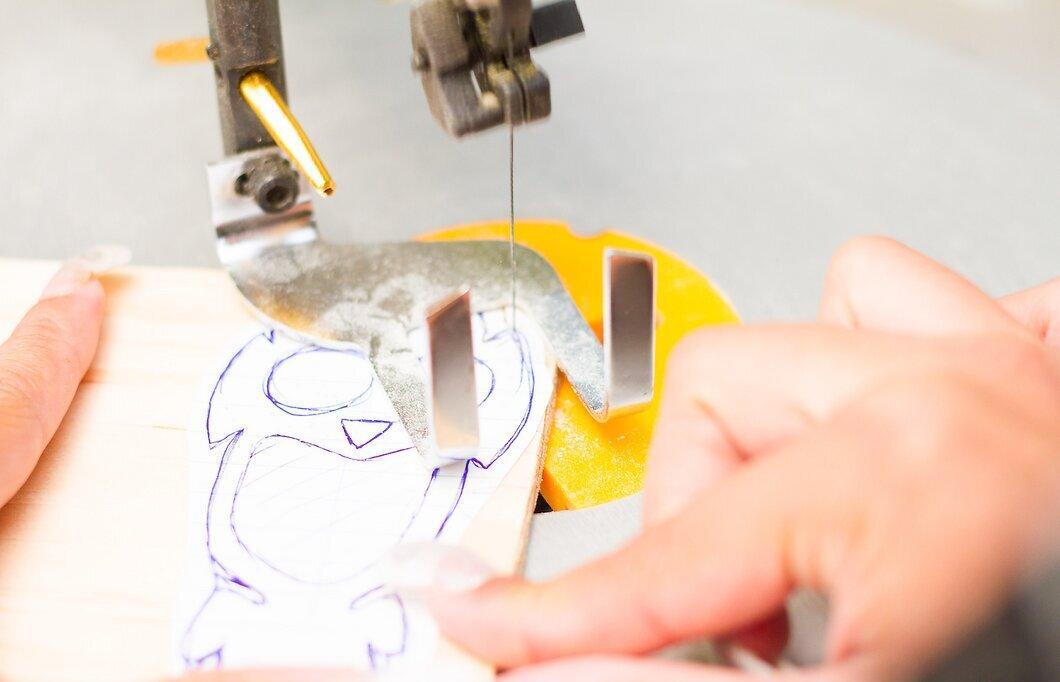
Turn the blank so that the next cutting line is directly in front of the blade. Bring the blade to the line and continue cutting until you meet the previous cut. Carefully pull the blank back while removing the blade, and rotate it for the next cut.
Step 9. Sequentially cut the wood along the marked lines, gently turning it as needed.
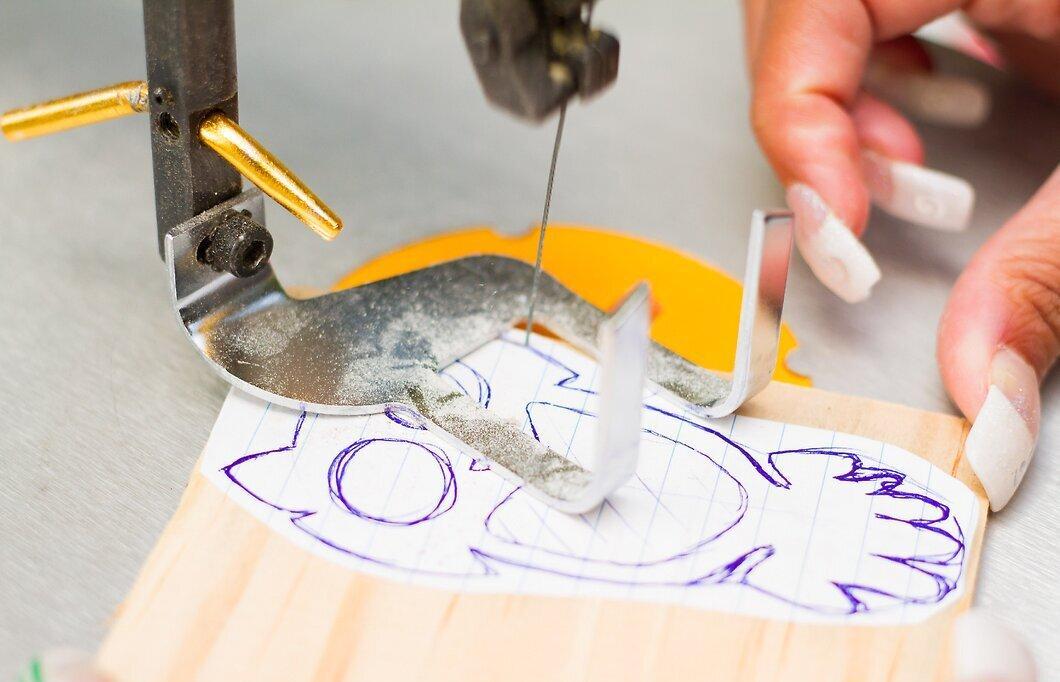
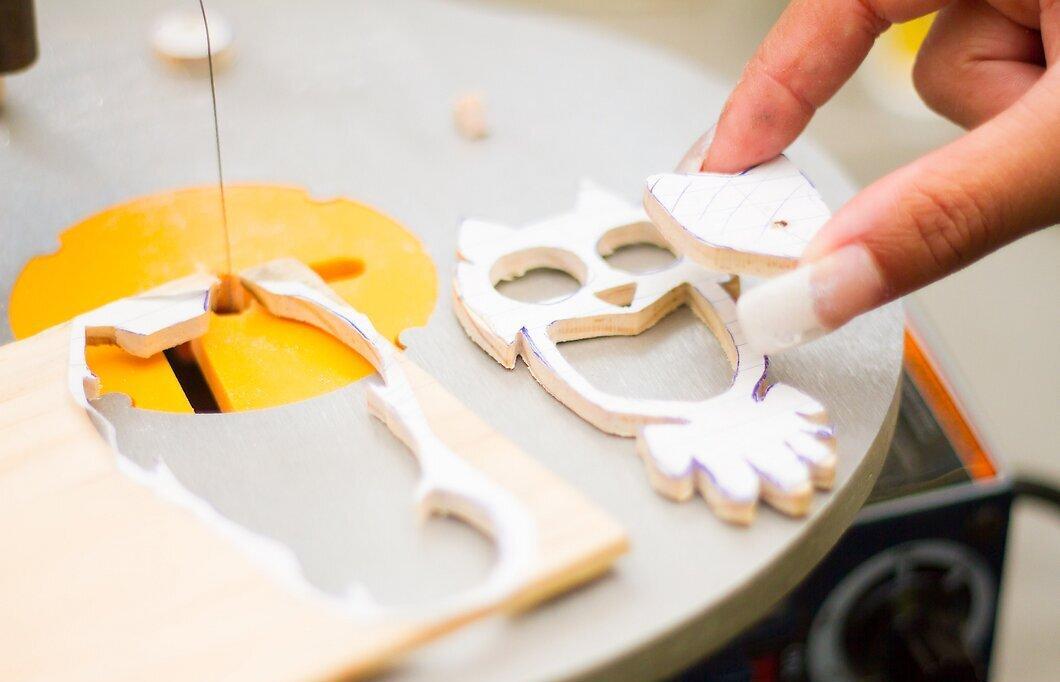
Step 10. Remove excess pieces until the blank takes on the desired shape.
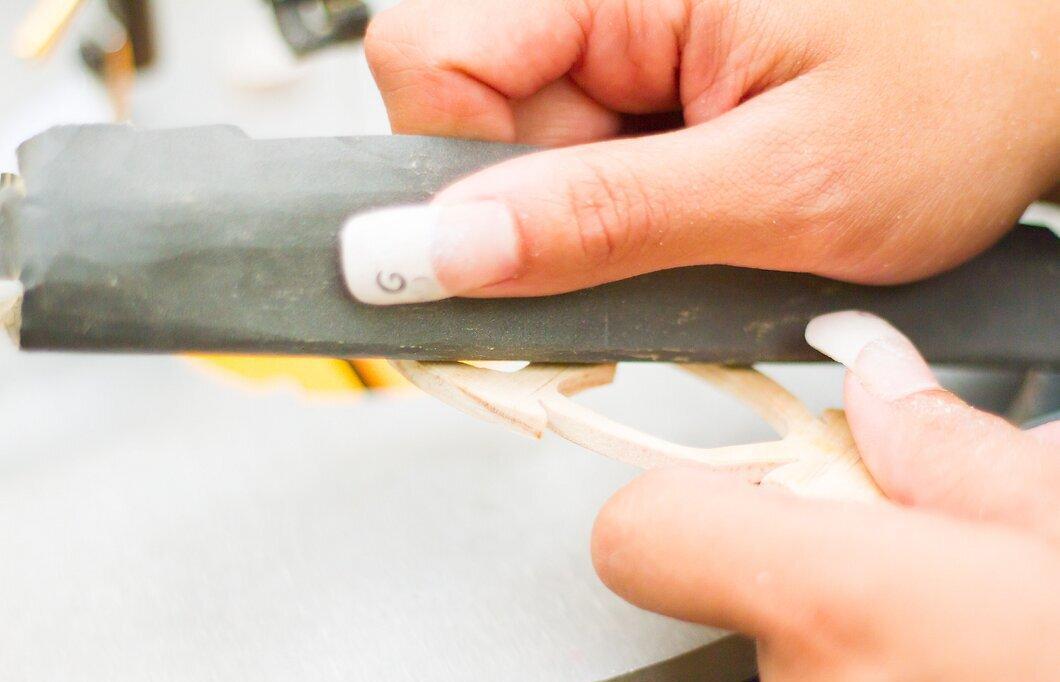
Step 11. Smooth out any rough edges and imperfections with fine sandpaper.
Step 12. You're done! Your project is complete.