
Preparing your perennial hibiscus for winter is easier than you might think. In moderate climates, these plants can thrive outdoors with the right care. However, tender varieties usually need to be brought inside in most regions, except for the very southern areas. Let’s explore how to prepare both hardy and tender hibiscus species for winter.
How to Prepare Hibiscus Planted in the Ground
Step 1. Identify Your Hibiscus Variety.
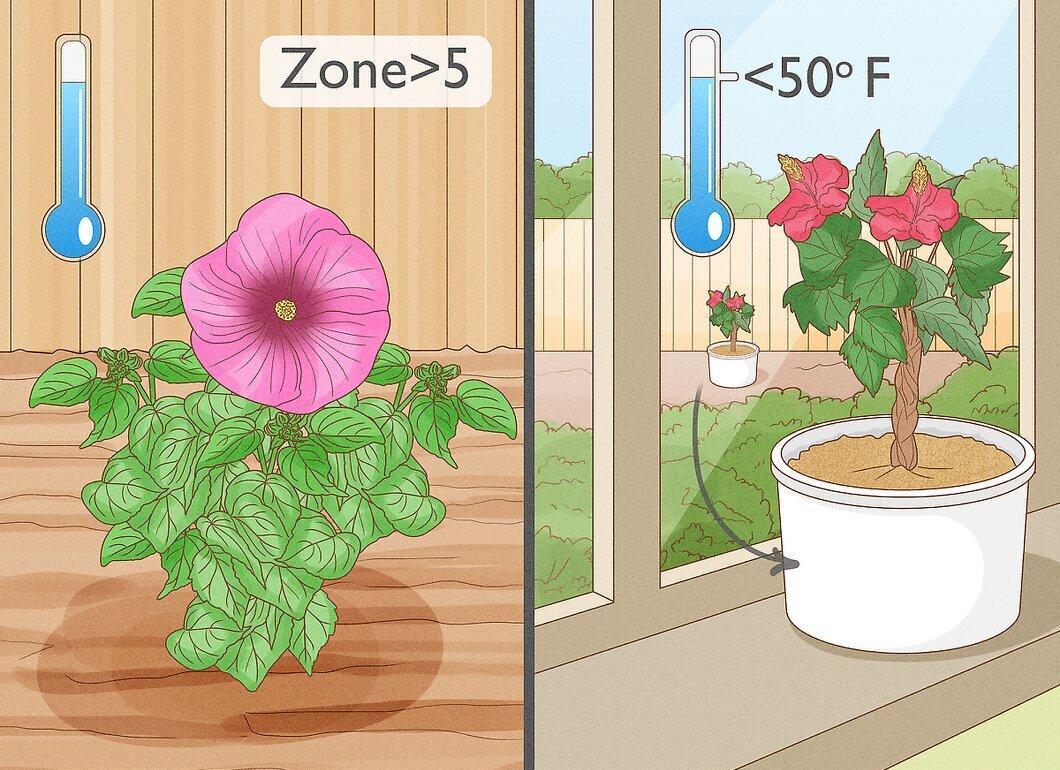
Before taking winter protection measures, find out what type of hibiscus you have. Hardy varieties can survive the cold season outdoors in moderate climate zones (see tips for more details), while tender types need to be moved to pots and brought indoors when temperatures drop below 10 degrees Celsius.
- Tender varieties typically have glossy, dark leaves and smaller flowers that may be bicolored or solid. These plants cannot survive temperatures below -3 degrees Celsius.
- Hardy hibiscus have dull, thick leaves and larger flowers, making them more tolerant of low temperatures.
Step 2. Fertilize Hibiscus with Potassium Fertilizers in Late Autumn.
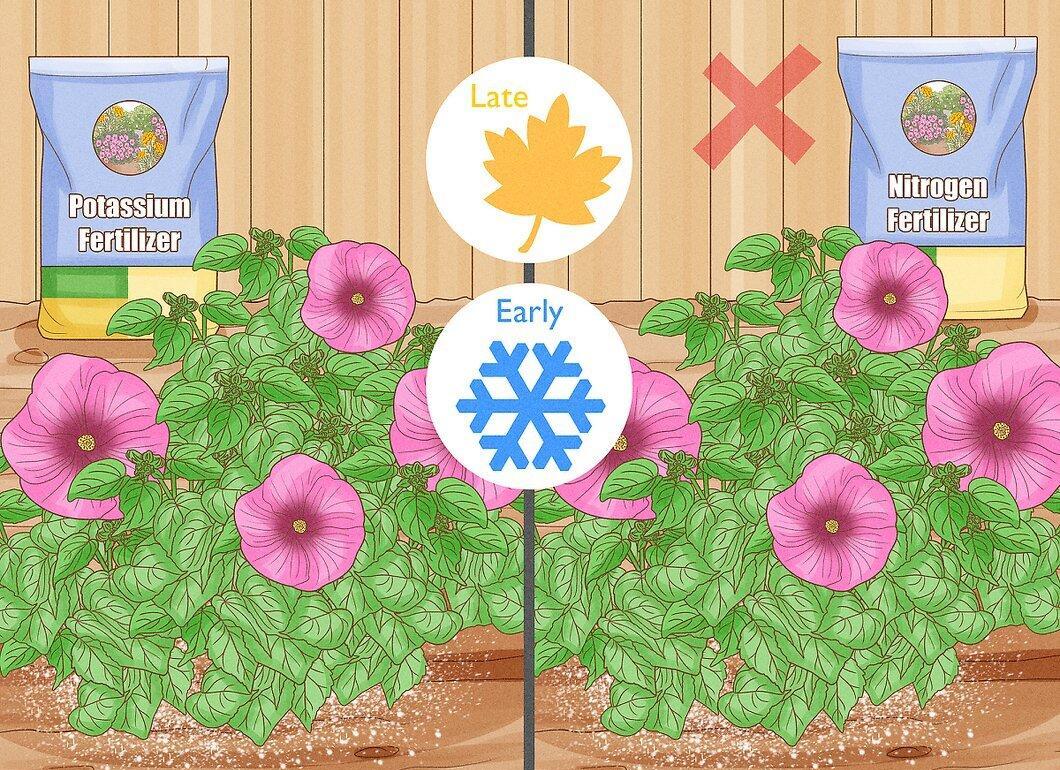
Start fertilizing your hibiscus with potassium fertilizers in October or November to ensure abundant blooms next season. Avoid using nitrogen fertilizers at this time, as they can trigger new leaf growth that may be damaged by frost or fall off in winter.
Step 3. Care for the Plant Throughout Autumn.
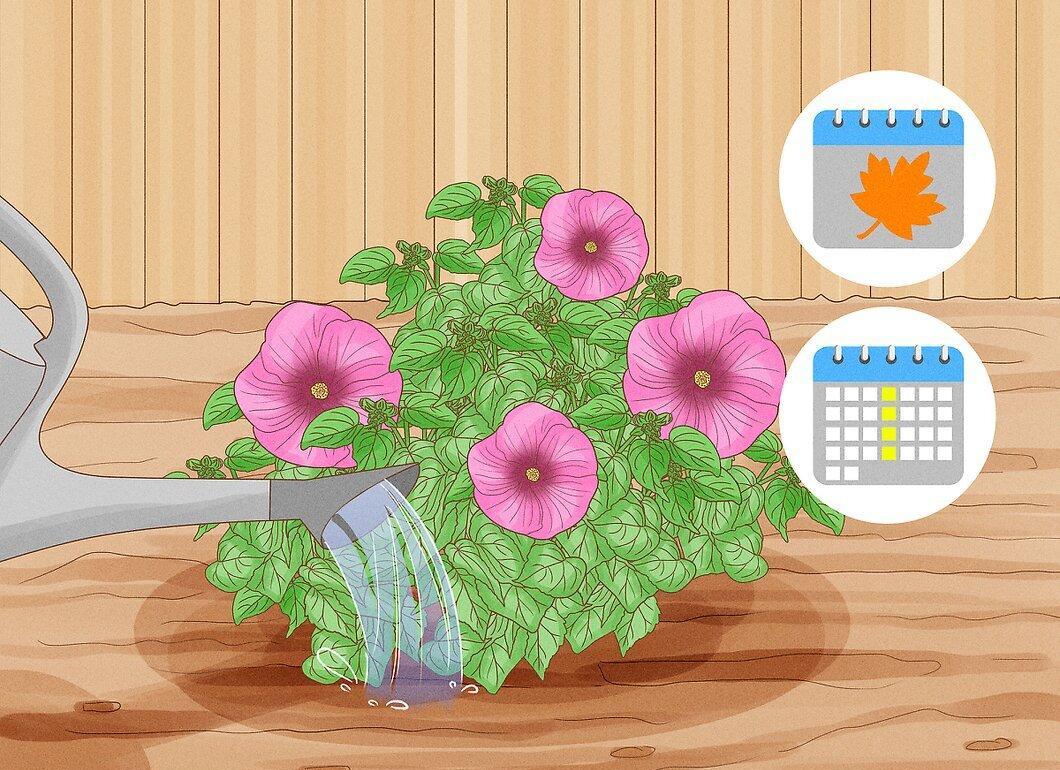
Don’t forget to care for your hibiscus during the autumn months. If it’s dry, water it every one to two weeks. Remove fallen leaves and debris around the stems to prevent disease.
- These simple actions in autumn will help the plant bounce back in spring, resulting in lush foliage and gorgeous flowers.
- After mulching the soil, there’s no need for re-mulching.
Step 4. Apply a Thick Layer of Mulch Around the Plant.
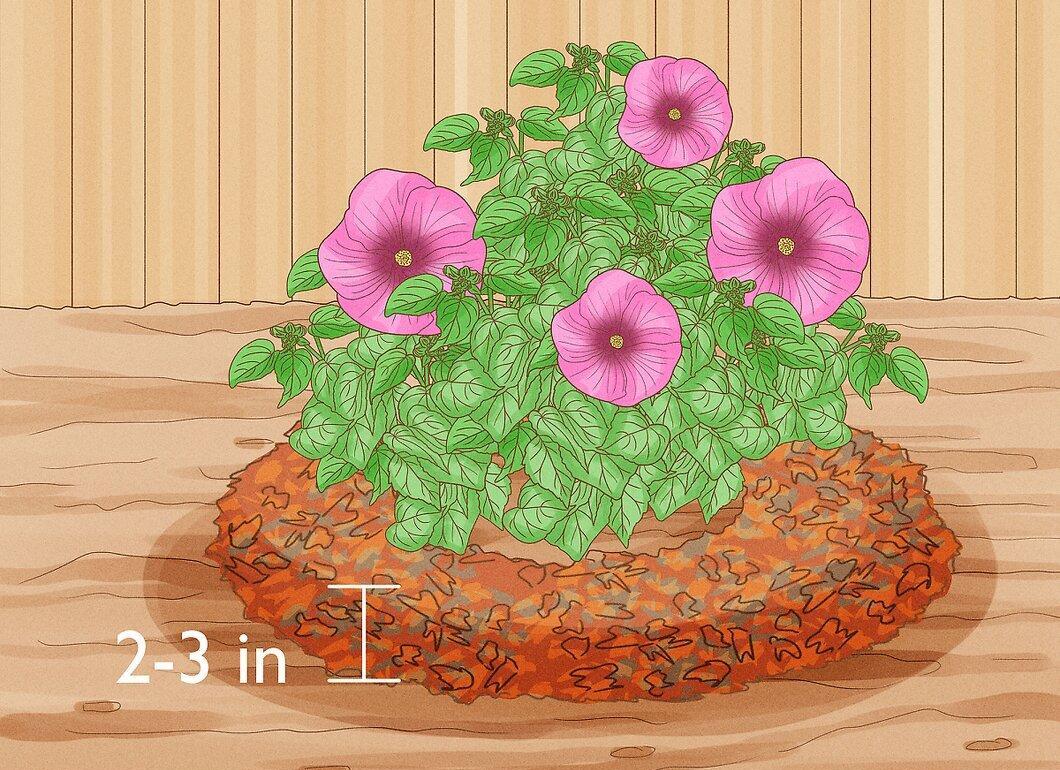
Cover the soil around your hibiscus with a mulch layer that’s 5-8 centimeters thick. This will protect the roots from drastic temperature fluctuations. Adding compost under the mulch will also provide extra insulation.
- Leave space around the stems free of mulch. If you’ve already used mulch, simply rake it back and add a new layer.
Step 5. Protect the Plant from Frost.
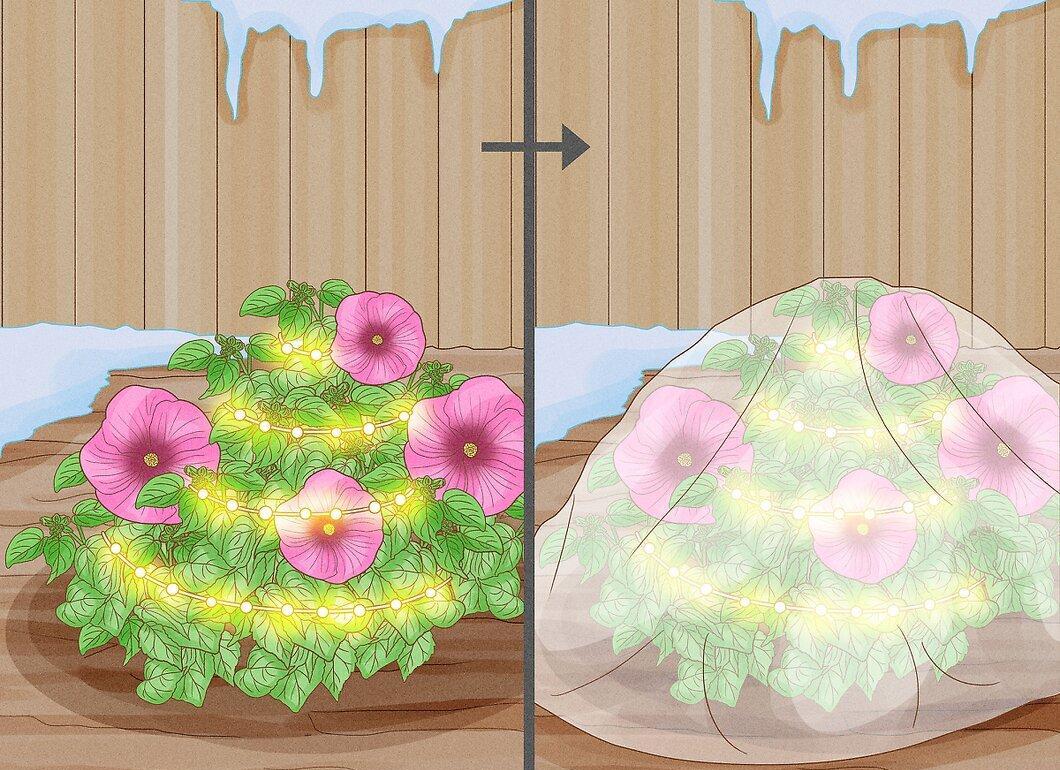
Protecting your hibiscus from frost is crucial. In areas with mild winters, you can use electric string lights to shield them from low temperatures.
- You can combine fabric and lights, or in warmer regions, simply use the lights alone.
Step 6. Pot Tender Hibiscus for Indoor Wintering.
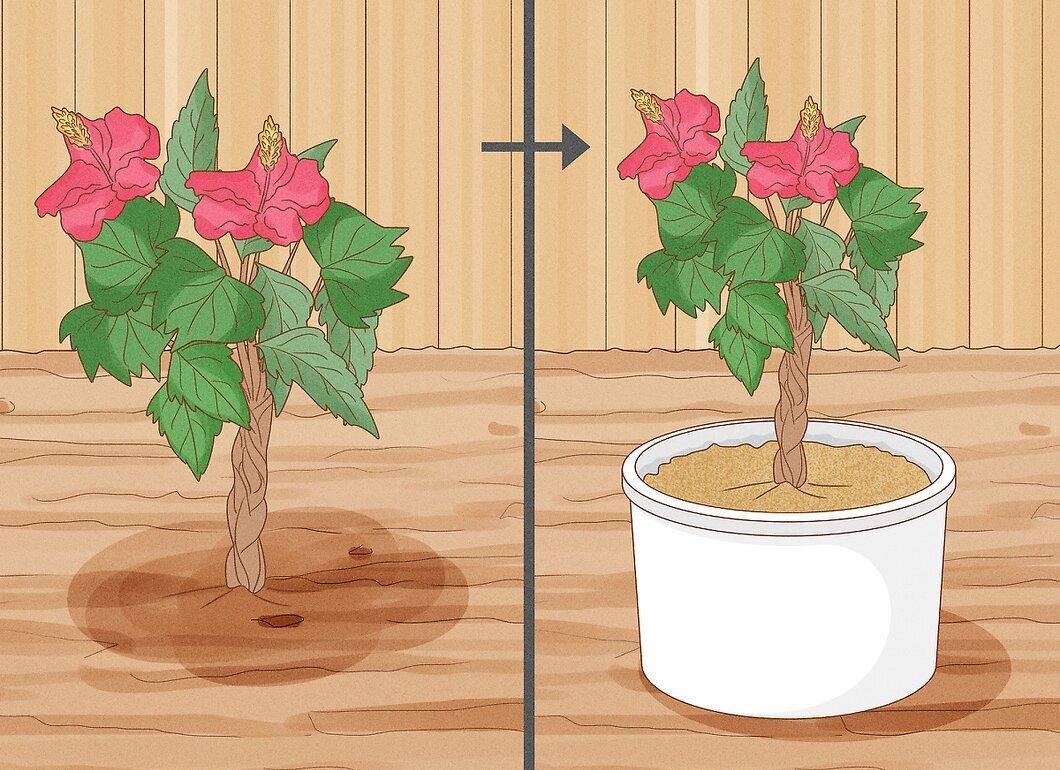
If your hibiscus is tender and planted in the ground, pot it in a large container for winter indoors. Use a special potting mix, avoiding garden soil.
- To dig up the hibiscus, excavate around the shrub about 15-20 centimeters away from the stems and gently lift it with a spade.
Preparing Potted Hibiscus for Winter
Step 1. Check the Plant for Pests.
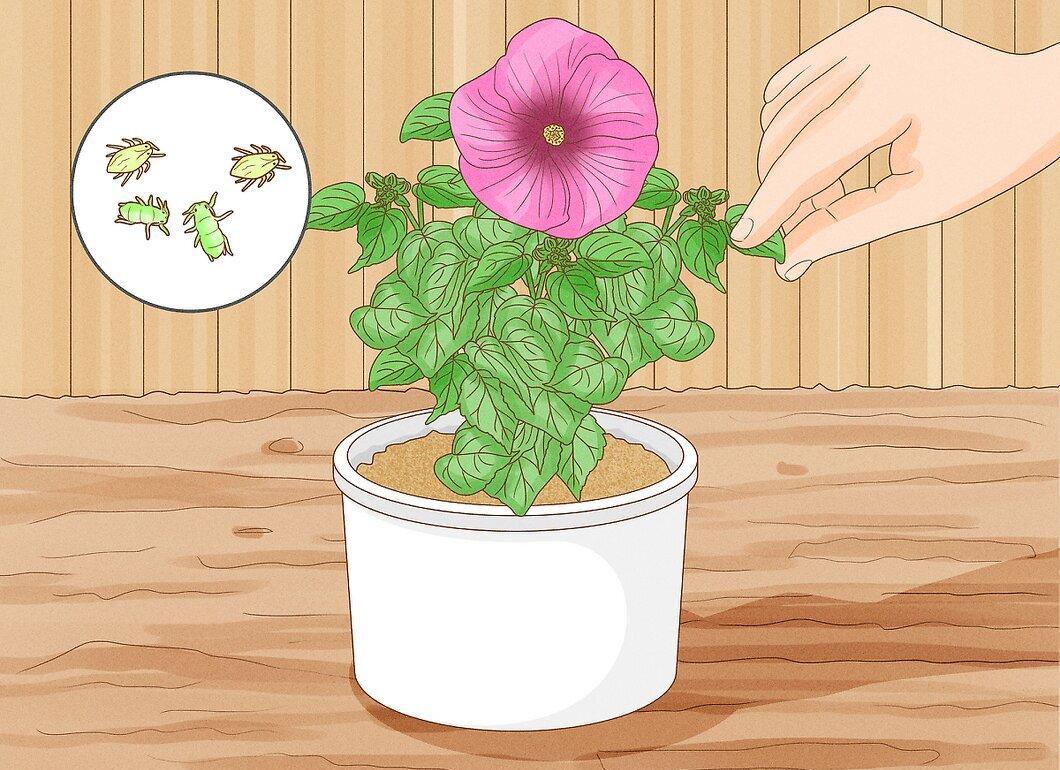
Before bringing your hibiscus indoors, thoroughly inspect it for pests. If you find any insects, apply an appropriate pesticide a few days before transplanting, especially if there are allergy sufferers in the house.
Step 2. Wash the Plant Before Bringing It Inside.
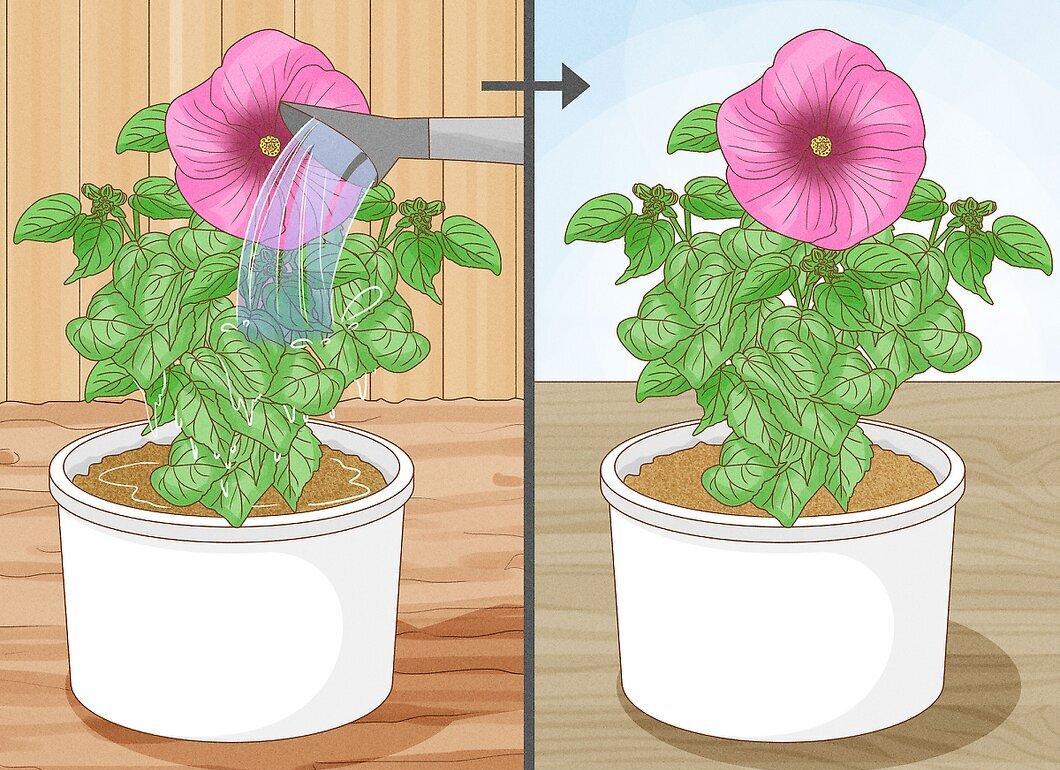
Carefully wash the hibiscus to remove small insects, dust, and dirt. This will also help reduce allergens that may enter the home.
- Don’t forget to wipe the pot with a damp cloth to reduce dirt.
Step 3. Fertilize the Plant.
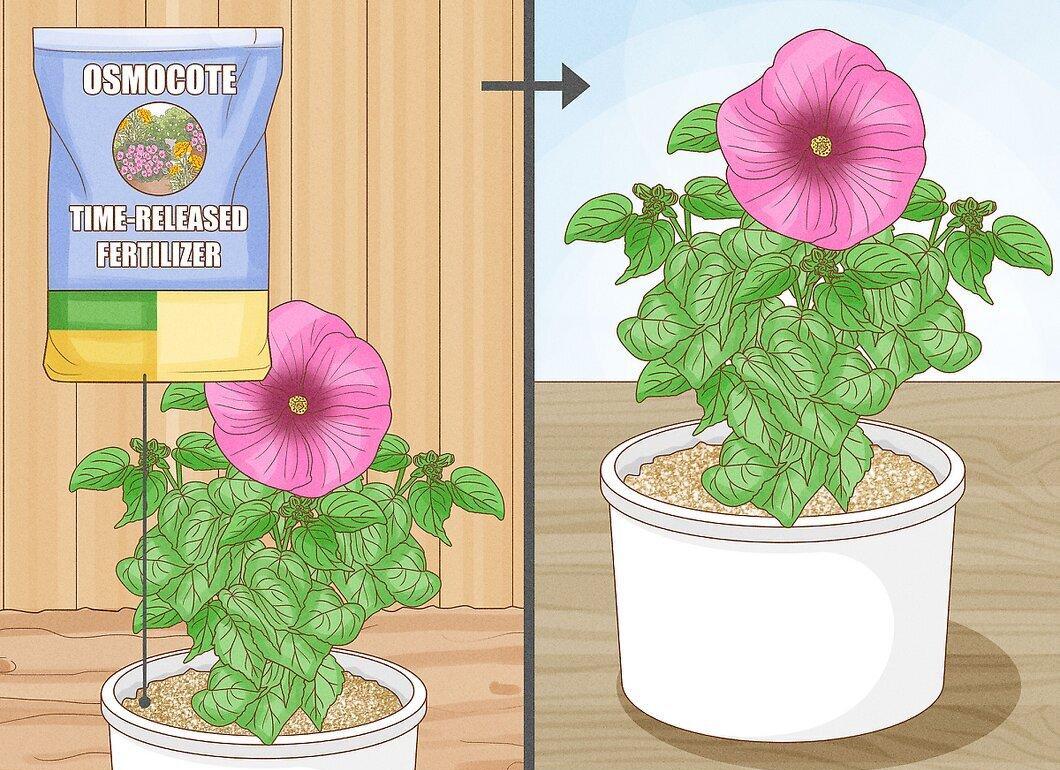
Before bringing the hibiscus indoors, add specialized hibiscus fertilizers to the pot. This will help the plant recover faster in spring.
Step 4. Prune the Hibiscus for Easy Placement.
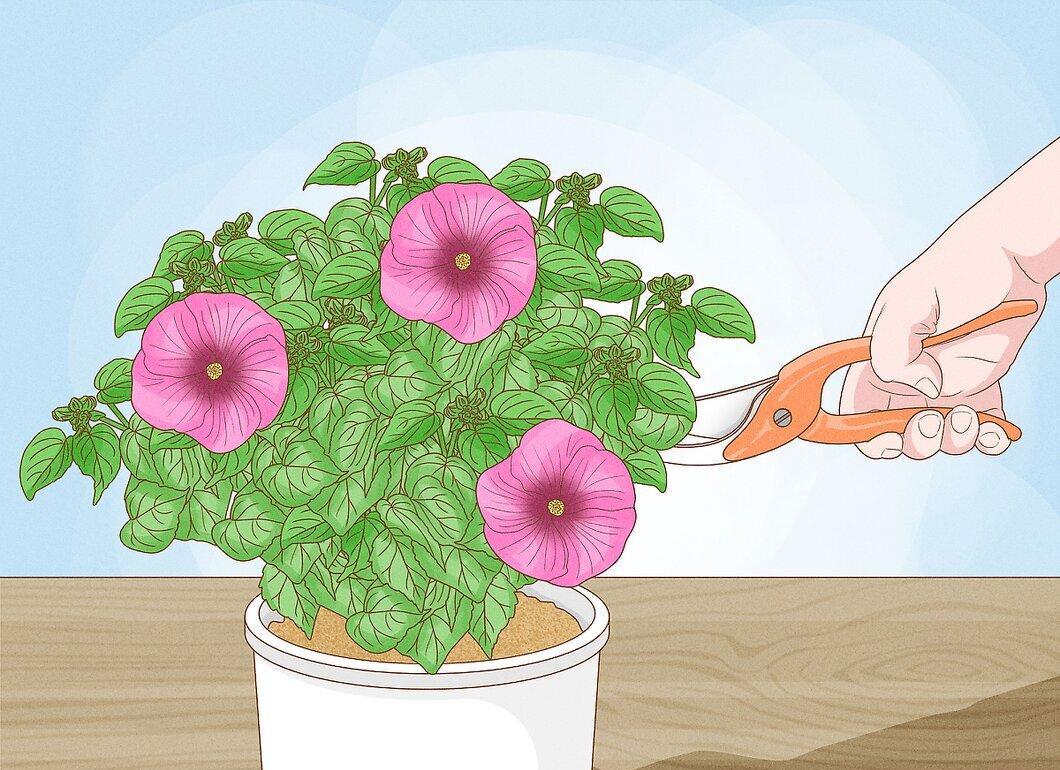
If the hibiscus is too large, consider pruning it before winter. These plants handle pruning well, and it won’t harm them.
- Remember that hibiscus flowers form on side shoots, so pruning will help increase the number of blooms in spring and summer.
- To encourage more flowers, pinch the tips of new stems when they reach 20 to 30 centimeters in length. This promotes the growth of new side shoots, increasing flower production.
Caring for Hibiscus Indoors
Step 1. Learn About the Needs of Different Hibiscus Species.

After moving the hibiscus indoors, it’s important to provide proper care. Each species has specific needs, so it’s best to follow the recommendations for the particular type you have.
- If your hibiscus was a gift, this article offers general tips for most varieties.
Step 2. Provide Warmth and Light.
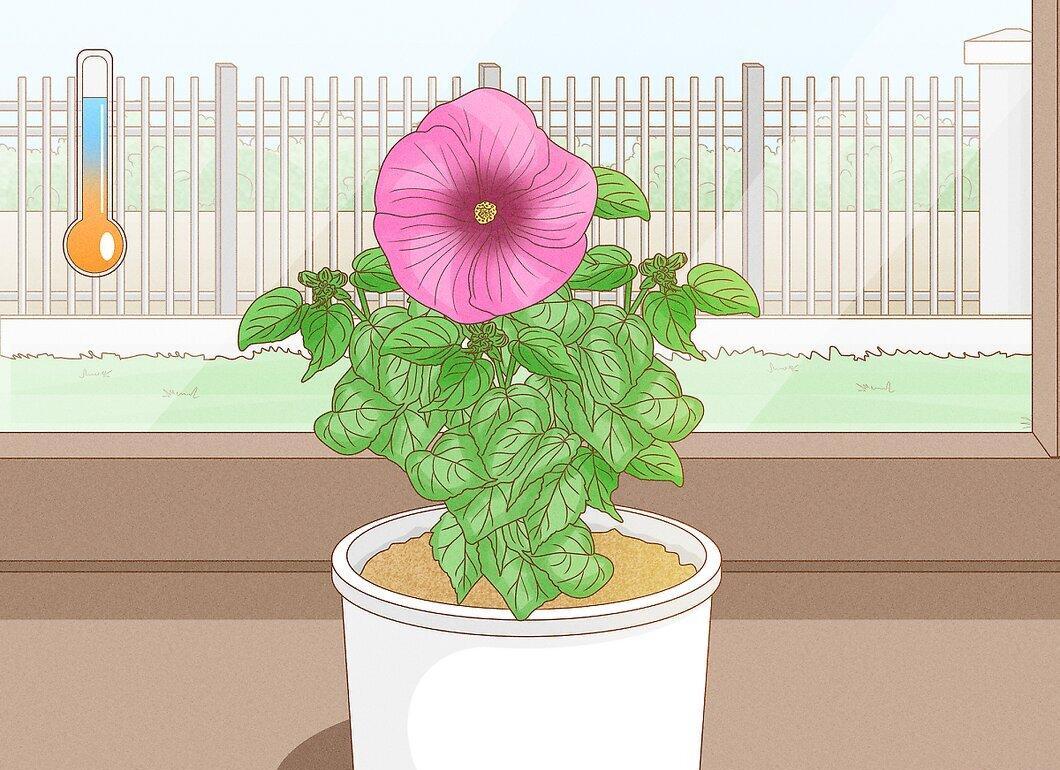
Hibiscus plants need warmth and light for healthy growth. Place them near a window.
- If the room is low on light, use a lamp, but keep it away from the plants to avoid burning the leaves.
- In cooler rooms, a heater may be necessary to maintain warmth.
Step 3. Keep the Temperature Above 13 Degrees Celsius.
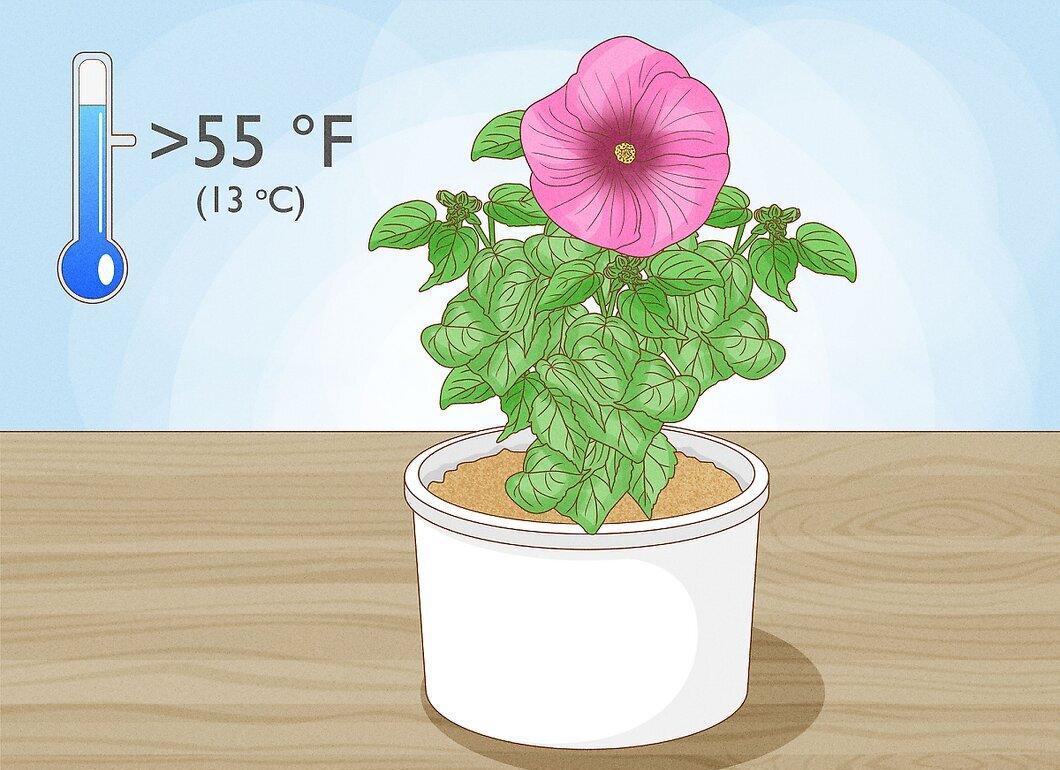
Tender plants winter best at temperatures between 13-15 degrees Celsius. However, it’s important to consider the individual needs of each species.
Step 4. Monitor Leaf Humidity.
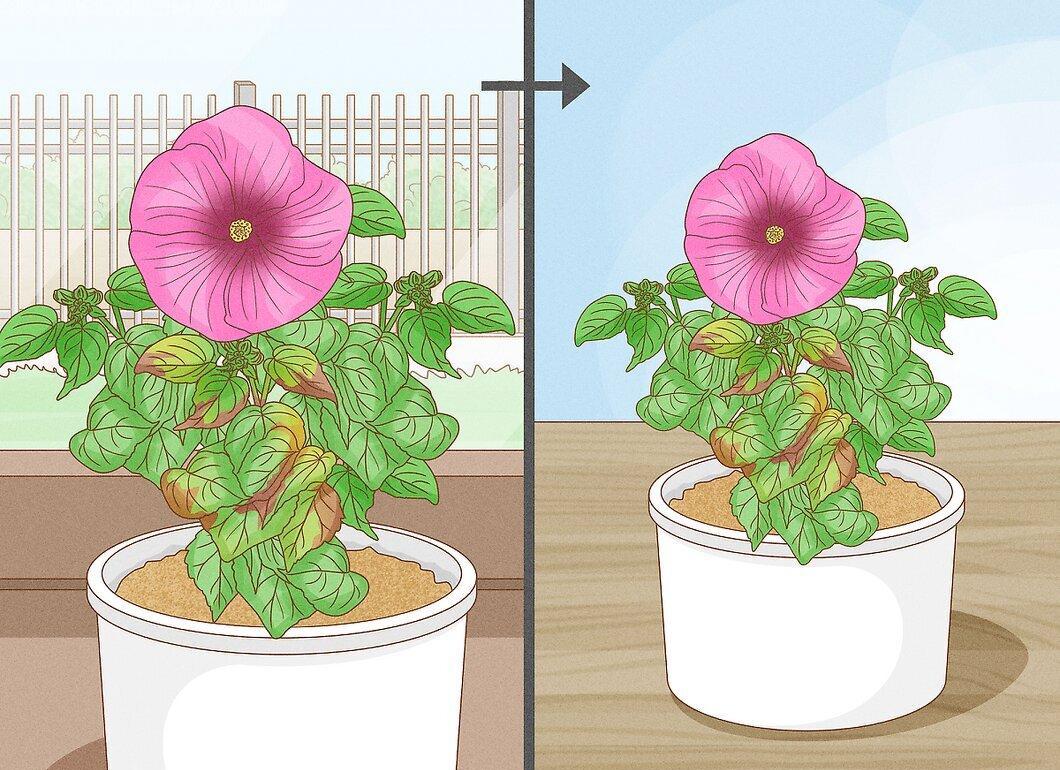
Ensure the leaves do not dry out. Most hibiscus varieties thrive in direct sunlight, but some may require less light. If the leaves start to dry out, move the plant to a spot with lower light.
Step 5. Ensure the Soil Remains Moist.
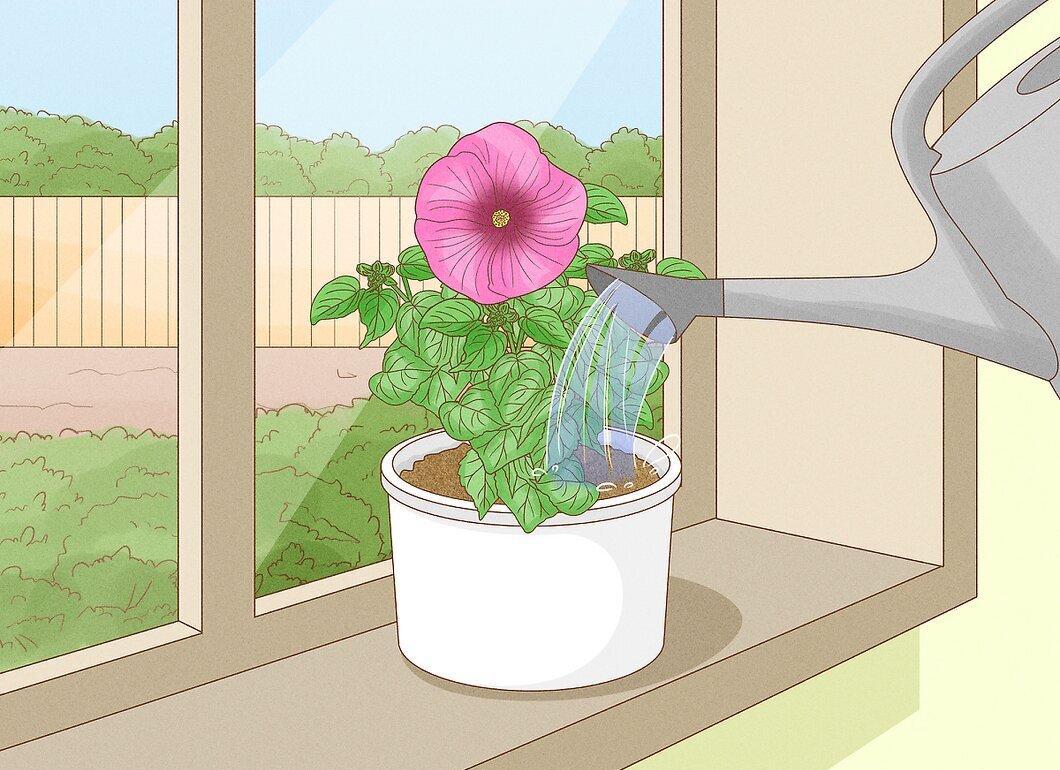
Water the hibiscus according to the needs of the variety. For example:
- In winter, the Chinese rose (Hibiscus sinensis) should be watered to keep the soil from drying out, while the Mallow hibiscus (Hibiscus moscheutos) requires moderate moisture.
- Remember that Mallow varieties do not tolerate drought well.


