Transferring files from your iPod to a new computer can pose some challenges, particularly if you no longer have access to your previous device. But don't worry! By following this guide, you'll be able to easily accomplish this task on Windows.
Part 1
Step 1. Ensure Your iPod Works as a USB Drive.
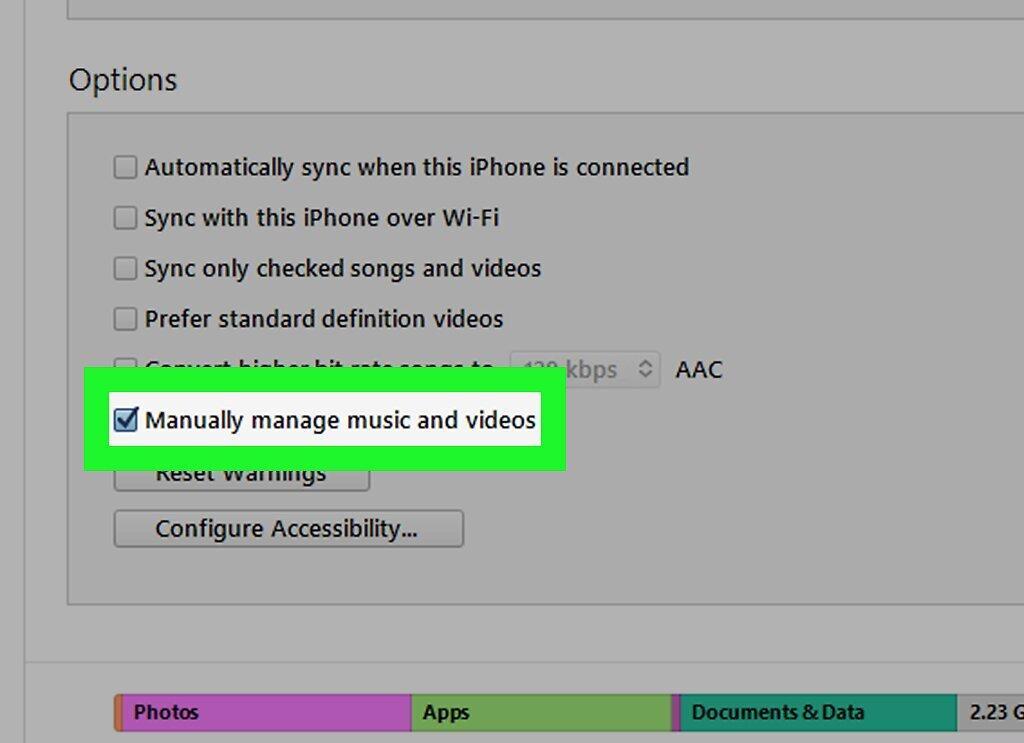
Check that your iPod functions as a removable disk. For detailed information, refer to this article on Apple Support.
Step 2. Open "My Computer".
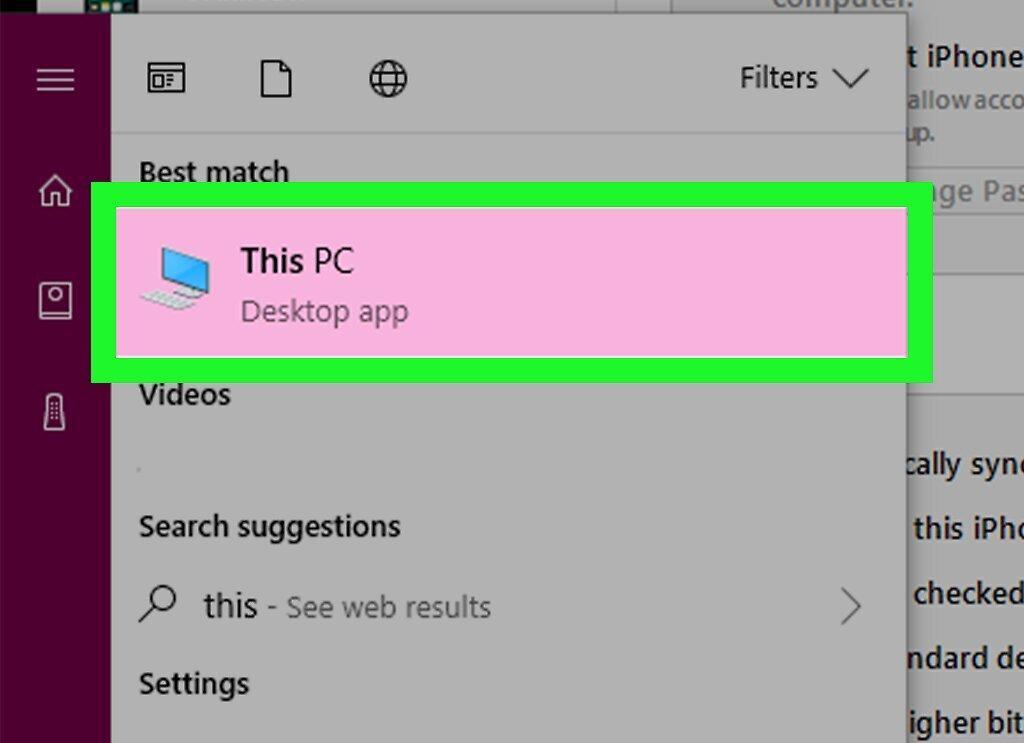
Step 3. Locate Your iPod in the List of Connected Devices.
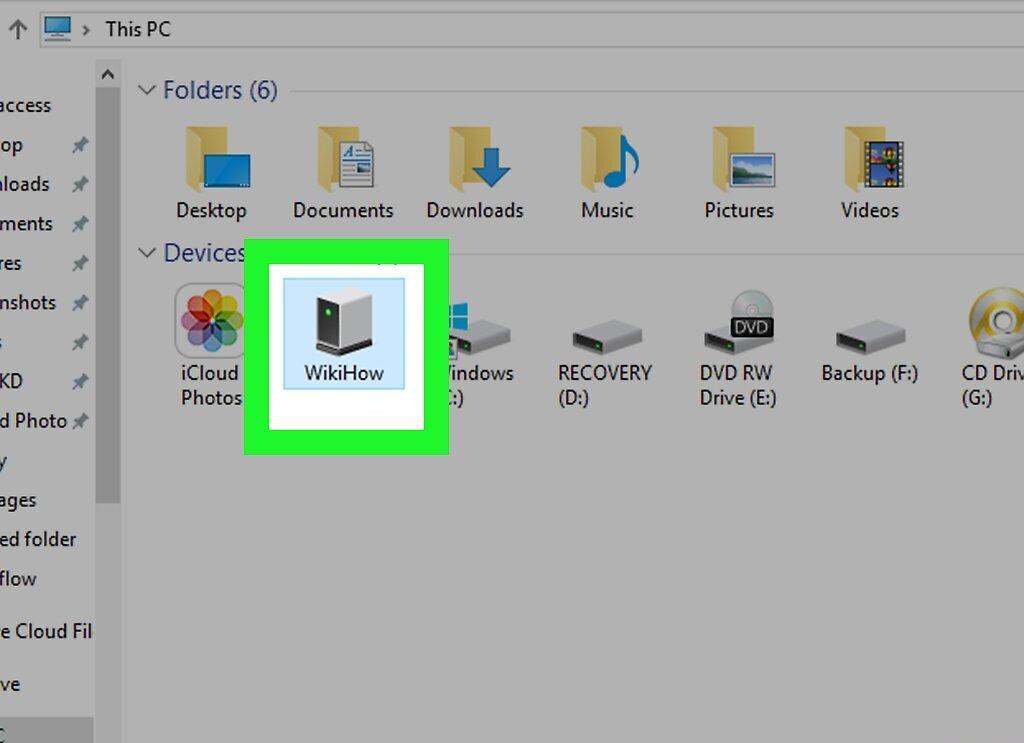
Step 4. Go to the "Properties" Section.
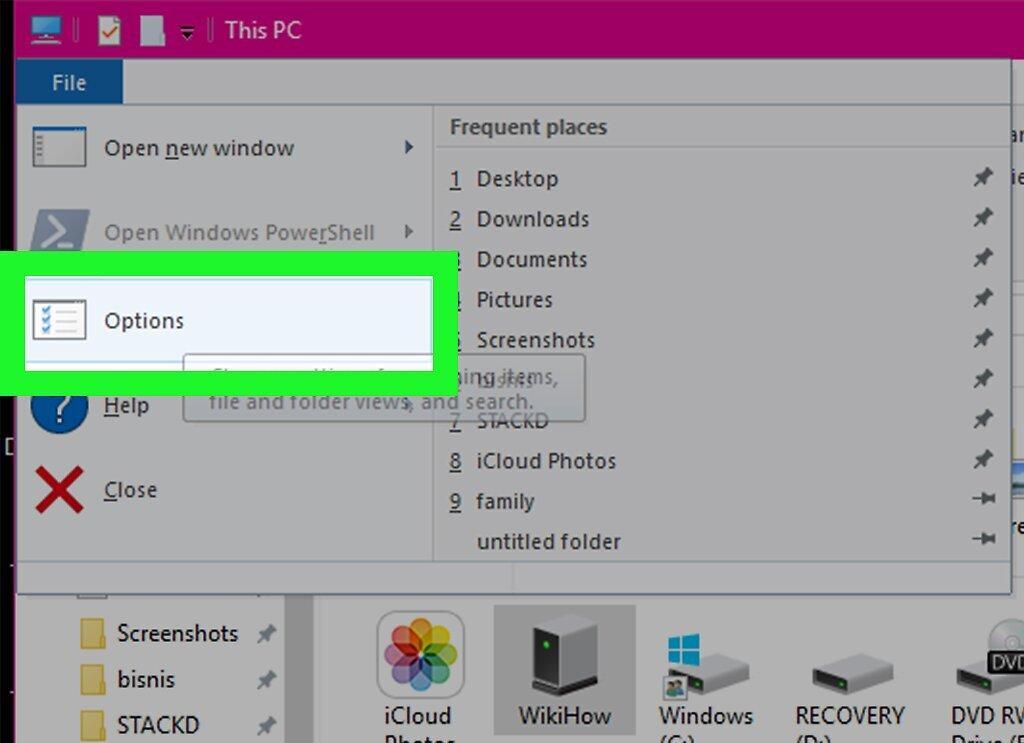
- For Windows Vista, select the "Organize" tab.
- For Windows XP, open the "Tools" menu in the top bar.
Step 5. Select the "View" Tab.
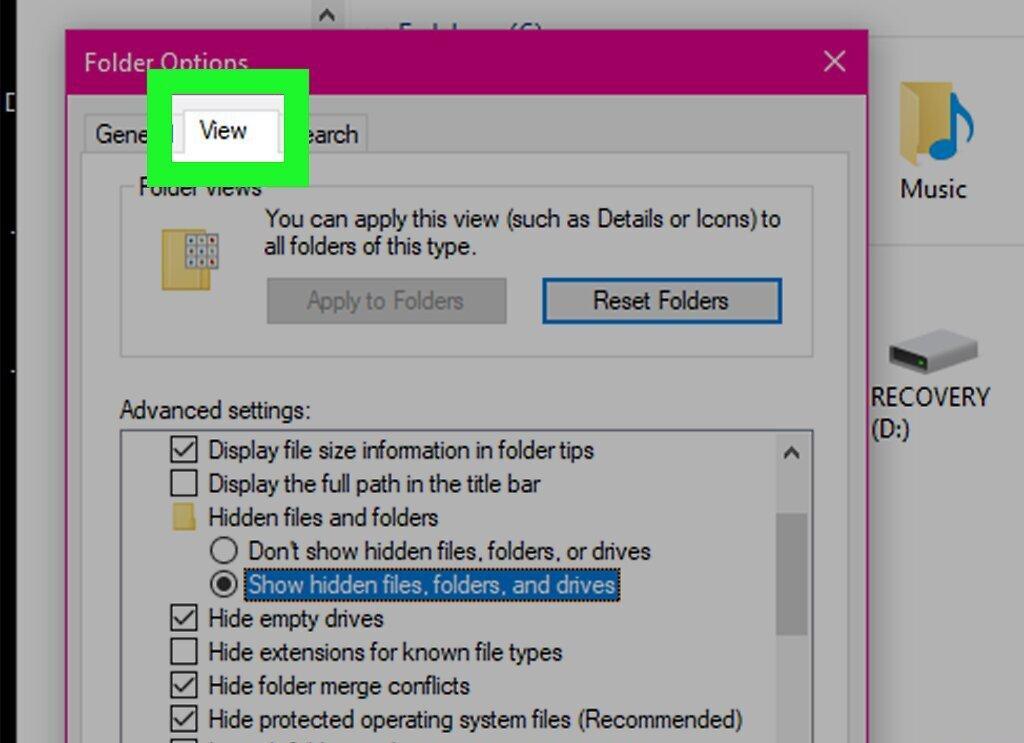
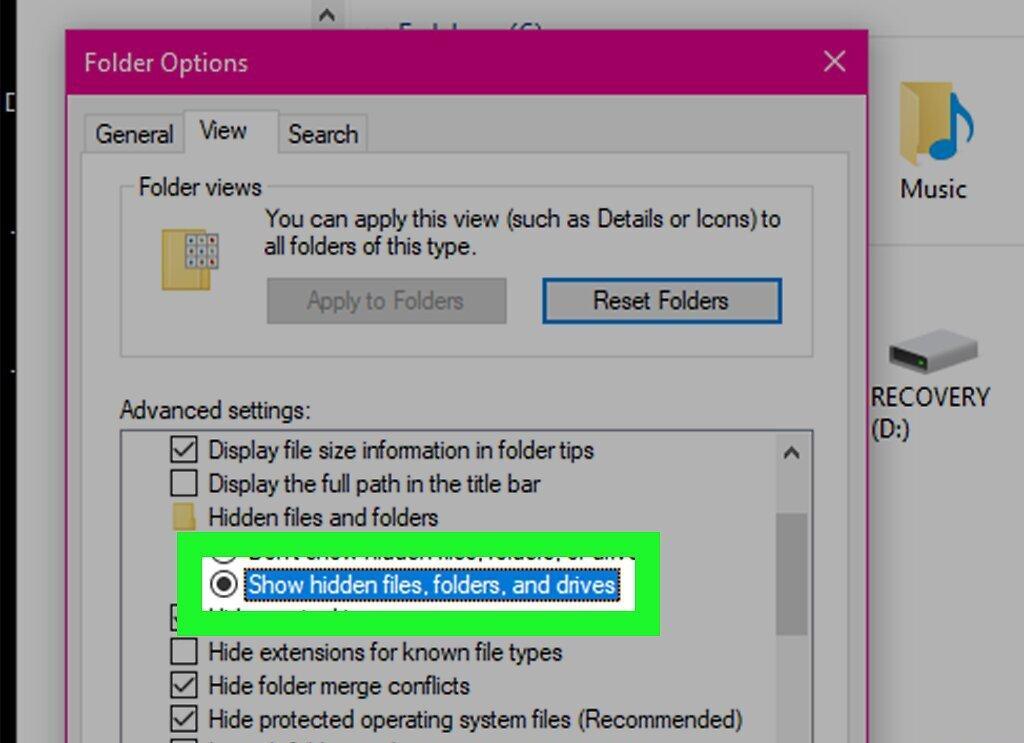
Step 6. Enable the Option to "Show Hidden Files".
Step 7. Open the Folder Named "iPod_Control" on Your iPod.

Step 8. Navigate to the "Music" Folder.
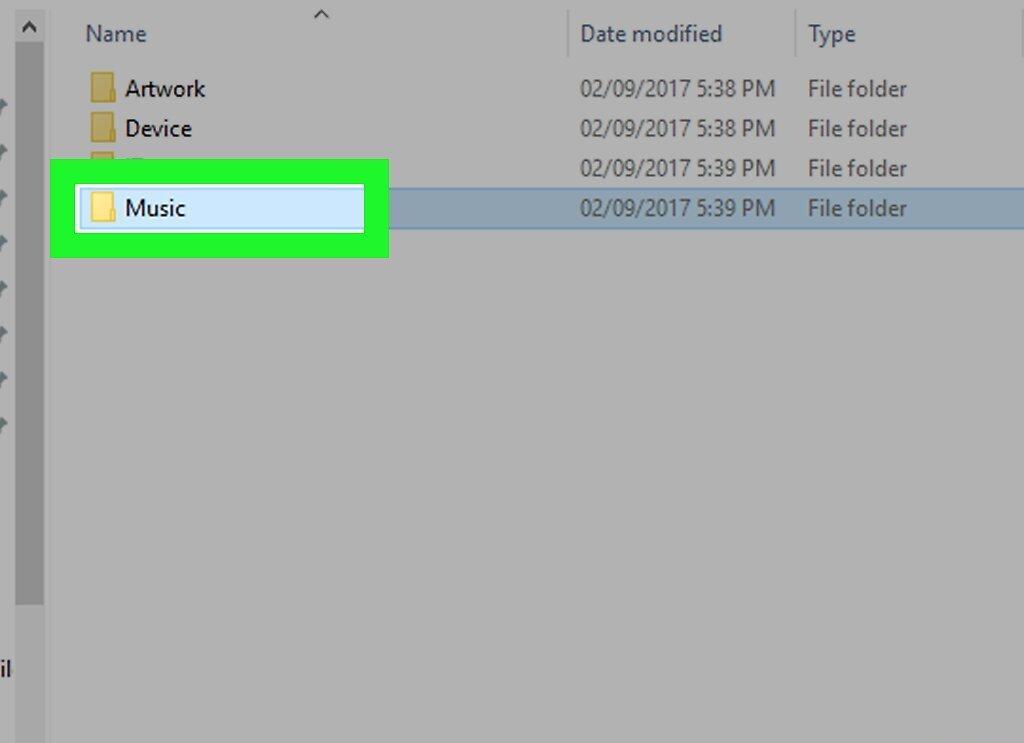
Step 9. Select All Folders Inside and Choose "Copy" from the "Organize" Menu.
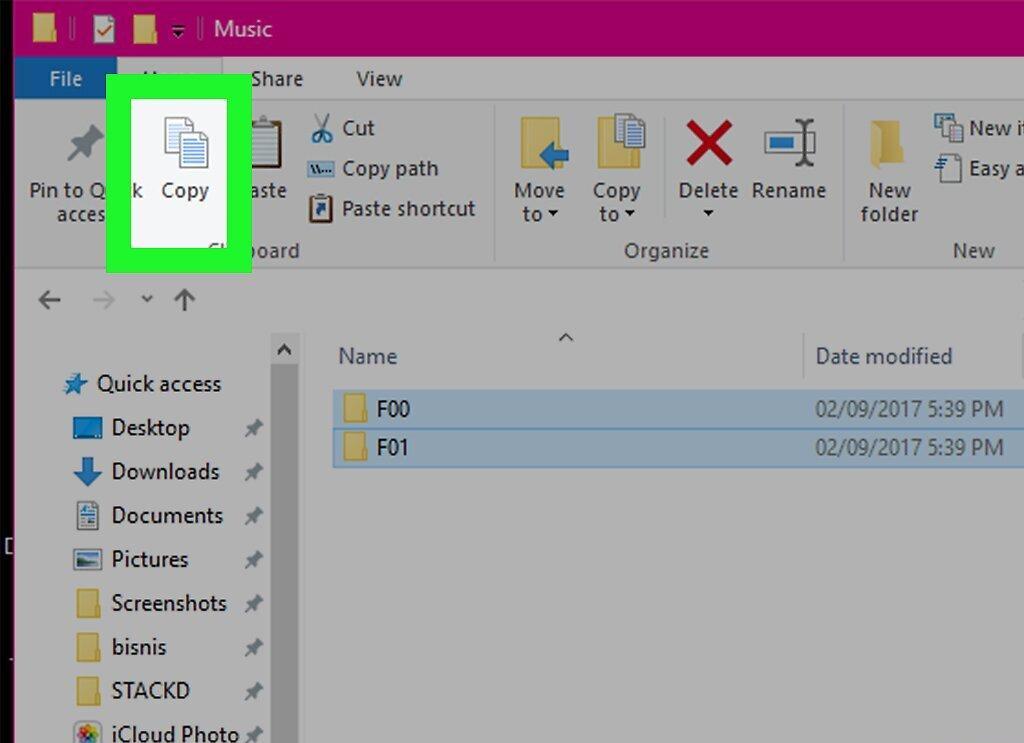
Step 10. Paste the Copied Files into the iTunes Folder on Your PC.
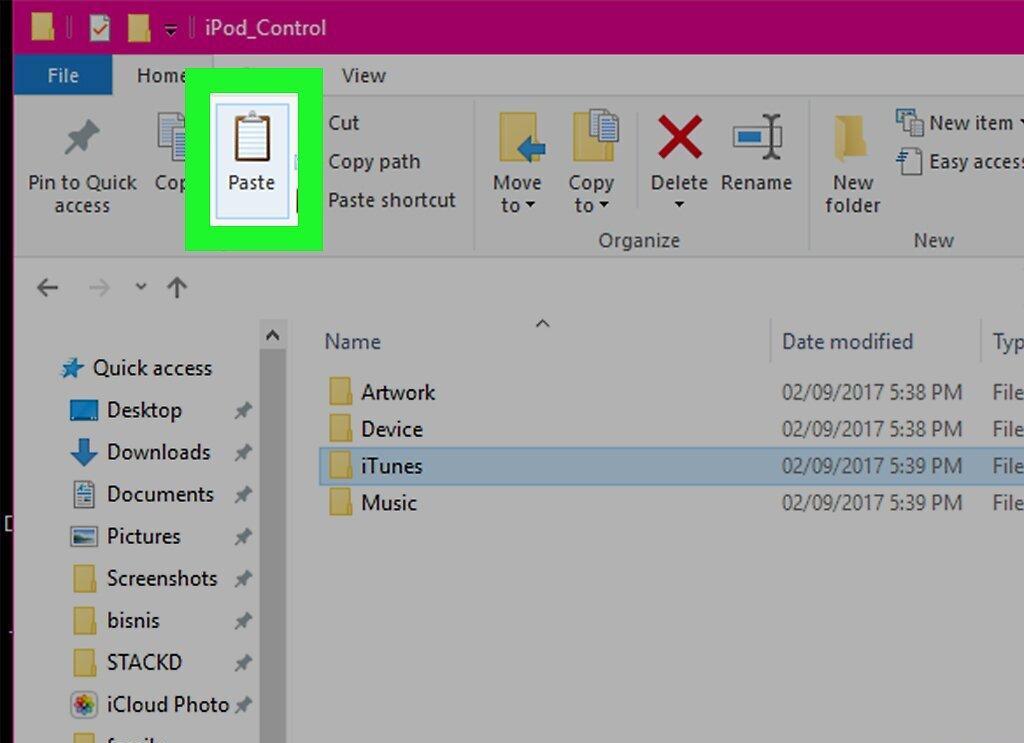
Step 11. After the File Transfer is Complete, Reinstall iTunes.
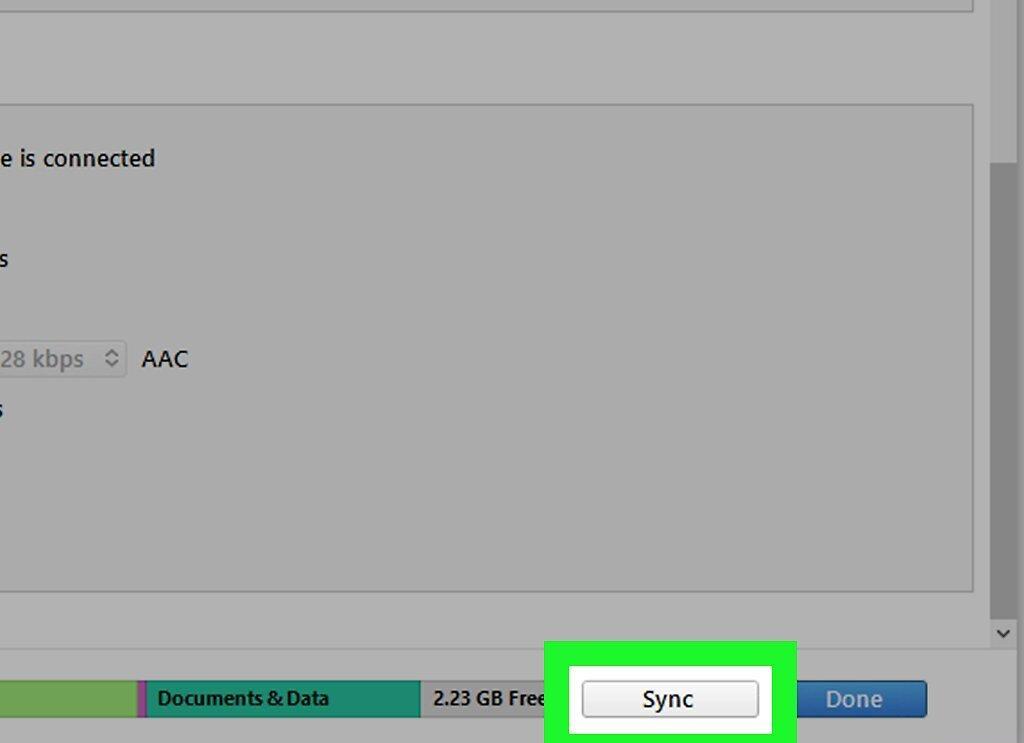
Once the transfer is complete, reinstall iTunes. As soon as your files appear in the program, you'll be able to sync them with your iPod.