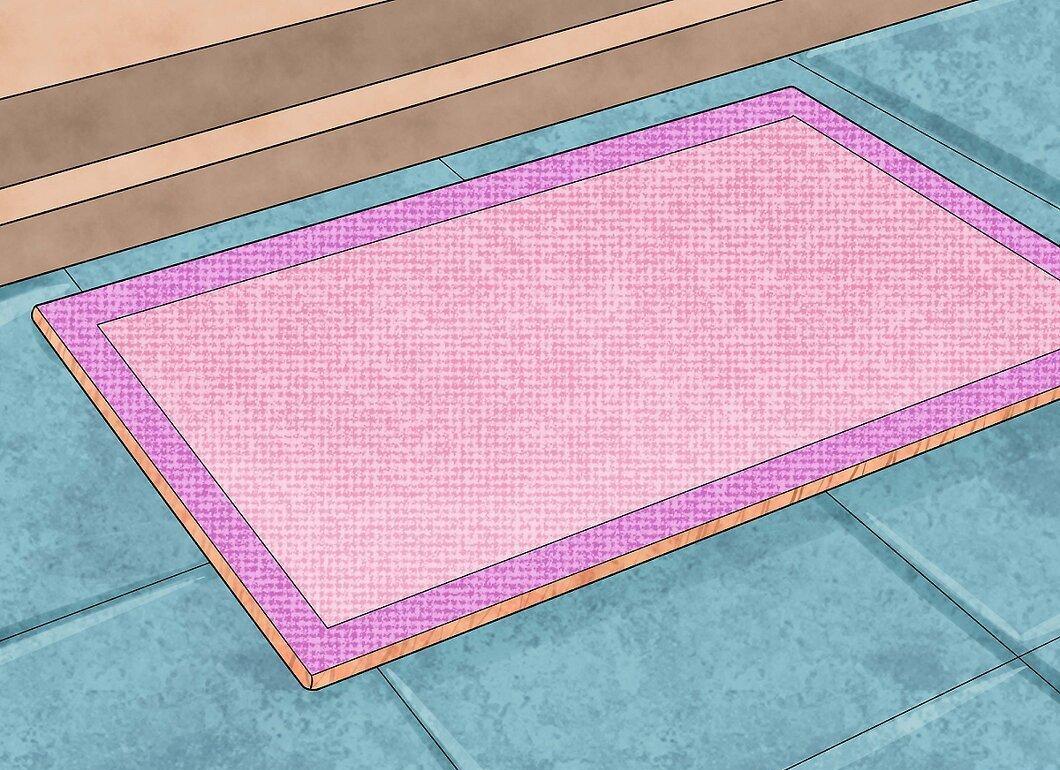
Making a one-of-a-kind rug from leftover carpet is a fantastic and budget-friendly way to add a touch of flair to your decor. You can use old carpet remnants from your home or buy pieces at discounted prices. All you need are a few basic tools that you probably already have at home.
Part 1
Step 1: Choose Your Carpet for the Rug.
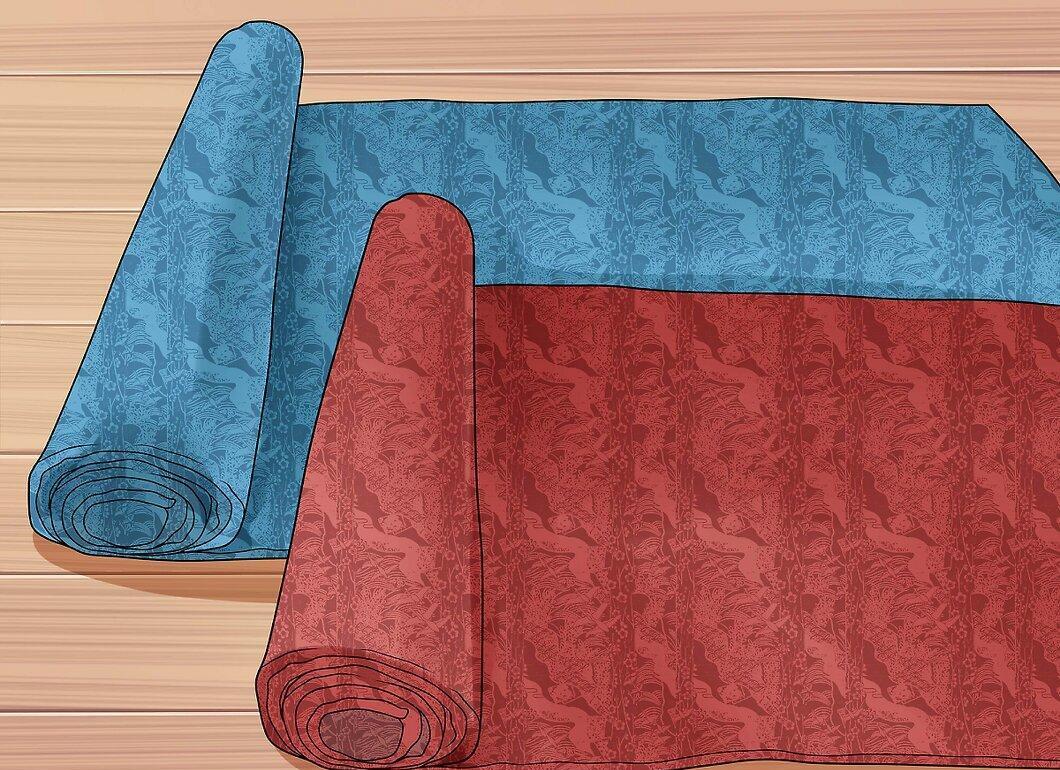
Decide on the carpet you want to use to create your new rug. If you want it to have a pattern, choose complementary colors.
Step 2: Cut the Base Rug.
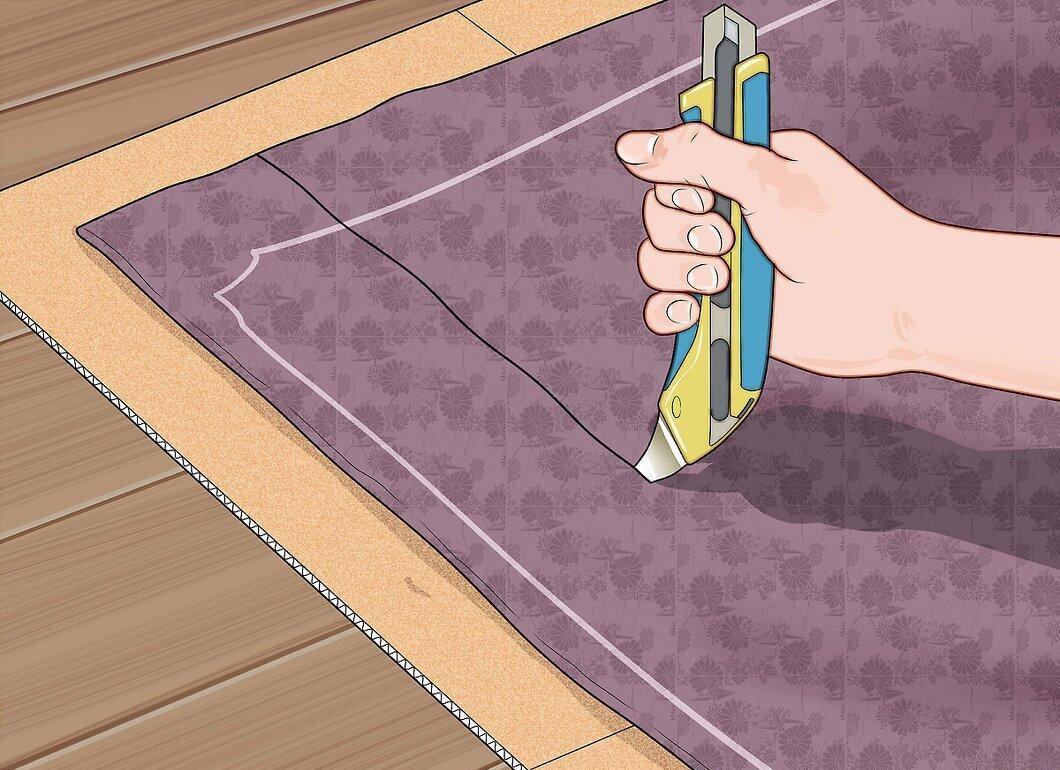
Cut a piece of carpet for the base, placing it on corrugated cardboard or another protective surface to avoid damage while cutting. Use a sharp blade to press down firmly. You may need to make two passes with the knife.
- The base carpet and the patterned carpet should be made from the same materials and textures.
Step 3: Create a Template.
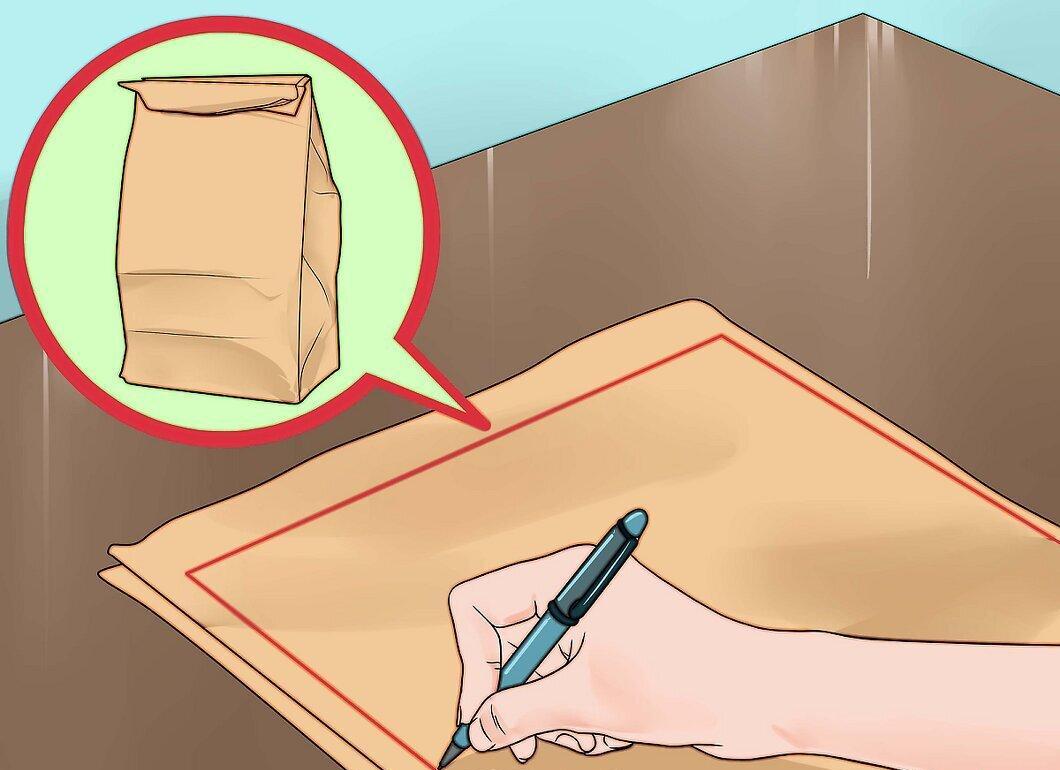
Make a template of the shapes for your design on paper. Brown paper bags or food wrapping paper work well for this.
Step 4: Transfer the Template to Carpet Pieces.
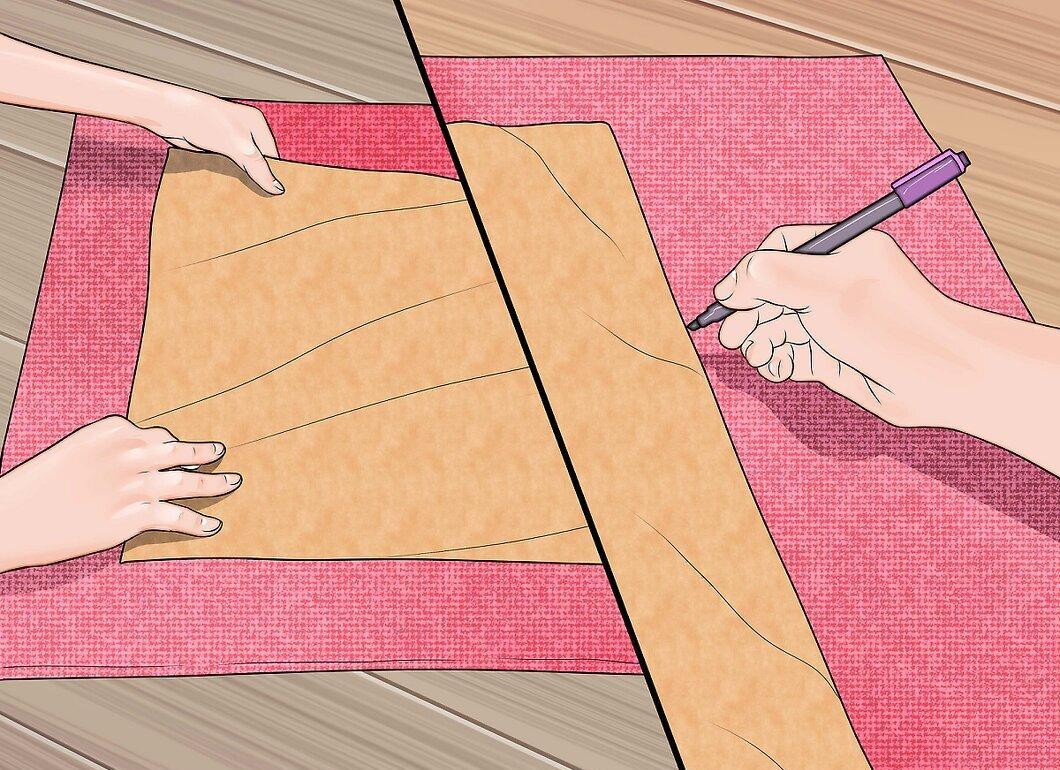
Place the templates on the back of the corresponding carpet pieces and outline them with a marker.
Step 5: Cut Out the Shapes.
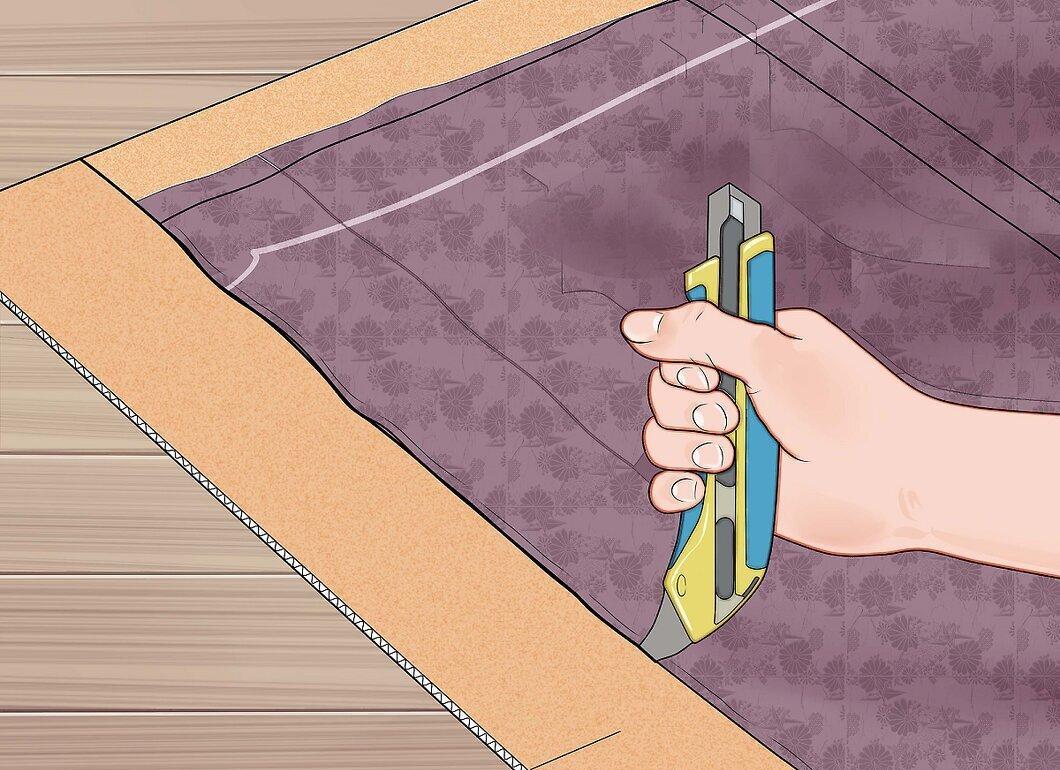
Cut out the shapes while rotating the carpet on the corrugated cardboard. Use a knife with a blade, pressing down firmly. You may need to make two passes with the knife.
Step 6: Remove the Templates.
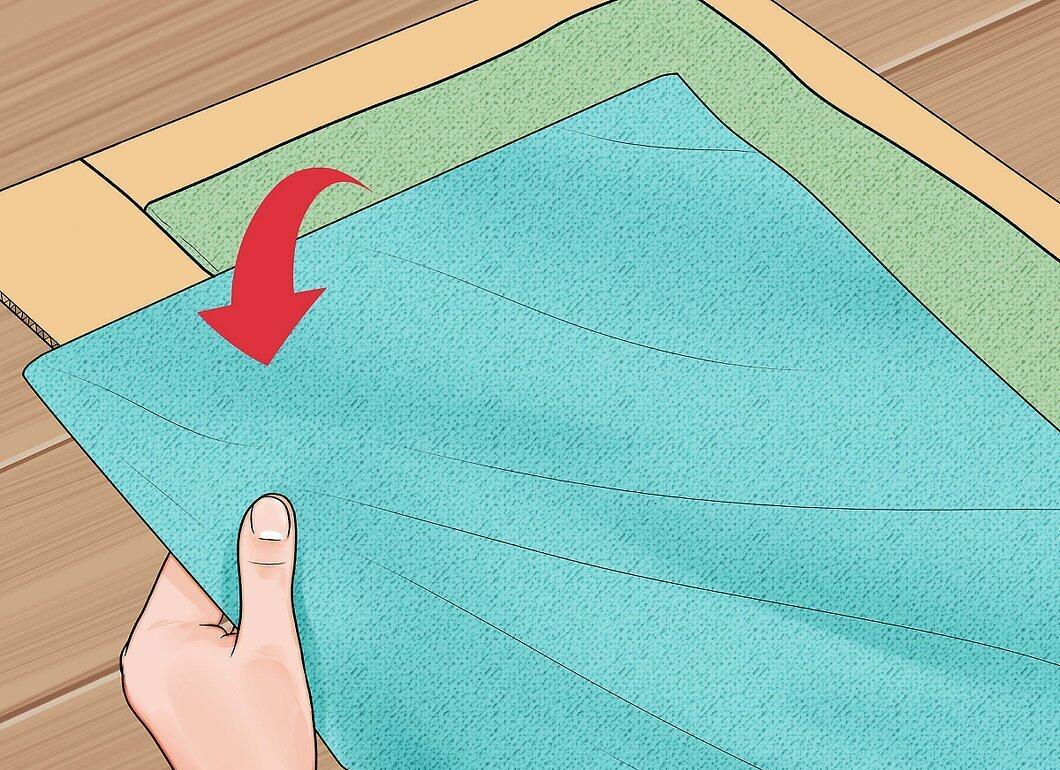
Take the templates off the carpet pieces and set them aside.
Step 7: Prepare for Template Placement.
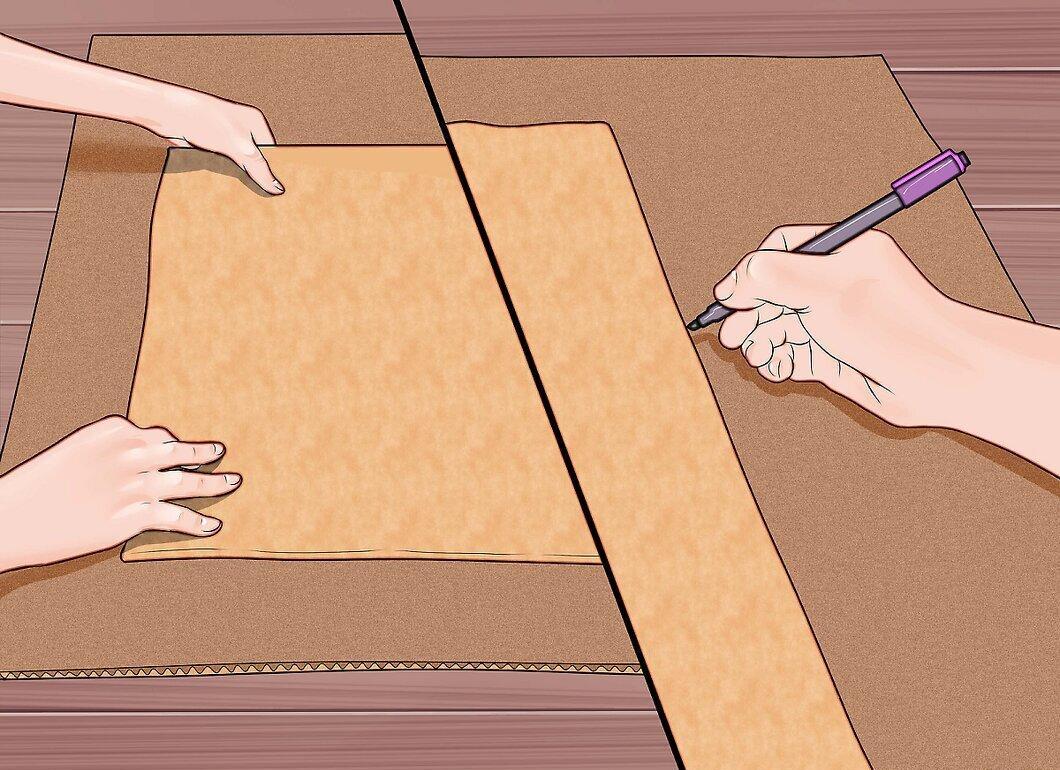
Lay the completed rug face up on the corrugated cardboard and place the design template on top. Outline it with a marker.
Step 8: Cut the Design.
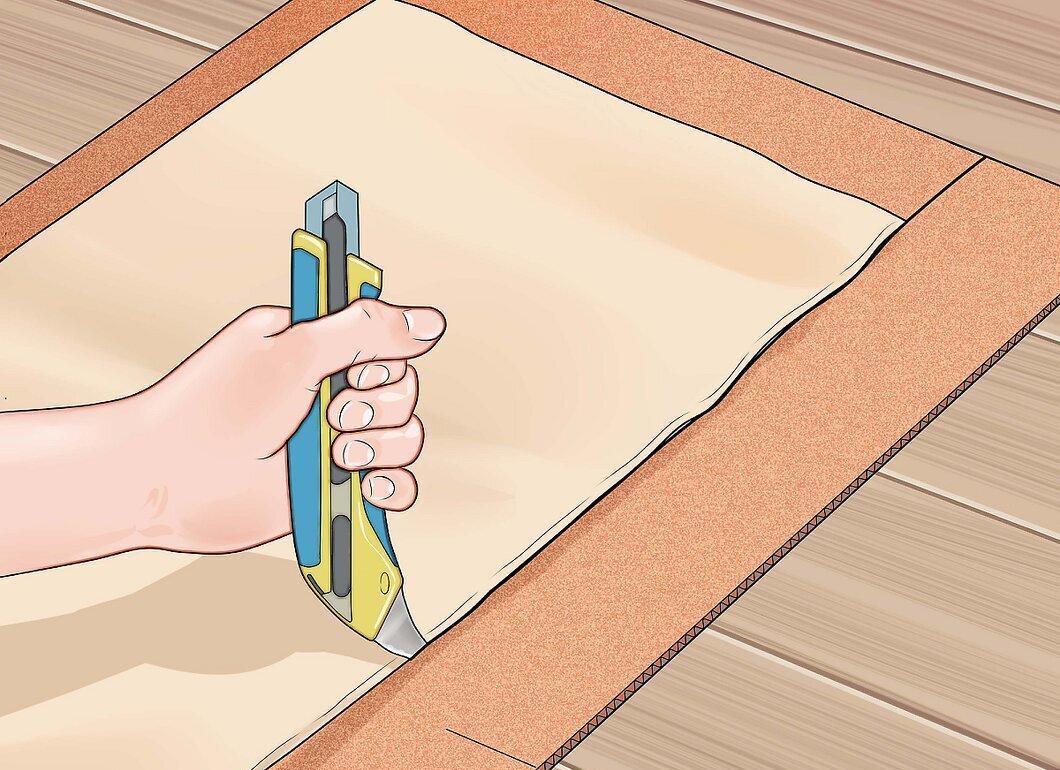
Step 9: Replace the Cut-Out Sections.
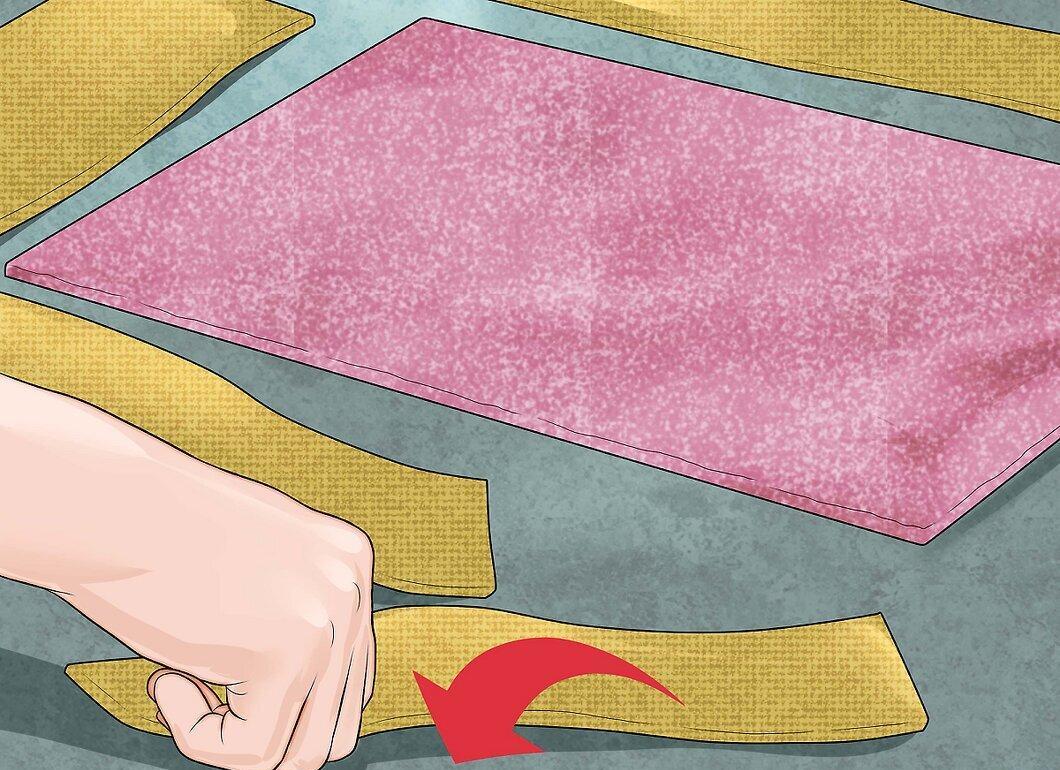
Remove the cut-out parts of the rug and insert the pre-cut pieces in their place. Work from the back, carefully pushing them into position.
- You may see excess fibers on the underside of the rug. You can gently tuck them in using a flat screwdriver to smooth the edges of the seams.
Step 10: Finish the Seams.
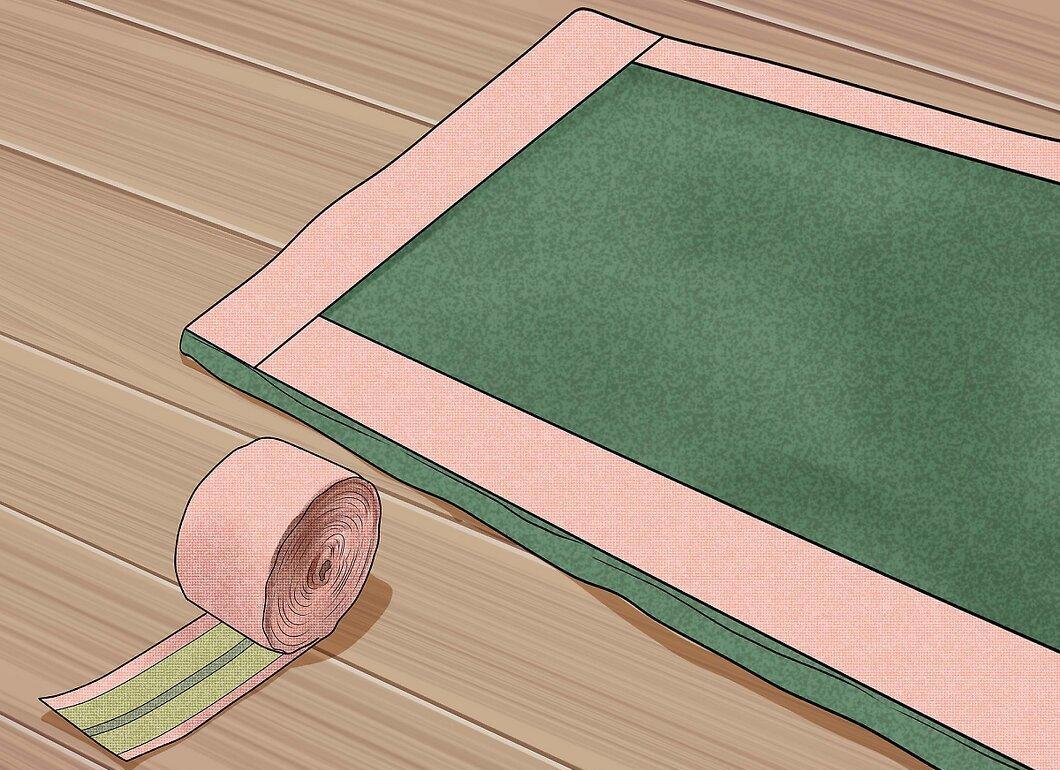
Seal all seams with carpet tape. Duct tape works as well.
Step 11: Edging the Rug.
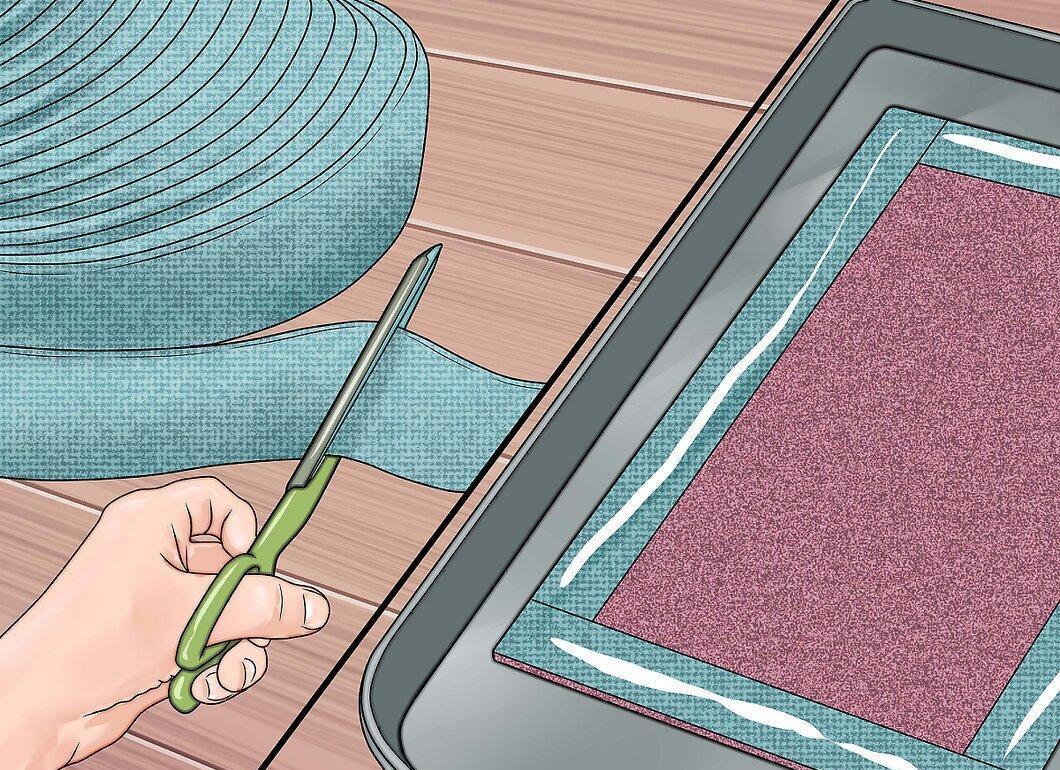
Cut a strip of tape long enough to cover the entire perimeter of the rug. Apply a line of carpet adhesive along the edges and fold the edge over by 0.5 inches.
Step 12: Secure the Edges.
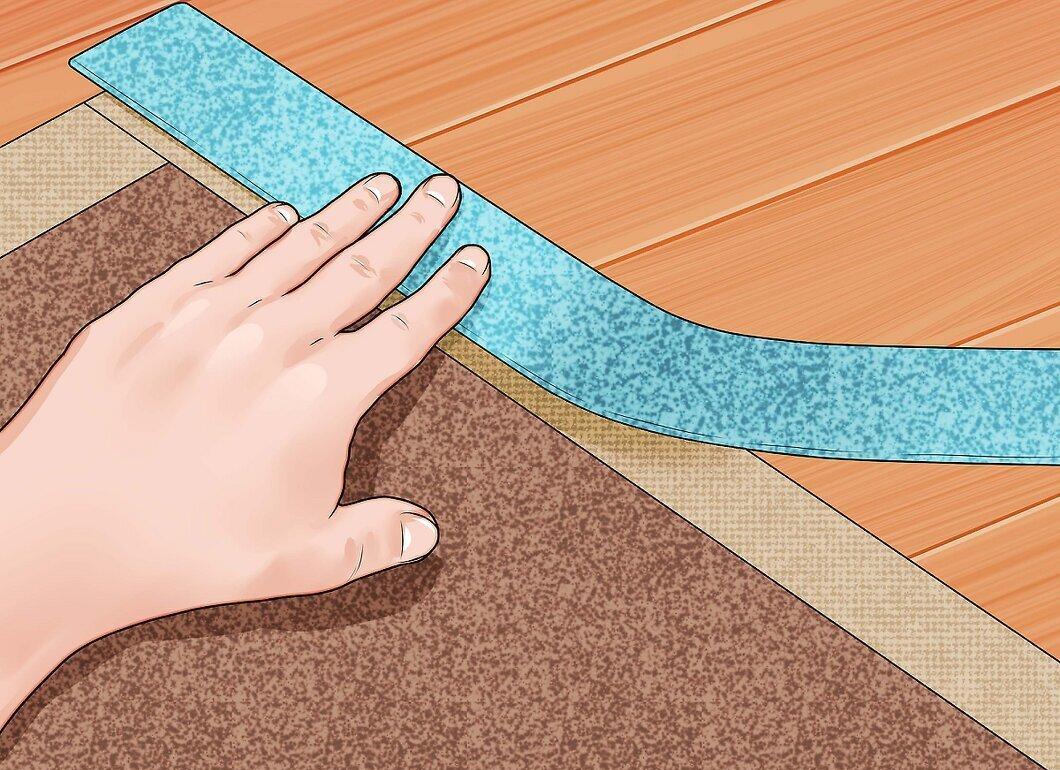
Press the edges along the adhesive line, carefully folding the ends of the rug. Allow to dry thoroughly.
Step 13: Finalize the Rug.
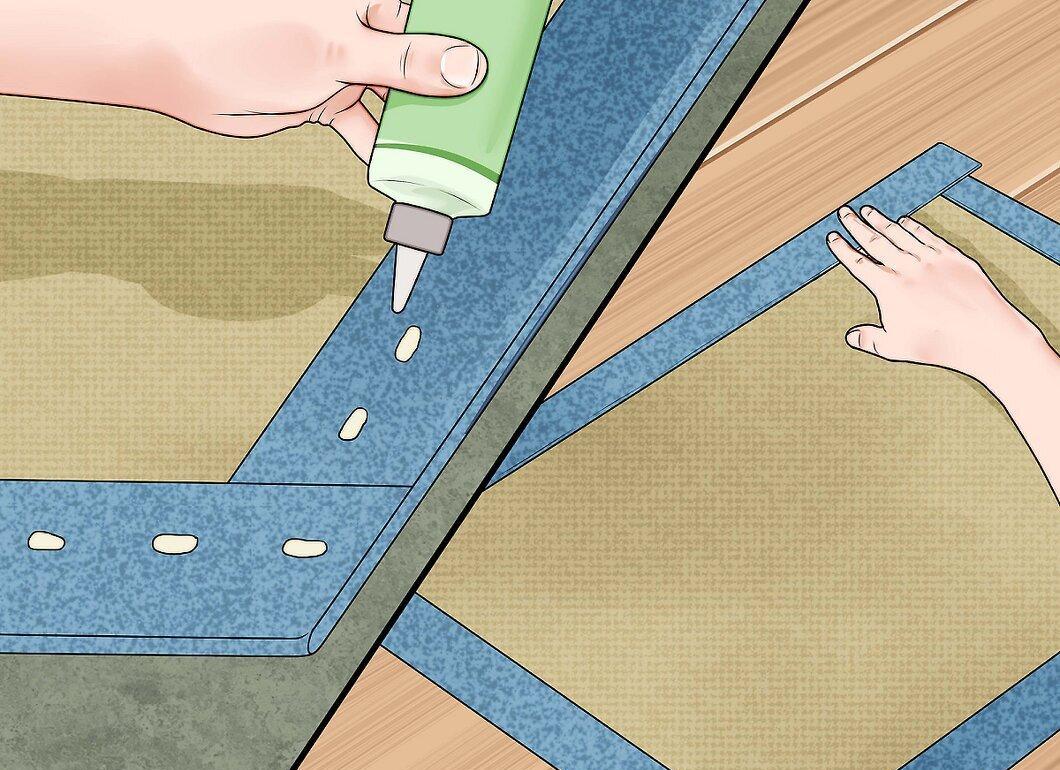
Flip the rug face up, add some carpet adhesive to the corners and along the top edge by 0.5 inches. Pull the edging tight and press it onto the glue.
Step 14: Place the Rug on the Floor.