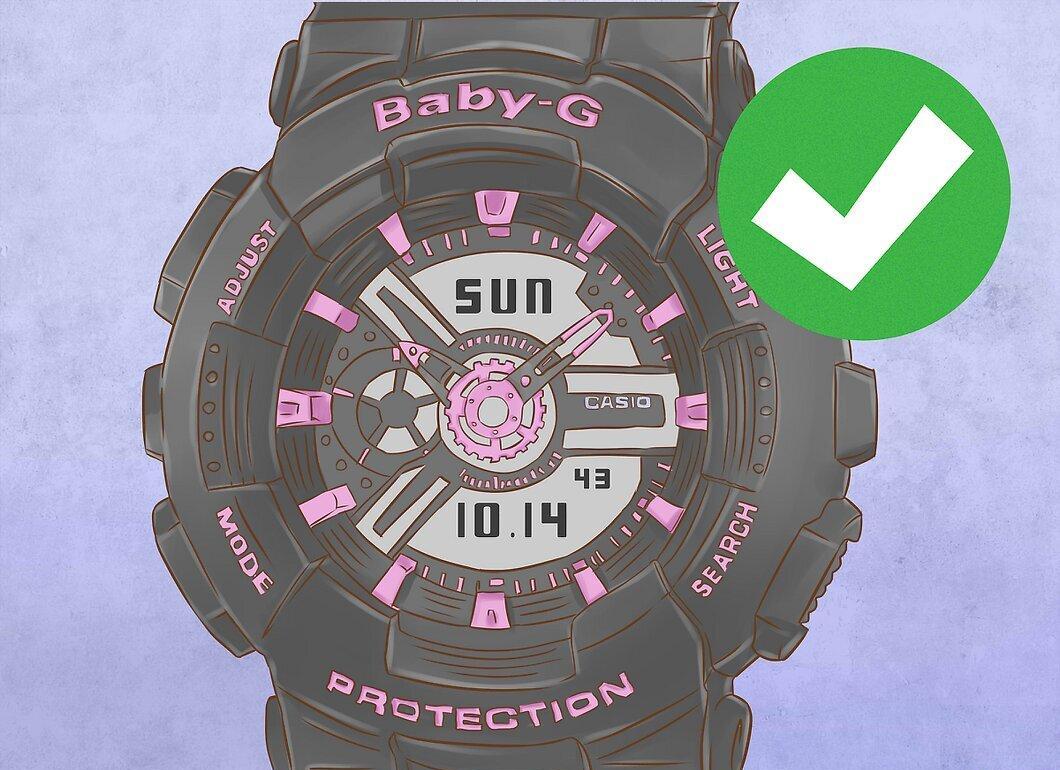
This article provides straightforward steps for setting up Casio Baby G watches, including both digital and analog-digital models. The information is based on Australian versions.
Part 1
Step 1. Familiarize Yourself with the Buttons on the Watch.
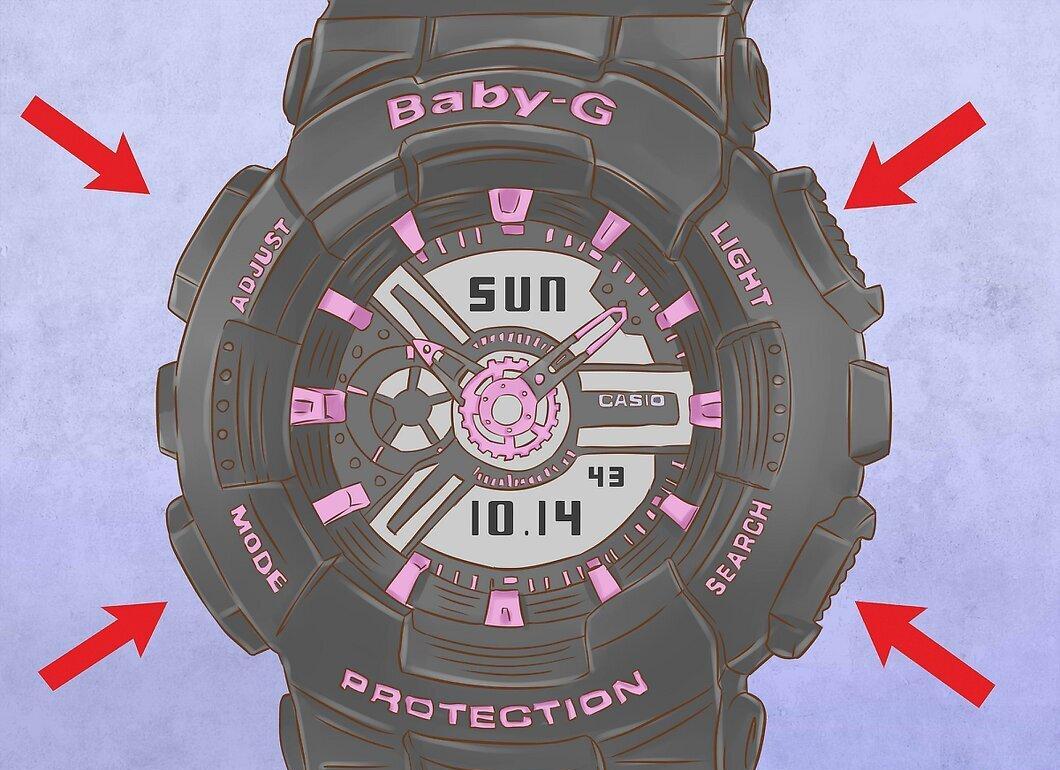
First, take a look at the buttons located on the sides of the watch. The top left button is used for settings, the bottom left for mode switching, and the top and bottom right buttons are for changing values.
Step 2. Ensure You're on the Main Time Display.
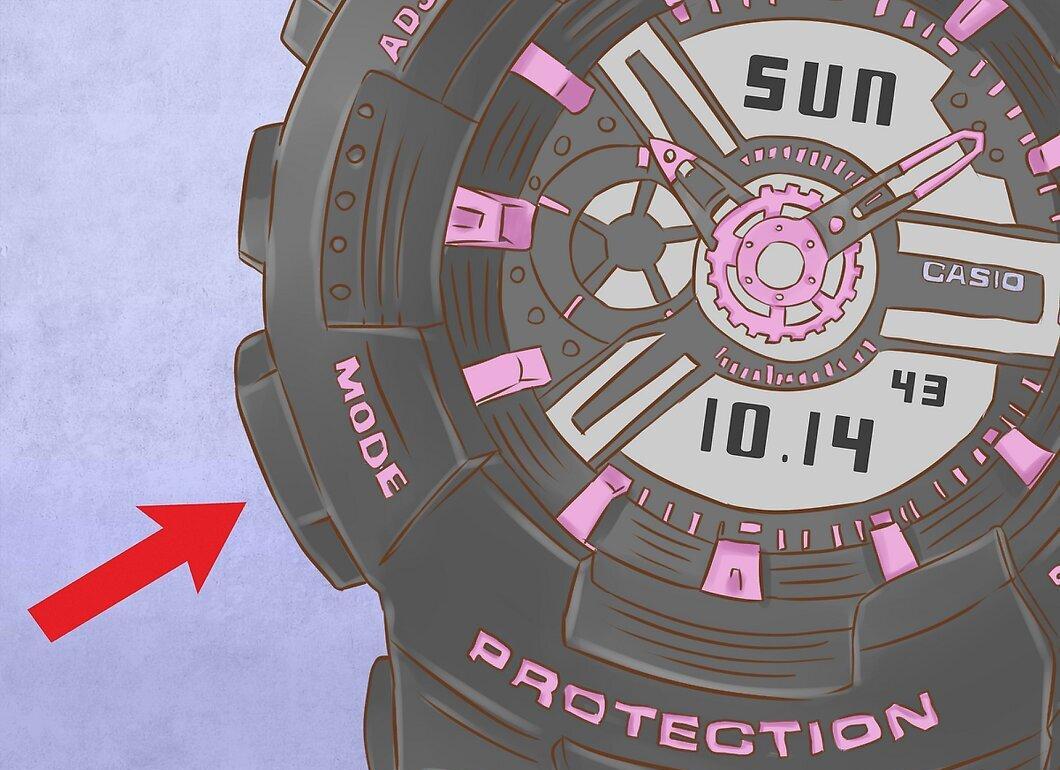
Make sure you are on the main time display. If you're not sure, press the bottom left button to switch between modes. You can choose between manual setting, alarm, stopwatch, timer, and world time. The main time display typically follows the world time screen. Use the bottom left button to toggle through the modes.
Step 3. On the Main Time Display, Hold the Top Left Button.
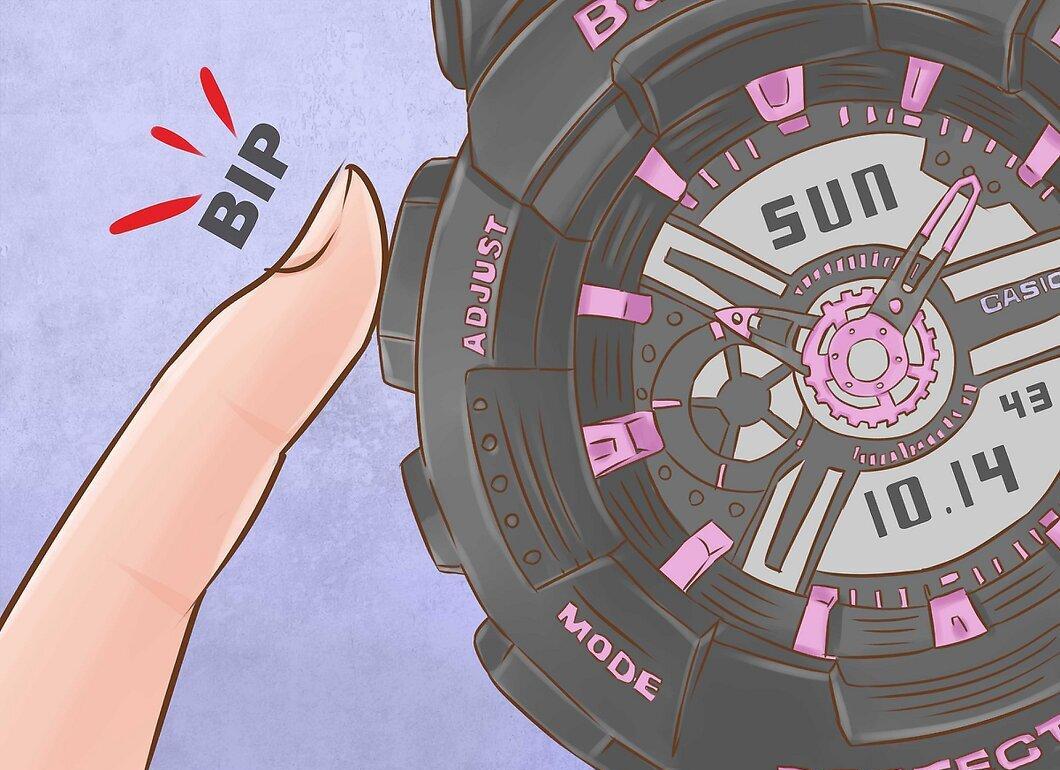
On the main time display, press and hold the top left button for a few seconds. You will hear a beep and the digits will start blinking, beginning with the seconds. Depending on the model, the "Your City" message may blink first. If so, use the top and bottom right buttons to select the nearest city in your time zone. For example, if you're in Brisbane, choose Sydney (Syd).
Step 4. Set the Seconds with the Right Buttons, Then Press the Bottom Left Button.
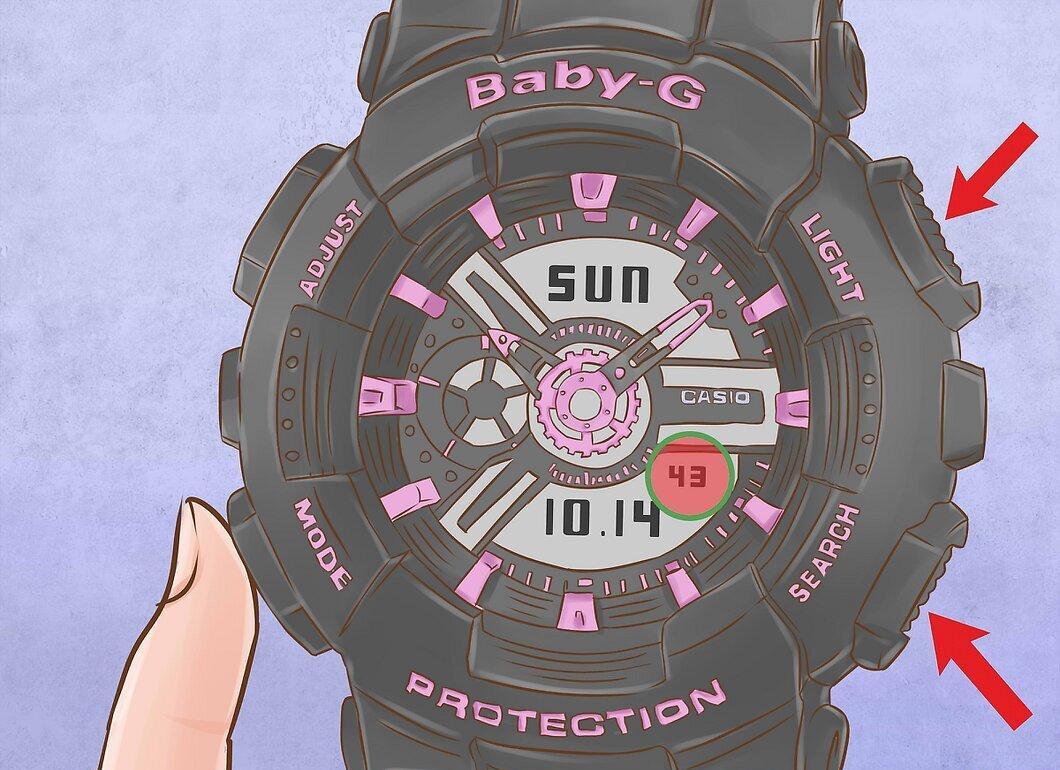
Set the seconds using the top and bottom right buttons, then press the bottom left button to move to the next time setting. If you don’t need to set the seconds, just press "mode" right away.
Step 5. Now the Minutes or Hours Will Blink.
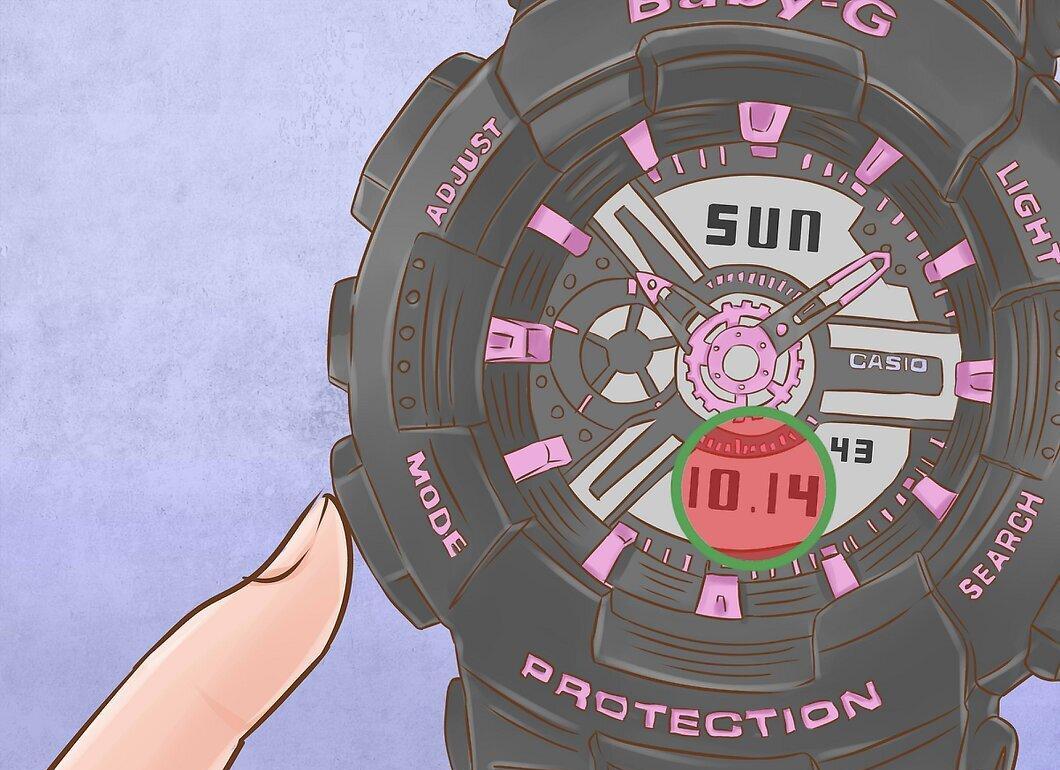
Now the minutes or hours will blink. Use the right buttons to set them. Press "mode" to advance to the next setting (hours or minutes, depending on what you just set). Once the time is correctly set, press "mode" again.
Step 6. The Watch Will Switch to Date Setting Mode.
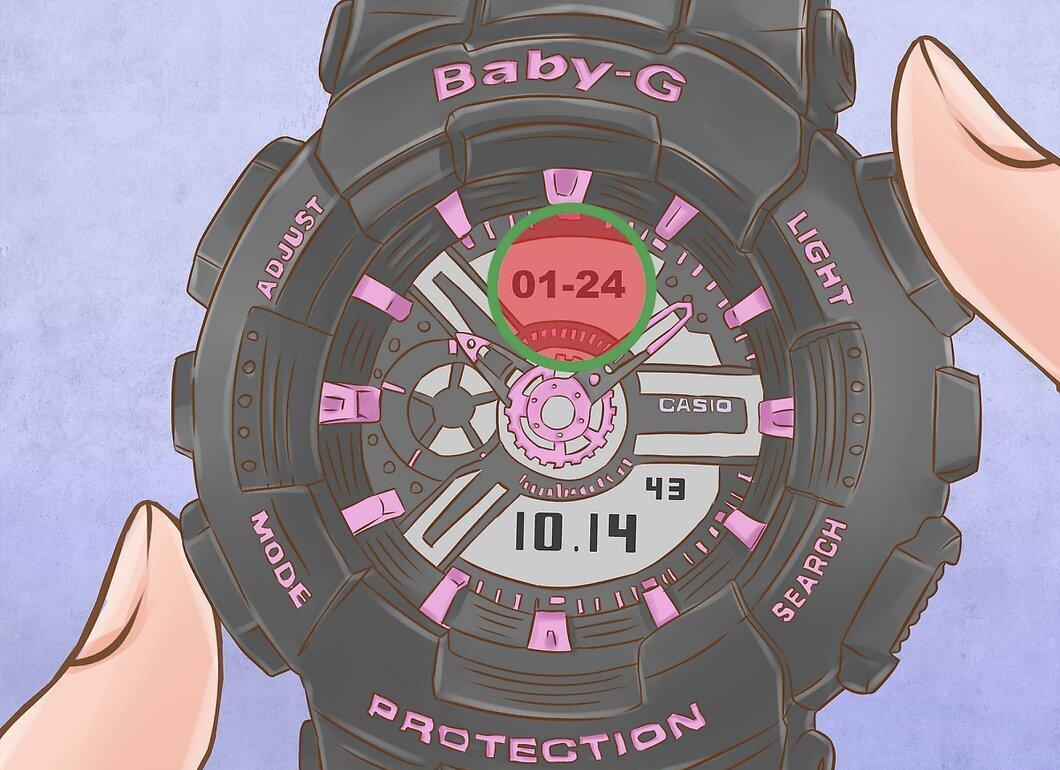
The watch will switch to date setting mode. Use the right buttons to set the day, month, or year, depending on the order of settings in your watch. Press "mode" to move to the next date parameter, and repeat the process until the date is set correctly.
Step 7. You Might Need to Set the Time Format: 12 or 24 Hours.
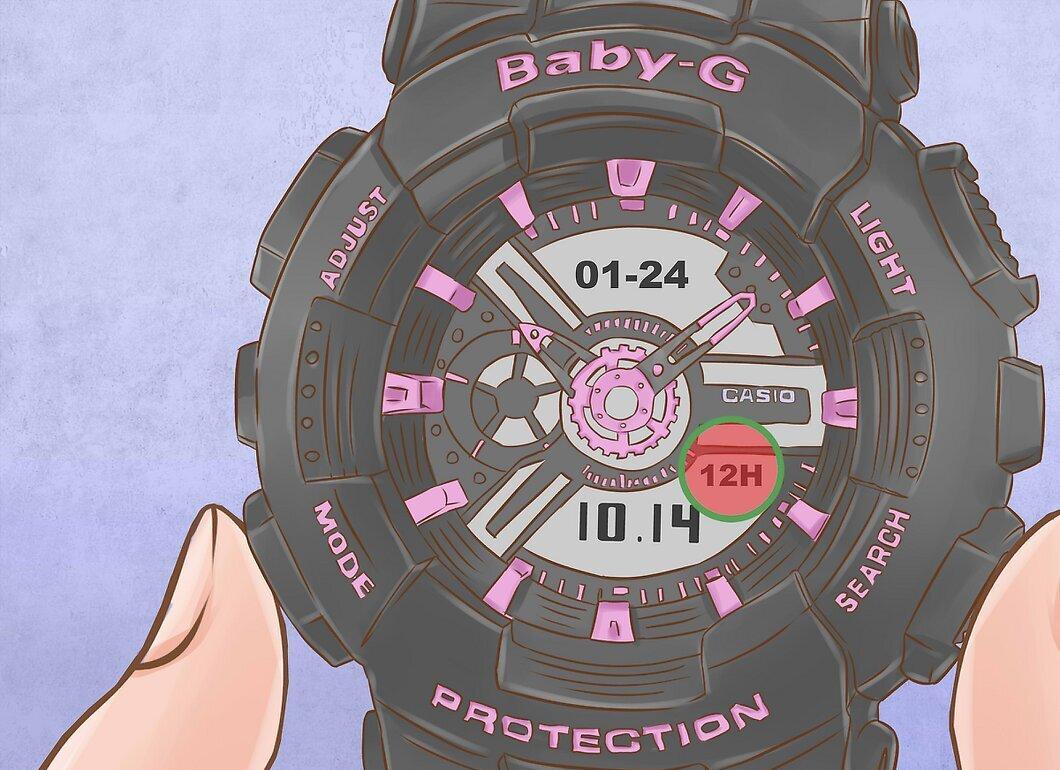
Depending on the model, there may be options for time format — 12 or 24 hours. Select your preferred format using the right buttons and press "mode" again. Once all settings are completed, the watch will return to the beginning (e.g., blinking seconds or your city, depending on the model).
Step 8. Complete the Setup by Pressing the Top Left Button.
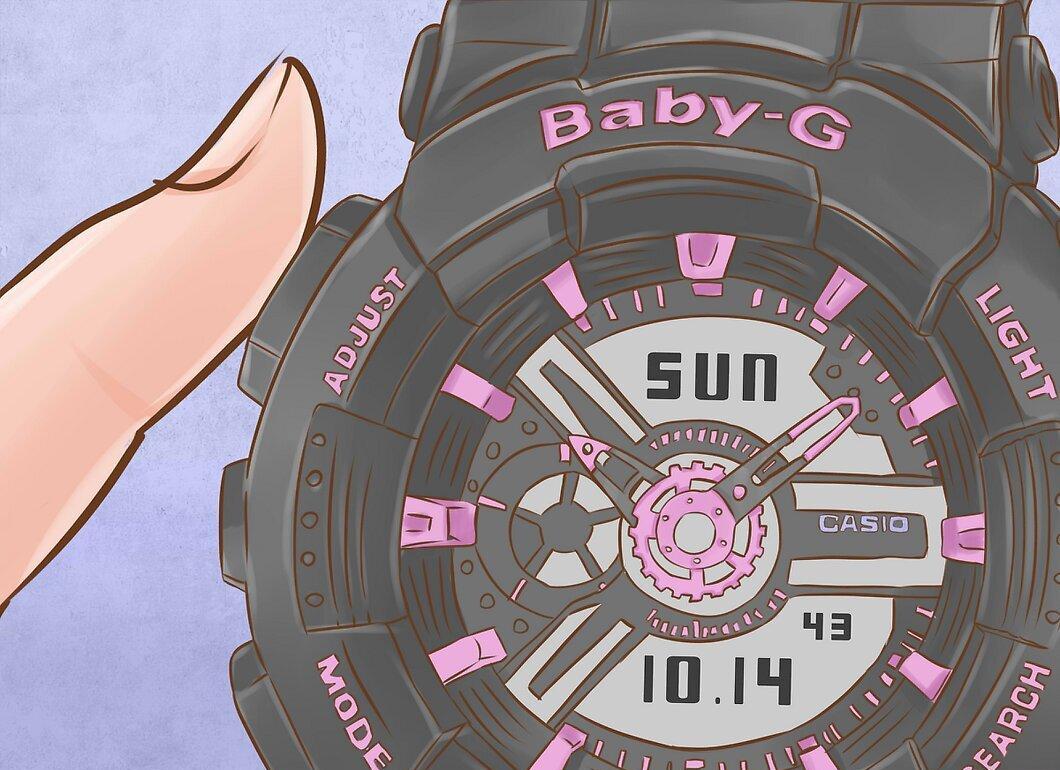
To finish the process, press the top left button to save the time. Great job! If your watch is analog, proceed to the next step.
Step 9. If You Have Hands, Check Their Automatic Setting.
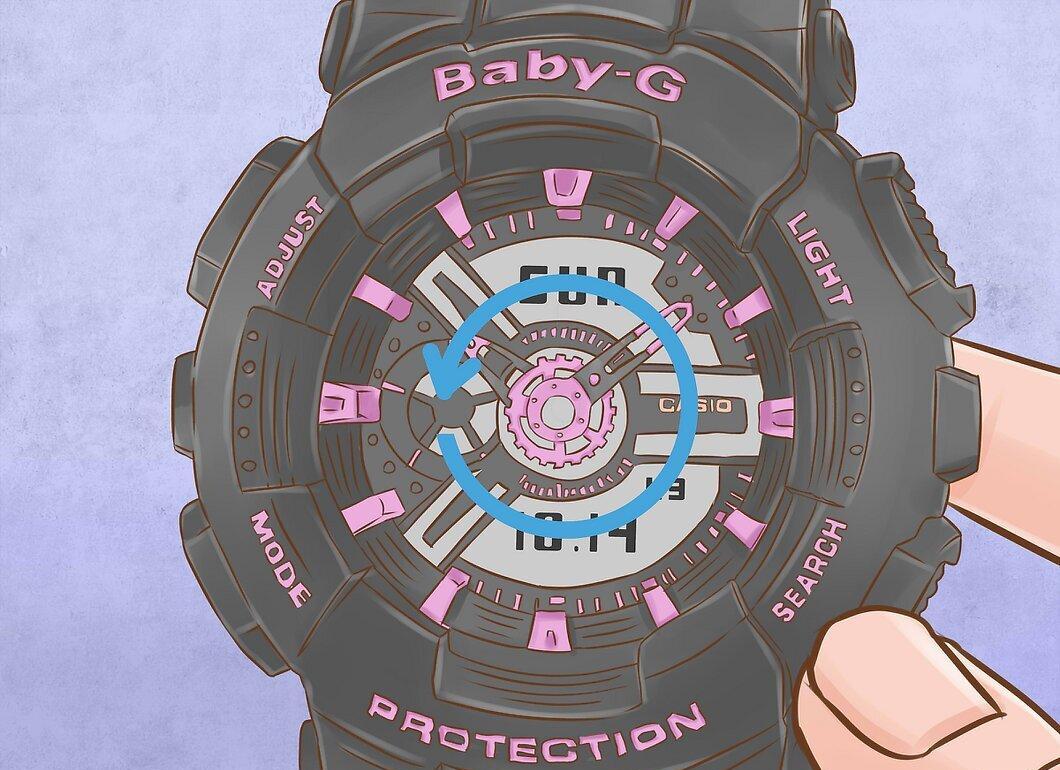
If your watch has hands, they may automatically adjust to the analog time according to the digital time. If this doesn’t happen, hold the "mode" button until the screen shows H-S (or Hand Set). This will take you to the manual adjustment screen.
Step 10. Hold the Top Left Button to Adjust the Hands.
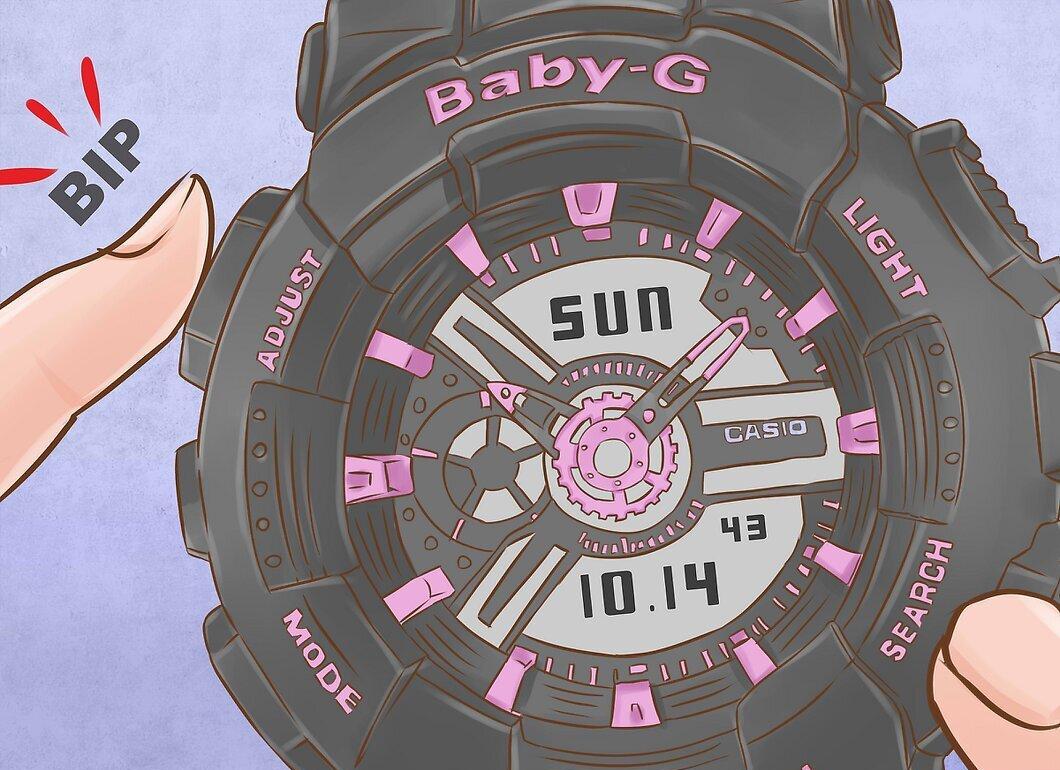
Now hold the top left button for a few seconds. You will hear a beep, and the screen may start blinking. Use the right buttons to adjust the position of the hands. In some models, the hands may only move in one direction, so be patient. Pressing the bottom right button moves the minute hand by one minute, and holding the button will make it move faster.
Step 11. Adjust the Minute Hand.
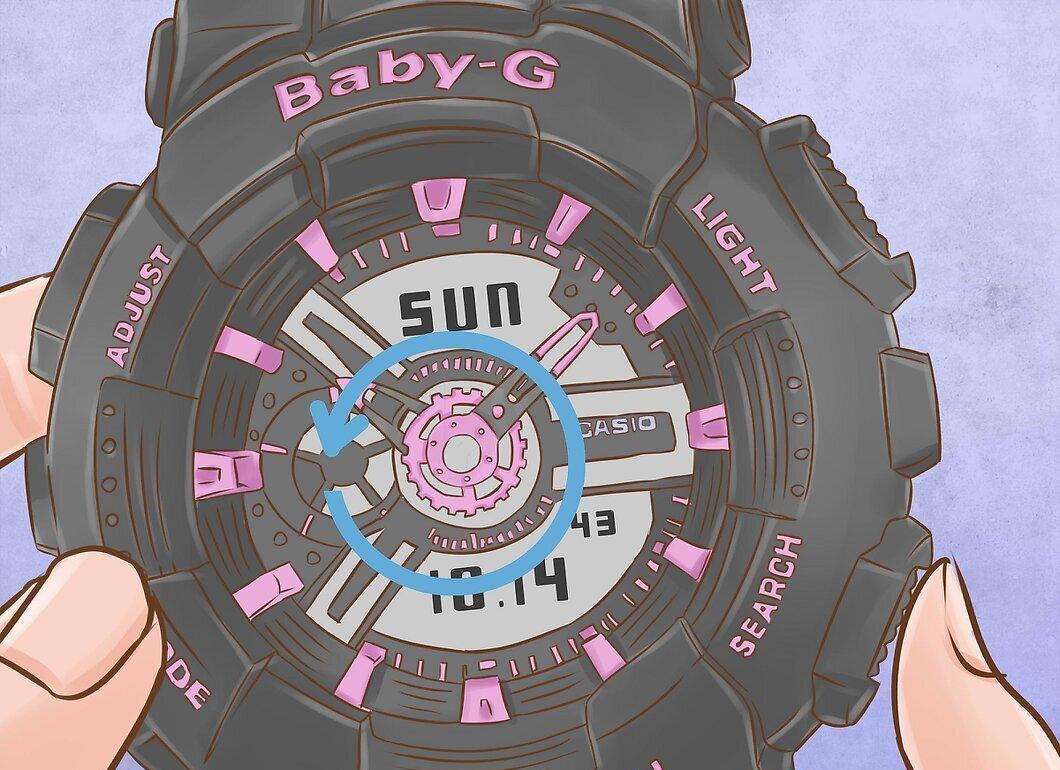
Hold the bottom right button to adjust the minute hand. You may need to wait until the hour and minute hands align with the digital time. When the hands are close to the correct time, release the button and press it until you get the exact time. If you hold the button too long, you might miss the right moment and have to adjust the hands again.
Step 12. Save the Time by Pressing the Top Left Button.
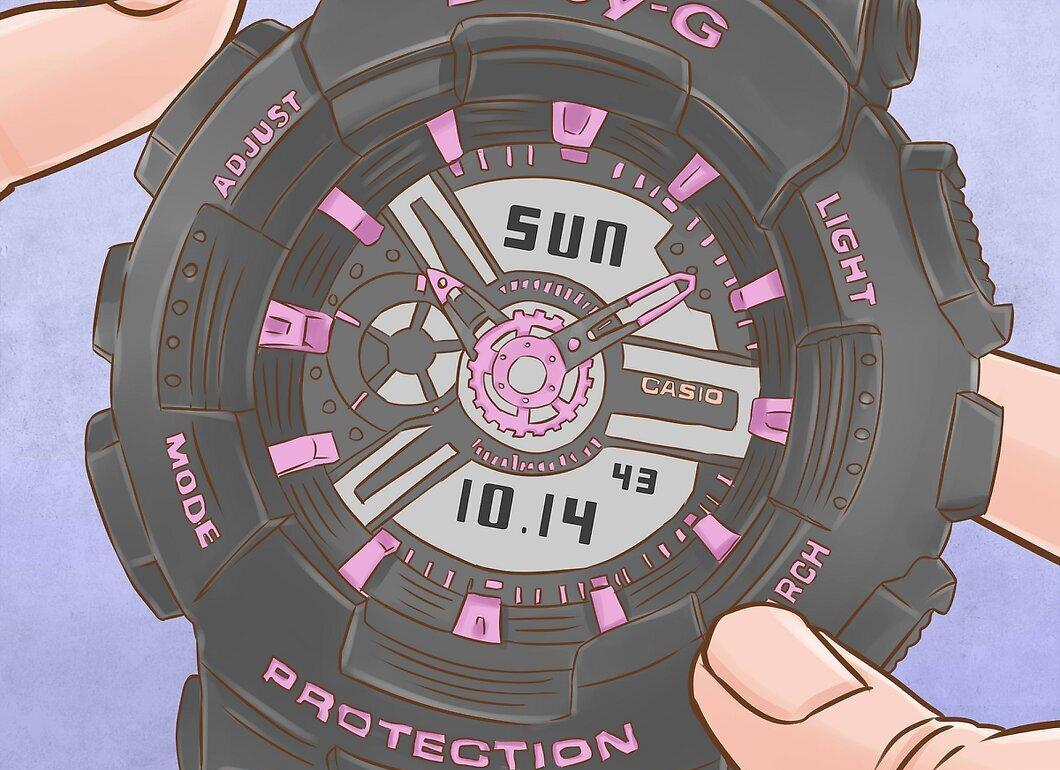
When the hands show the correct time, press the top left button to save the settings. Done! Your watch may automatically return you to the main display. If the manual adjustment indicator is still blinking on the screen, press the bottom left button "mode" to return to the main display.
Step 13. Enjoy Your Correctly Set Watch!